3D Scene
What a 3D scene is, how to open one, the editor layout, key terms, and a quick start for blocking your first shot.
3D Scene on Morphic lets you block a shot before you generate it. Place the set, the cast and the camera in 3D, animate who moves where, then use the shot as a reference so the final generation follows your staging. Prompt Copilot to build the scene for you, or set every detail yourself, and switch between the two at any point.
Blocking is the film term for working out where people stand, how they move, and where the camera sits. Doing it before you shoot is called previsualization, or previs.
Here's a quick tutorial on 3D Scene, from blocking a basic scene to using it as a reference for your video:
Open a scene
A scene lives on the Canvas of a file, next to your images and videos. The editor works on desktop only; on a phone you see "Scene 3D is only available on Desktop".
- Open the file. You land on the Canvas
- Click '+' in the toolbar at the top left of the Canvas
- Under 'Create', click '3D Scene'
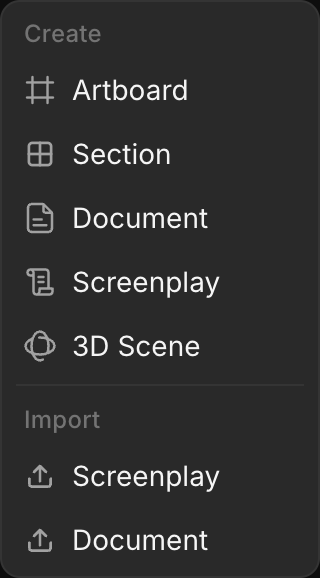
Or right-click an empty spot on the Canvas and click '3D Scene'.
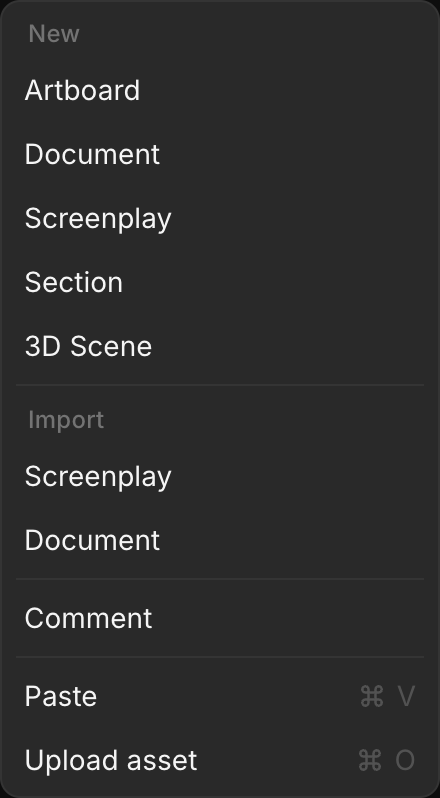
studio.morphic.com/3d does both steps at once: it adds a new scene to the file you last worked in and opens it.
A new scene opens with a shot camera and three lights, 'Sun', 'Fill' and 'Warm glow', listed in 'Layers'. Delete everything in it and a card reads "Your scene is empty", with 'Add object' and 'Ask Copilot'.
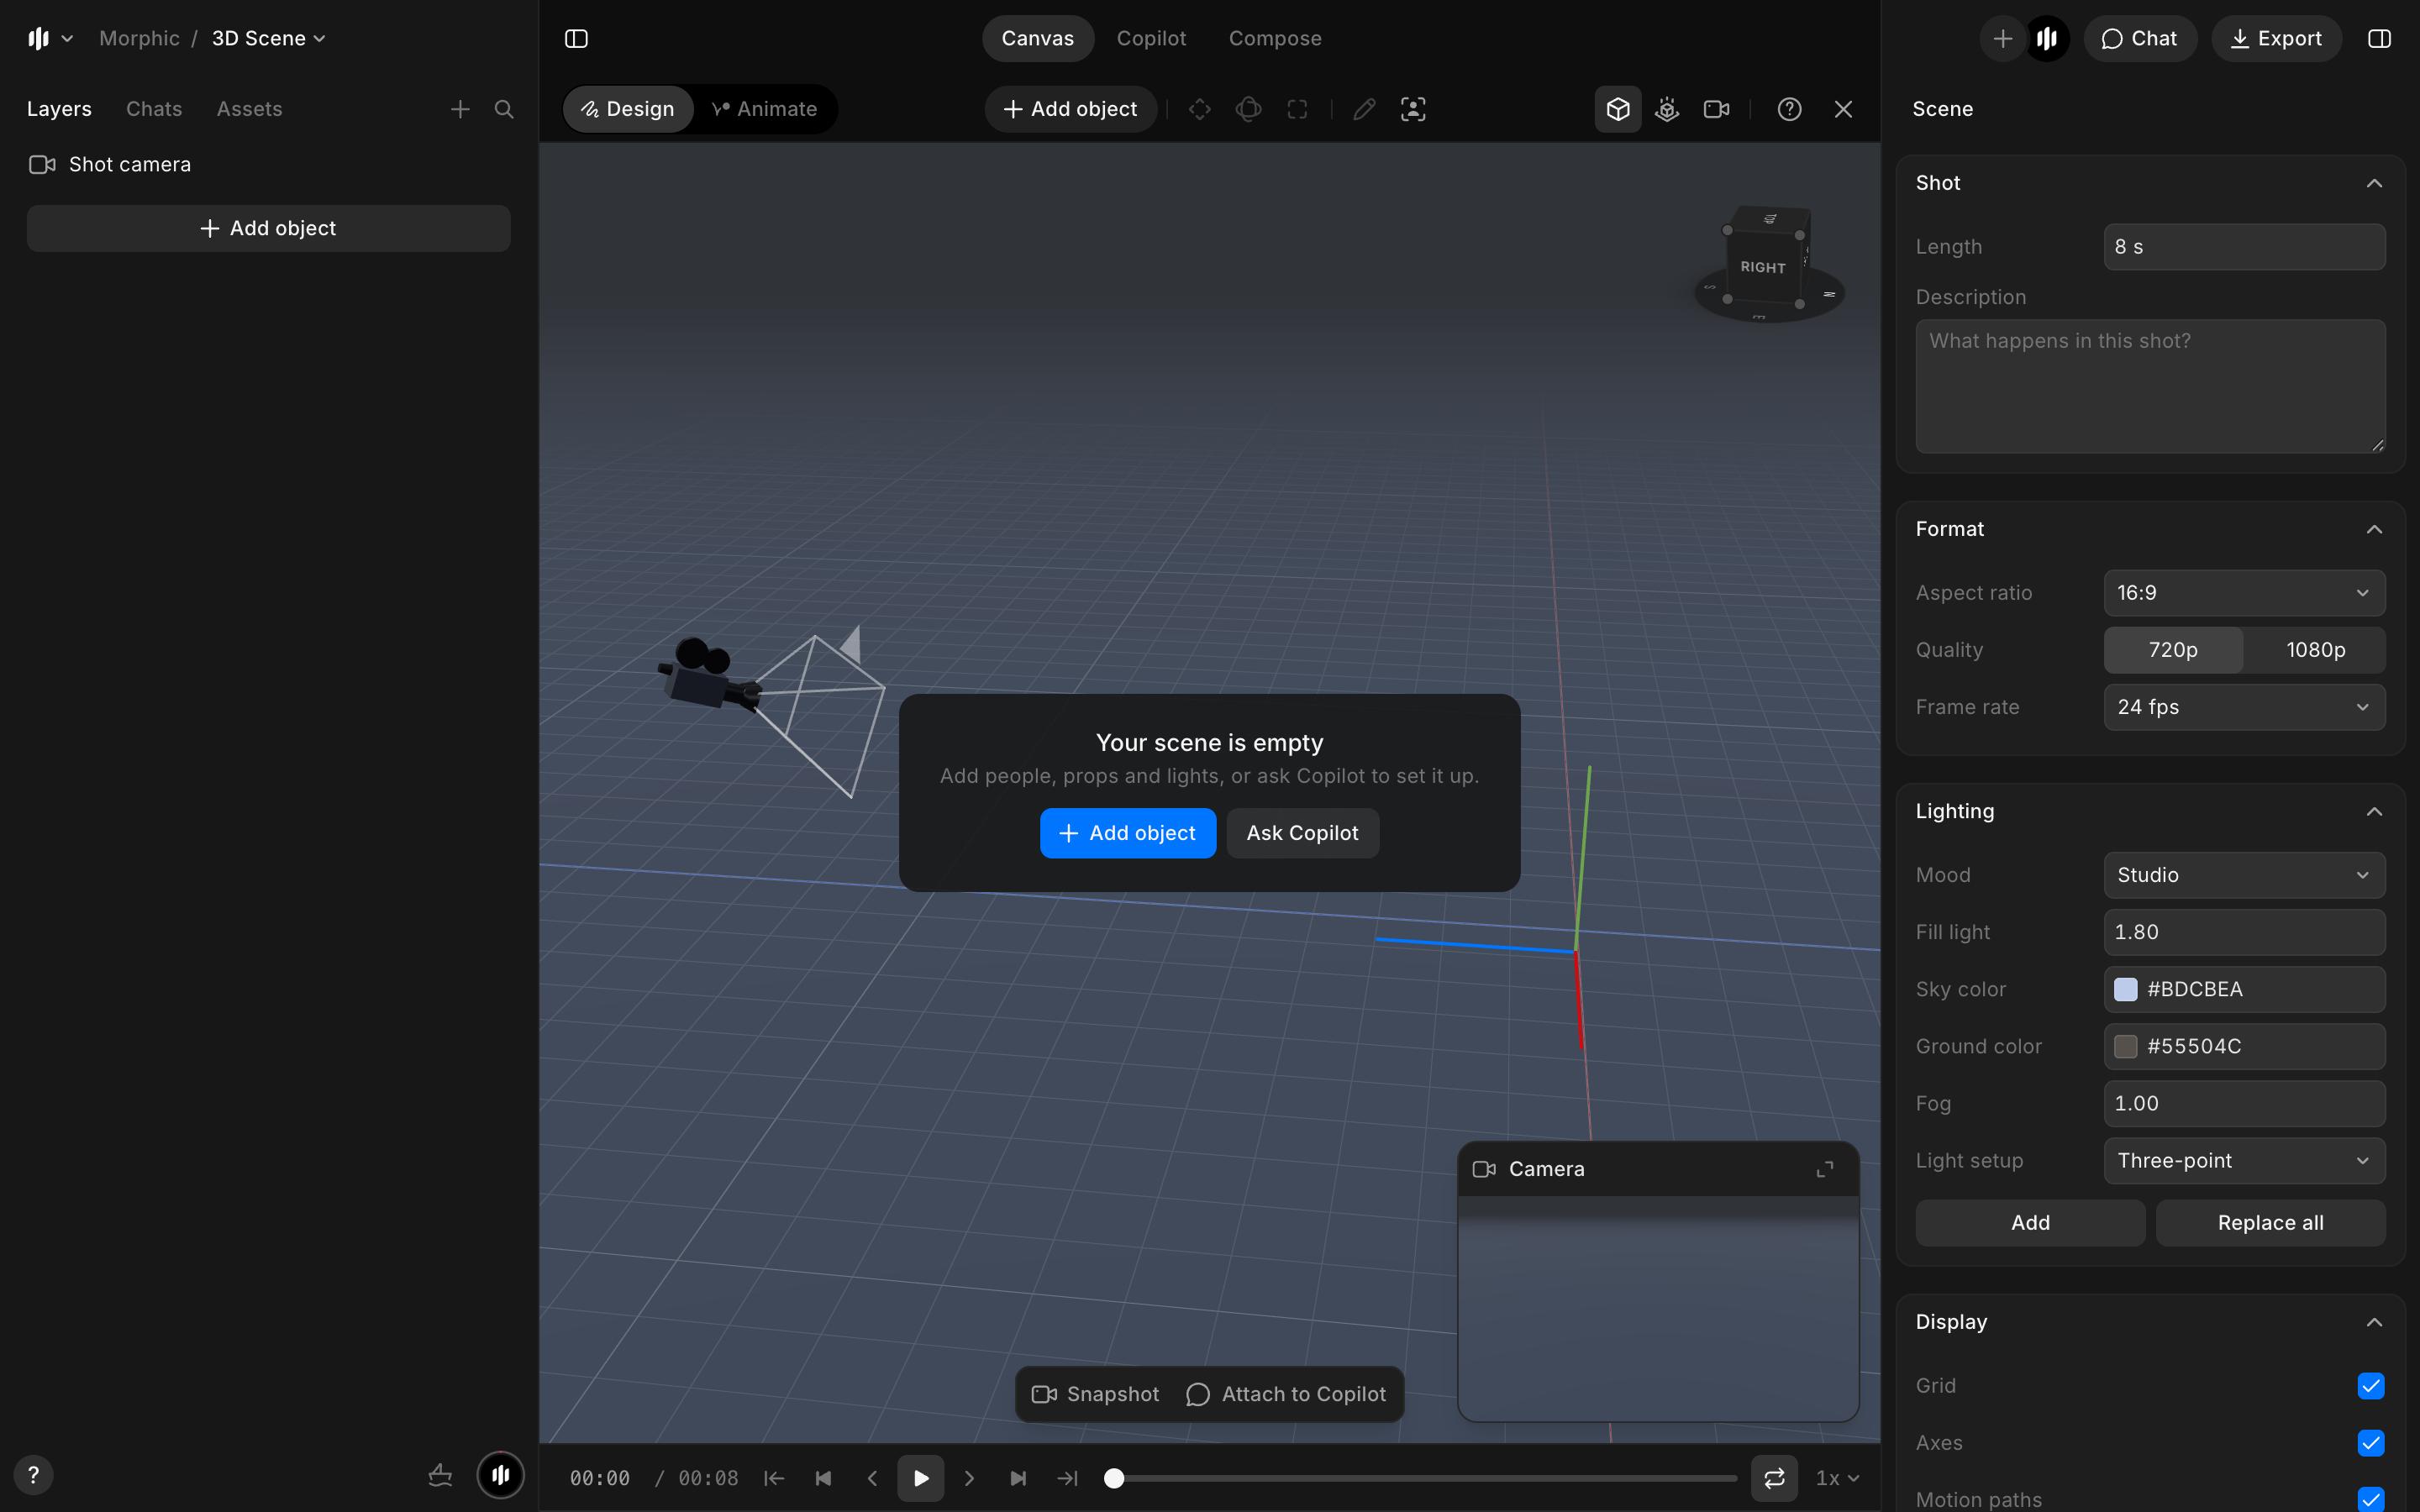
- To go back to the Canvas, click 'Close 3D scene', the 'X' at the top right of the editor. Esc does the same when nothing is selected
- To open the scene again, right-click it on the Canvas and click 'Open'
Editor layout
The editor opens inside the file, so the file's header and left sidebar stay in place.
- Top bar, left to right: 'Design' and 'Animate', 'Add object', the 'Move', 'Rotate' and 'Scale' tools, 'Draw a path', 'Zoom to selection', the 'Perspective', 'Top' and 'Camera view' buttons, then 'Scene help' (?) and 'Close 3D scene' (X)
- Header, top right: 'Chat' opens Copilot beside the scene, and 'Export' saves a video, a still or a scene file
- Left: 'Layers' lists everything in the scene, from the camera and lights to every object and character. 'Chats' and 'Assets' stay as they are on the Canvas
- Middle: the viewport, with a view cube at the top right, a 'Camera' preview at the bottom right, and 'Snapshot' and 'Attach to Copilot' at the bottom
- Bottom: the playback bar and, in 'Animate', the timeline
- Right: with nothing selected, the 'Scene' panel for the whole shot. Select something and the panel shows a tab named after it, such as 'Character', 'Model', 'Object', 'Camera' or 'Light', next to an 'Animate' tab
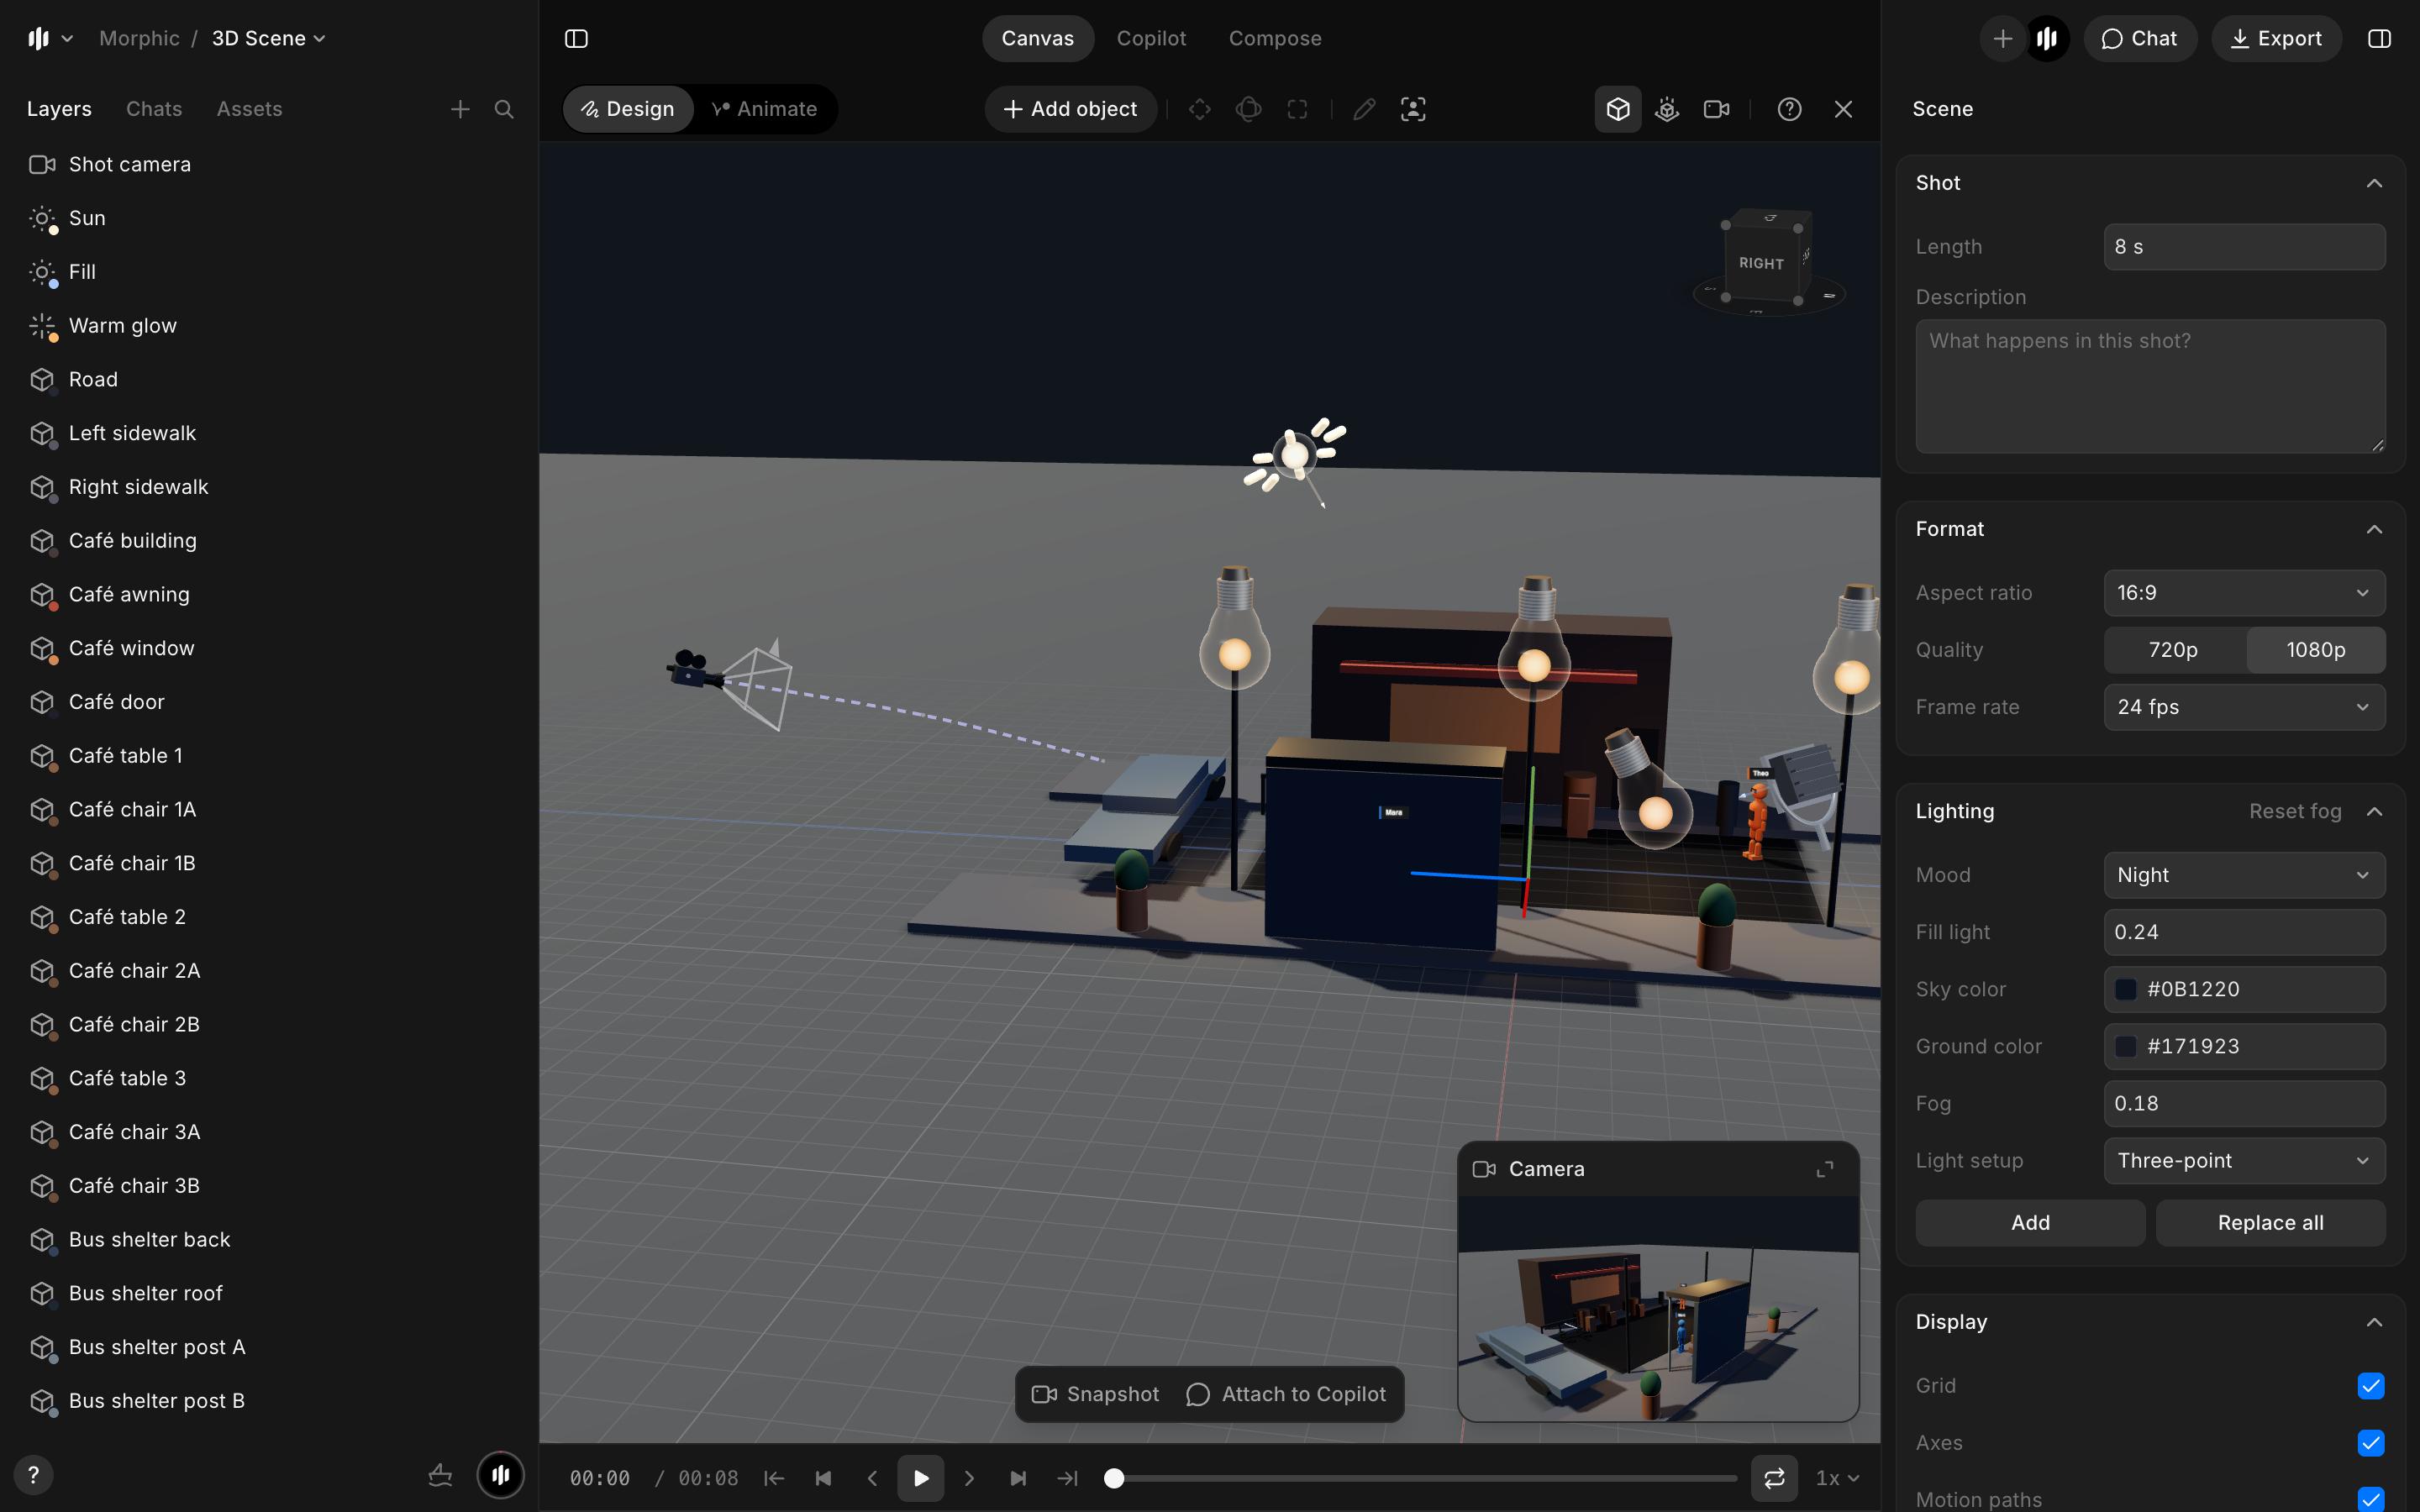
'Scene help' also holds 'Give me a tour', 'Keyboard shortcuts', and 'Shortcut preset' for Blender or Maya navigation. See Keyboard shortcuts.
Key terms
| Term | Meaning |
|---|---|
| Viewport | The 3D view in the middle of the editor |
| Axes | The three directions a scene is measured along: X and Z across the floor, Y up. See Move, rotate and scale |
| Shot camera | The camera your export is taken from. What it sees is what you get |
| Keyframe | A saved position at one moment. Objects move between keyframes |
| Playhead | The current moment in the shot |
| Movement | How a character moves between keyframes: 'Idle', 'Walk', 'Run' or 'Auto' |
| Action line | An imaginary line between two characters. Keeping the camera on one side keeps them facing the same way on screen |
| Field of view | How much of the scene the camera sees. A wider field of view shows more |
Quick start
This blocks a figure walking across the frame, then exports a still to generate from.
- Open a scene, as above
- Click 'Add object' in the top bar
- Click the 'Shapes & lights' tab, then 'Character'. A figure appears on the floor, selected
- Click 'Draw a path' in the top bar, or press M
- Click three or four points on the floor where the figure should walk. Each point adds one second
- Click 'Done' in the banner, or press Esc, to finish the path
- In the 'Character' tab, under 'Appearance', set 'Movement' to 'Walk'
- Press Space to play
- Click 'Camera view' in the top bar, or press 3, to watch it through the shot camera. Press 1 to go back to 'Perspective'
- Click 'Export', then 'Still frame', then 'Download PNG'
- Close the editor, add the PNG as a reference in the prompt bar, and generate. See Export and use as a reference
All 3D Scene guides
- Start a scene: examples, layouts, shot length, format, and working with other people
- Build a set: the model library, your own and generated models, placing, materials and formations
- Characters: color, name tag, size, pose, and riding a vehicle
- Lighting: moods, light setups and single lights
- Camera: lens, framing, camera style, moves and cuts
- Animation: paths, keyframes, easing, recording and the timeline
- Group action: a whole cast dancing or fighting at once
- Continuity checks: the warnings the editor shows, and how to clear them
- Edit with Copilot: build and change a scene with a prompt
- Export and use as a reference: video, stills, scene files, and generating from your blocking
- Keyboard shortcuts: the keys that make blocking fast
- Troubleshooting: what to do when something will not work
That's what a 3D scene is on Morphic. Use it when a shot depends on where people stand and how the camera moves.
If you have any trouble or have any questions, feel free to reach out. We're happy to help. Write to us at support@morphic.com.