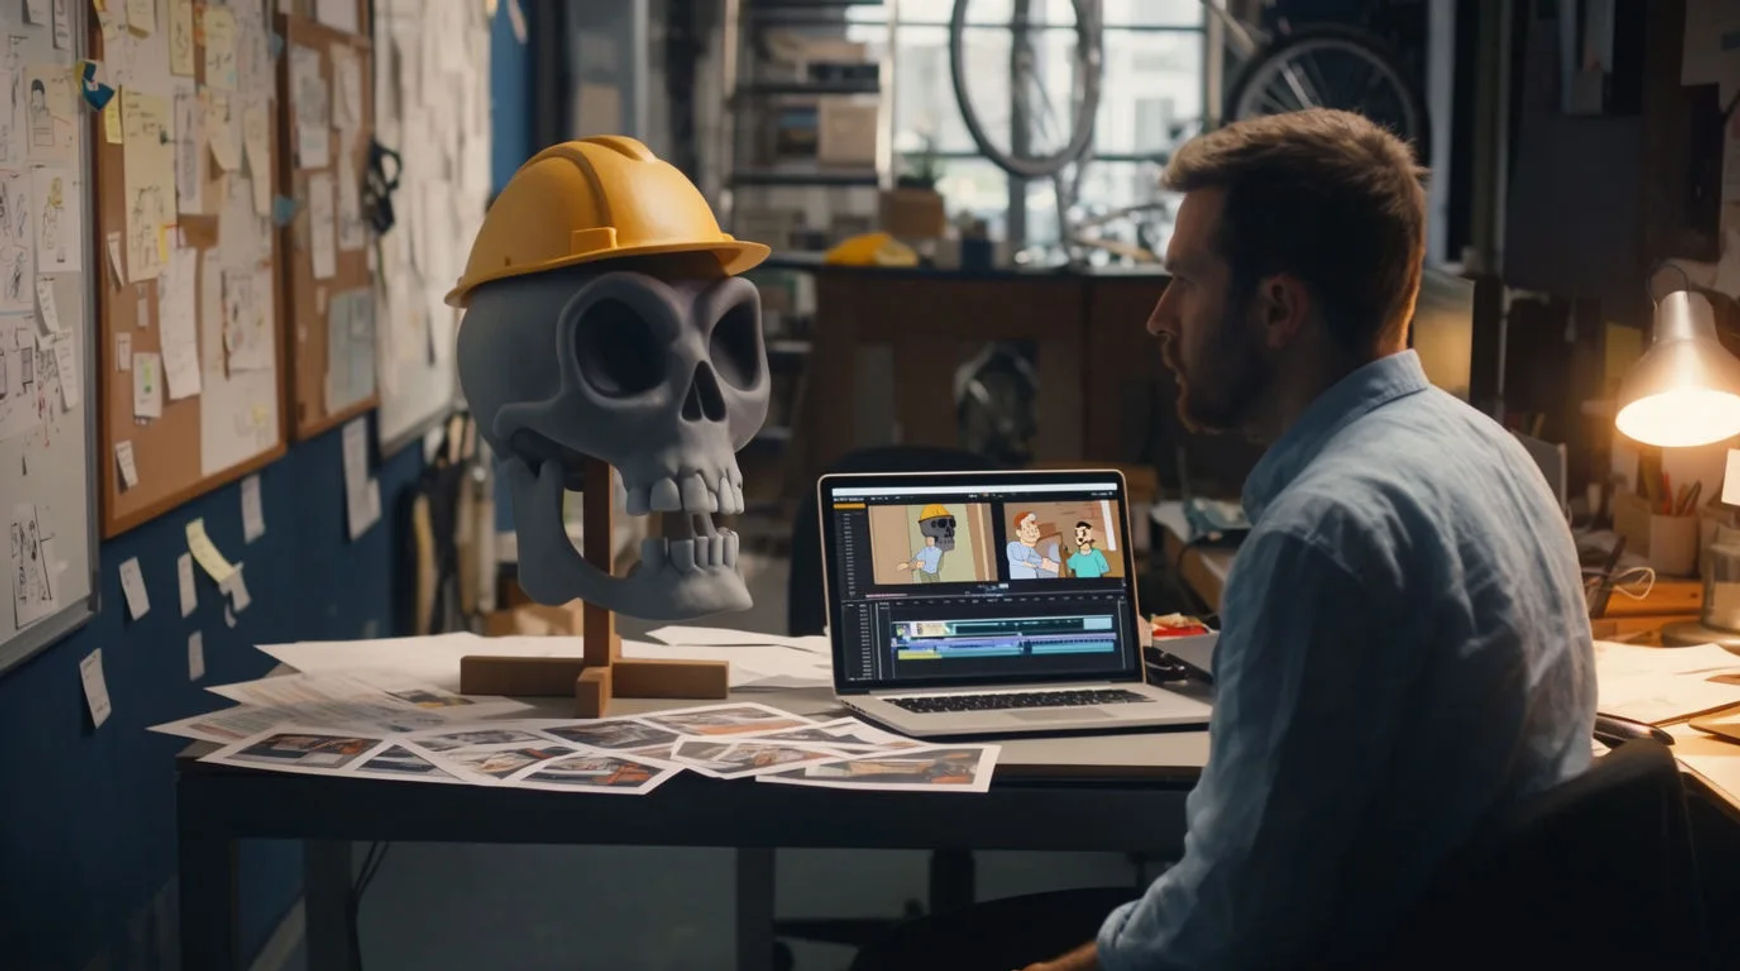
Local newsrooms produce explainer and recap video by scripting the piece straight from the published story, generating a presenter or a voiceover, adding maps, charts, and generic b-roll, then assembling and publishing the cut in one place. The workflow is short: write the script from the reporting, generate the voice, add the explanatory visuals, then assemble and publish. Because every step lives in the same project, a story that used to need a separate video team becomes something one journalist can turn around, without fabricating footage or stitching four tools together.
Steps at a glance
- Script the explainer from the published story
- Generate a presenter or a voiceover
- Add maps, charts, and b-roll
- Assemble and publish the cut
- Keep visuals explanatory and labeled to your standards
How a newsroom turns a story into video, step by step
Script the explainer from the published story
Start from the reporting you already have. Attach the written story and draft a tight script that says what happened, why it matters, and what comes next, in the newsroom's own voice. This is the part that stays human, because it is where editorial judgment lives. Written down, the piece becomes an ordered script you can hand to the platform beat by beat rather than a blank timeline you face on deadline.
Generate a presenter or a voiceover
Generate the narration in a directed read rather than a flat one: set the pace and the tone so it sounds like your newsroom reading its own story. Choose a generated presenter if the piece wants a face, or keep it as voiceover over graphics, which often suits a recap better. Published segments come from a paid plan that exports at higher resolution.
Add maps, charts, and b-roll
Bring in the explanatory visuals the story needs: a map of where it happened, a simple chart for the numbers, and generic b-roll to cover the narration. Generate these from a brief rather than hunting a stock library. Keep them clearly explanatory, the way you would treat an illustration, so nothing generated is mistaken for real footage of the event itself.
Assemble and publish the cut
Bring the narration and visuals onto the Compose timeline, set per-clip volume, add transitions, and cut for rhythm. Because it all lives in one platform, an editor's note becomes a regeneration and a fresh cut the same hour rather than a round trip through separate apps. Export the master, then reframe it vertical for social from the same project.
Here are a few of the finished pieces this produces, each generated from a brief rather than filmed:
Explainer segment
Map graphic
Recap cut
A video team versus AI-assisted
The change is less about any single segment and more about how each stage of a video shifts when a small newsroom can do it in one place. Here is the shift, honestly drawn.
| Stage | Video team | AI-assisted |
|---|---|---|
| First cut | A booking and a shoot | The same afternoon |
| Narration | A recording session | A directed voiceover |
| Graphics | A motion designer | Generated from a brief |
| A revision | A re-edit next day | A regeneration in place |
| Best used for | Big set-piece coverage | Daily explainers, recaps |
Put it together
Producing video in a small newsroom is not about faking anything; it is about removing the handoffs so one journalist can turn a story into a segment on deadline. Script from the reporting, generate a directed voice, add explanatory graphics, then assemble and publish in the same place. The value that matters is the speed from published story to posted video, held to the same editorial standards you already apply. The lowest-risk way to try it is to rebuild one recent story as a recap and compare the hours honestly. The text-to-video generator turns a script into a clip, and how to make an AI video covers directing a shot so it reads the way your newsroom intends.