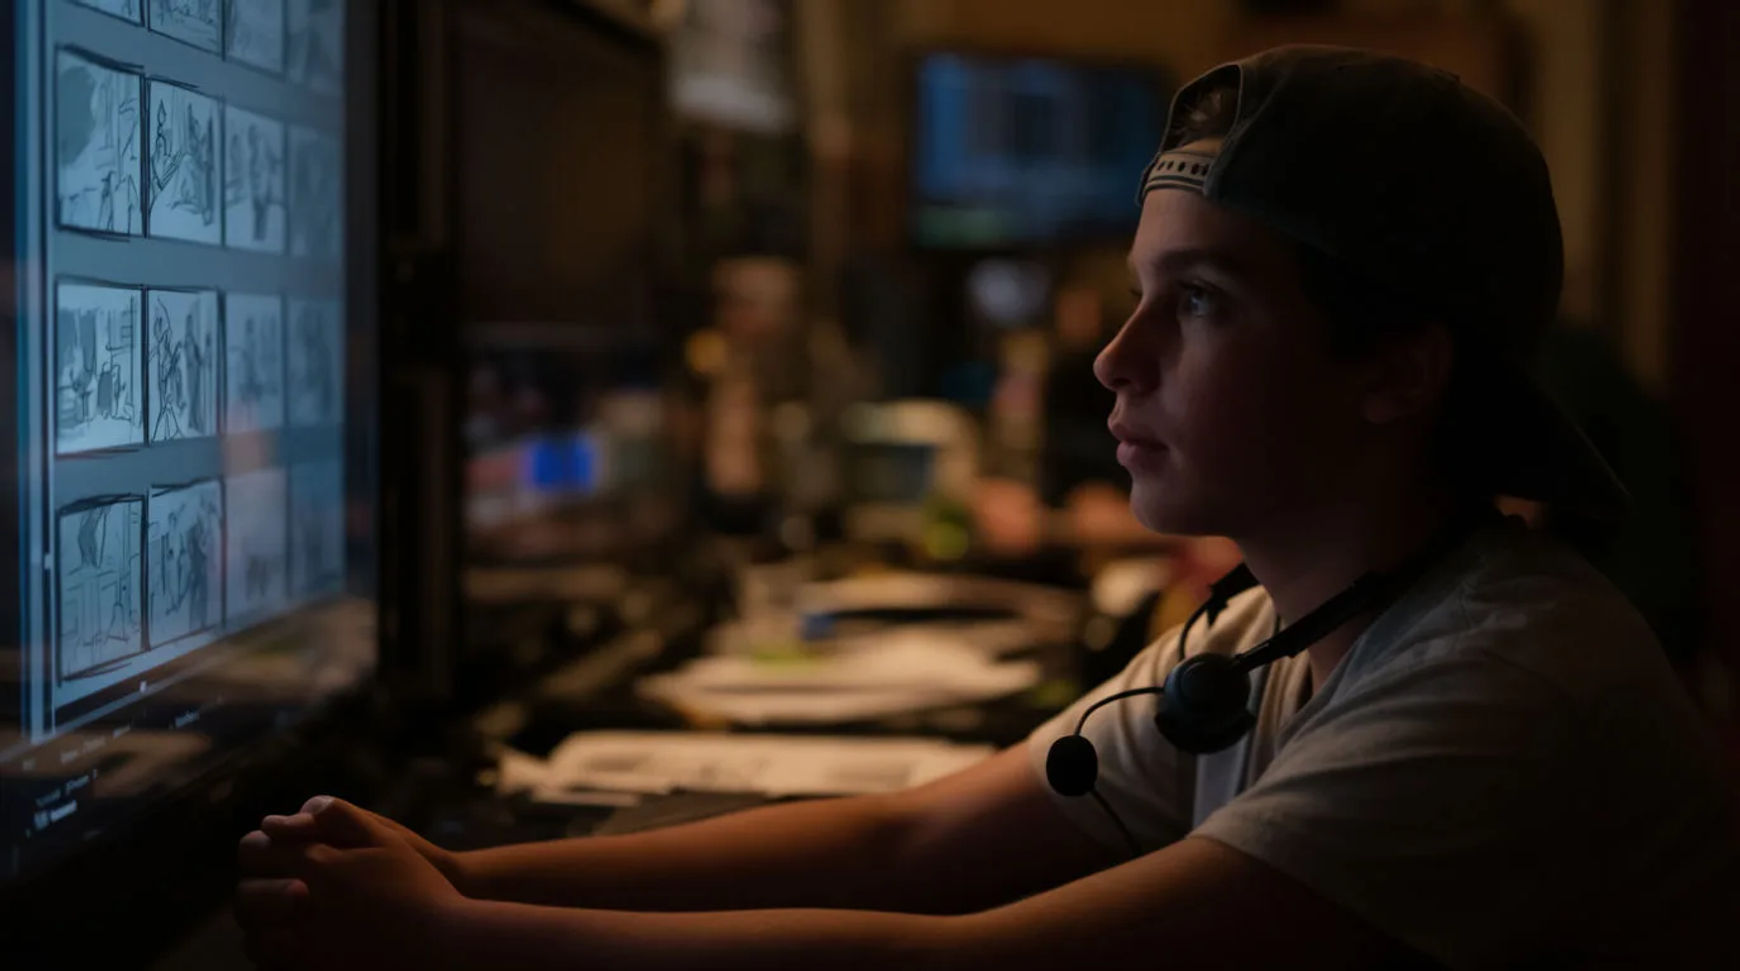
Film students previsualize projects with AI by turning each shot description into a key frame, animating those frames into short previz clips, and assembling them into a shot-list reel, all before a camera comes out of the bag. The workflow is short: write the shot, generate the key frames, animate a previz clip, then assemble the reel. Where traditional previz meant a budget or a lot of hand-drawing, generated frames let a student see a scene, judge its coverage, and fix a wrong angle for the cost of a few prompts.
Steps at a glance
- Write the shot description
- Generate the key frames
- Animate a previz clip from the frames
- Assemble a shot-list reel
- Hold characters and sets steady with reference sheets
How film students previsualize a scene, step by step
Write the shot description
Describe each shot the way you would brief a cinematographer: the framing, the lens feel, the light, the camera move, and the beat the shot has to land. A directed description is the difference between a frame that looks generic and one that looks like your film. Written down, the scene becomes an ordered list of shots you can visualize one at a time rather than a paragraph of intention.
Generate the key frames
Turn each description into a still and treat it as your establishing frame for that shot. Generate a few options, keep the composition that reads, and adjust one thing on the rest rather than rewriting the whole prompt. This is where a scene first becomes something you can look at and argue with, which is the entire point of previz: catching the wrong direction while it is still cheap to change.
Animate a previz clip from the frames
Take a key frame and generate motion from it, or place a first and last frame and describe the move between them to get a continuous clip. You are not chasing a finished shot here, only enough movement to judge pacing, blocking, and whether the beat lands. A push-in that felt right on paper often reads too slow once it moves, and previz is where you find that out.
Assemble a shot-list reel
Bring the clips onto the timeline in shot order, add a scratch voiceover or a temp music bed, and cut for rhythm. The result is a previz reel you can hand to a crew, a professor, or a collaborator so everyone sees the same film before the shoot. Because it all lives in one place, a note becomes a regeneration and a fresh cut the same day rather than a redraw next week.
Here are a few previz frames brought to motion, each generated from a shot description rather than filmed:
Establishing shot
Coverage angle
Motion test
Traditional previz versus AI previz
The change is less about any single frame and more about what previz costs a student to attempt. Here is the shift, honestly drawn.
| Stage | Traditional previz | AI previz |
|---|---|---|
| A key frame | Hand-drawn or storyboard artist | A directed prompt |
| Testing a move | Hard to see before the shoot | A short generated clip |
| A revision | Redraw the panel | Regenerate the frame |
| The shot list | Notes and sketches | A reel everyone can watch |
| Best used for | A funded production | A student budget |
Put it together
Previsualizing with AI does not replace directing; it moves the discovery earlier, to a laptop, where mistakes are cheap. Write the shot, generate the key frames, animate enough motion to judge the beat, and assemble a reel your crew can actually watch. The value is not the frames themselves but the wrong angles you catch before anyone is on set. The lowest-risk way to try it is to previz one scene from your next project and see what the reel changes about your plan. The image-to-video generator turns a key frame into motion, and how to make an AI video covers directing a shot so it reads the way you intend.