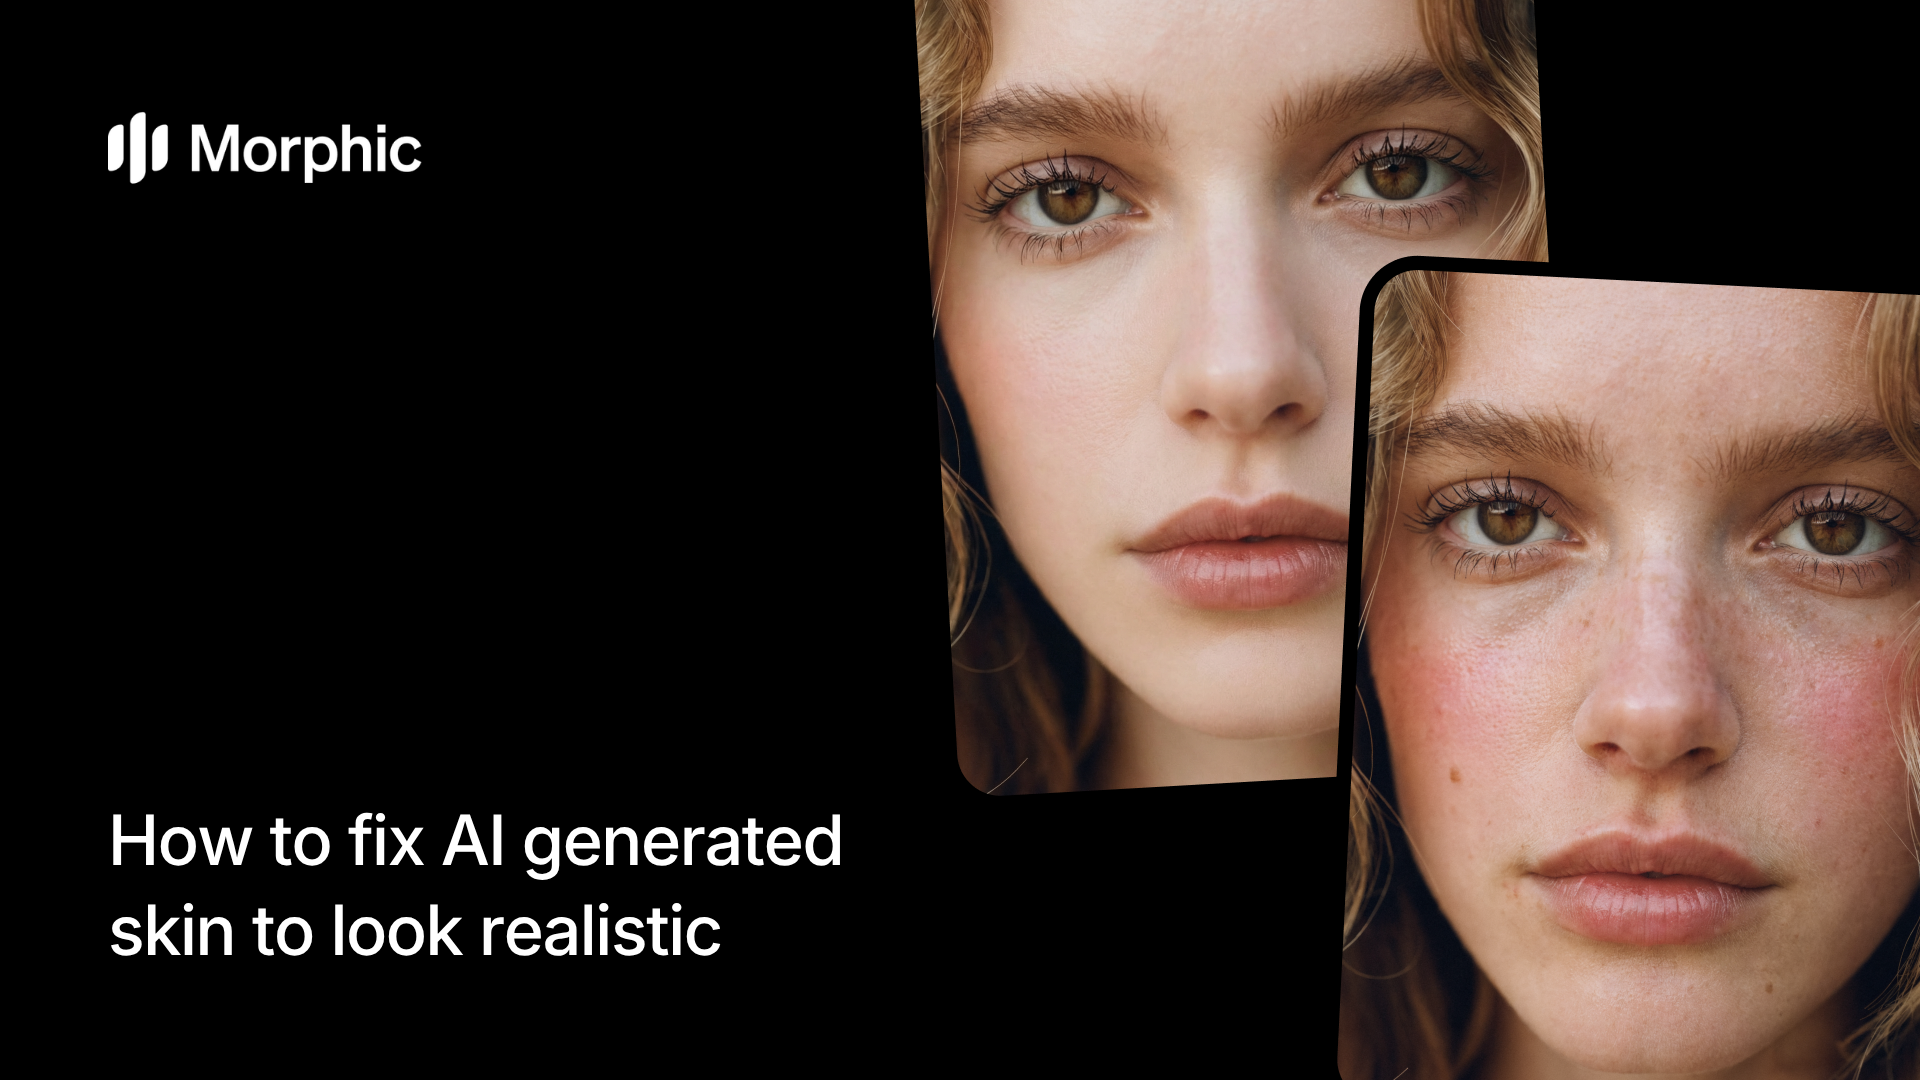
What is an AI skin enhancer?
An AI skin enhancer is a tool that analyzes AI-generated skin and adds the natural details that image generators typically miss. This includes micro-texture like pores and fine lines, subtle color variation across skin zones, natural imperfections like minor blemishes and uneven tone, and realistic subsurface scattering that gives skin its translucent quality.
Upload your AI-generated image, select a skin goal, set your realism intensity, and Morphic transforms plastic-looking skin into convincingly natural skin while preserving the overall composition and facial features.
1.
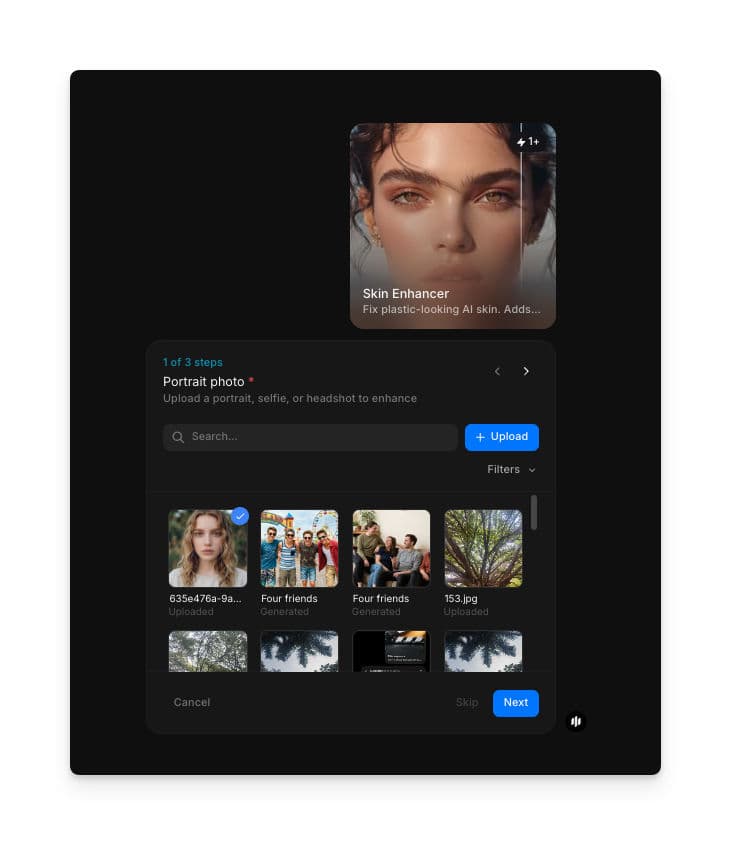
Upload your portrait photo
Open the "Skin Enhancer" workflow. In the "Portrait photo" step, browse the gallery or upload the AI-generated portrait you want to enhance. The workflow accepts images from any AI generator. Both close-up portraits and full-body shots work well.
2.
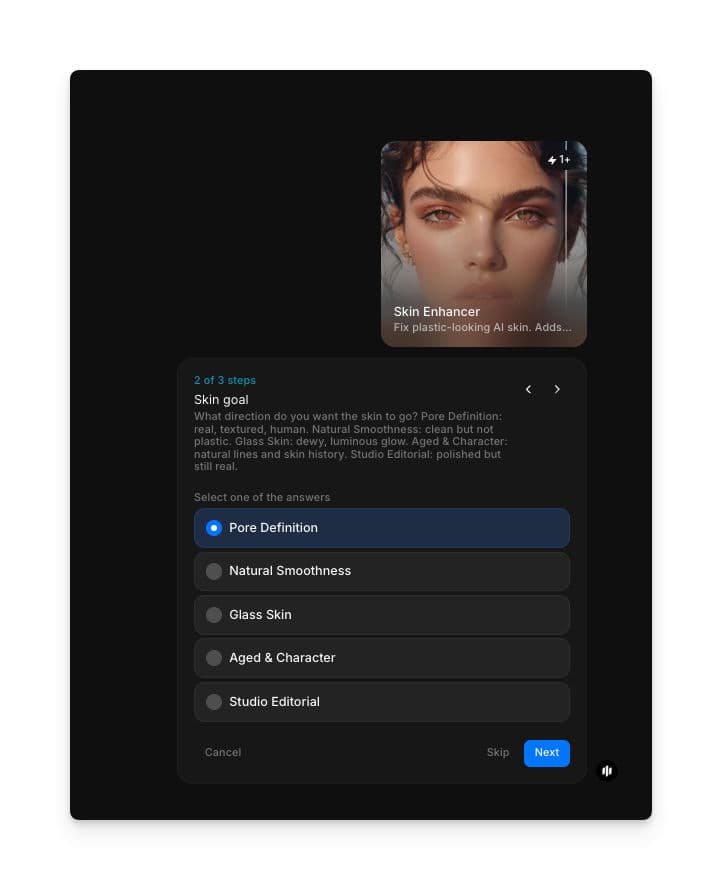
Choose your skin goal
Select the skin treatment style that matches your creative intent. Each goal produces a different balance of texture, smoothness, and character:
| Skin goal | Visual treatment | Best for |
|---|---|---|
| Pore Definition | Visible pores, fine lines, natural skin grain at micro level | Photorealistic portraits, editorial headshots, close-up beauty shots |
| Natural Smoothness | Soft realistic texture with subtle pores, balanced imperfections | Social media content, lifestyle photography, general-purpose realism |
| Glass Skin | Luminous dewy finish with minimal pores, healthy translucent glow | Beauty and skincare campaigns, K-beauty aesthetics, aspirational content |
| Aged & Character | Deeper lines, sun spots, visible texture history, lived-in skin quality | Character portraits, narrative projects, mature subject realism |
| Studio Editorial | Professionally retouched look with controlled texture, even lighting response | Fashion editorials, magazine covers, commercial beauty advertising |
3.
Set realism intensity and run
Adjust the realism intensity to control how much natural detail is added to the skin. This determines the strength of the texture overlay and imperfection generation:
| Intensity | Effect | Best for |
|---|---|---|
| Low | Subtle texture addition, gentle pore overlay, minimal imperfections | Images that are close to realistic but need a slight natural touch |
| Medium | Balanced texture with visible pores, moderate color variation, natural imperfections | Most use cases where noticeable but not extreme realism is needed |
| High | Heavy texture detail, pronounced pores, significant color variation and imperfections | Close-up portraits where maximum realism is critical |
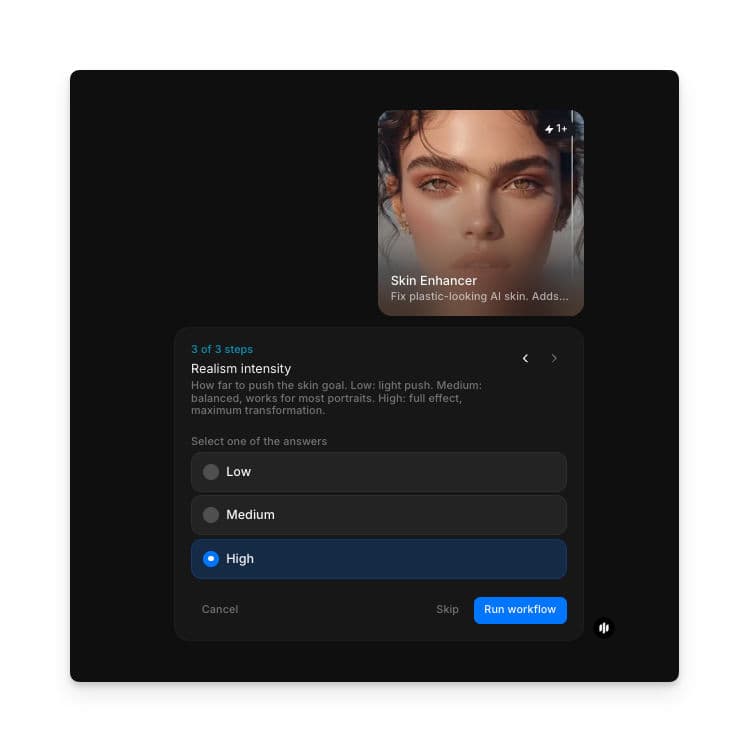
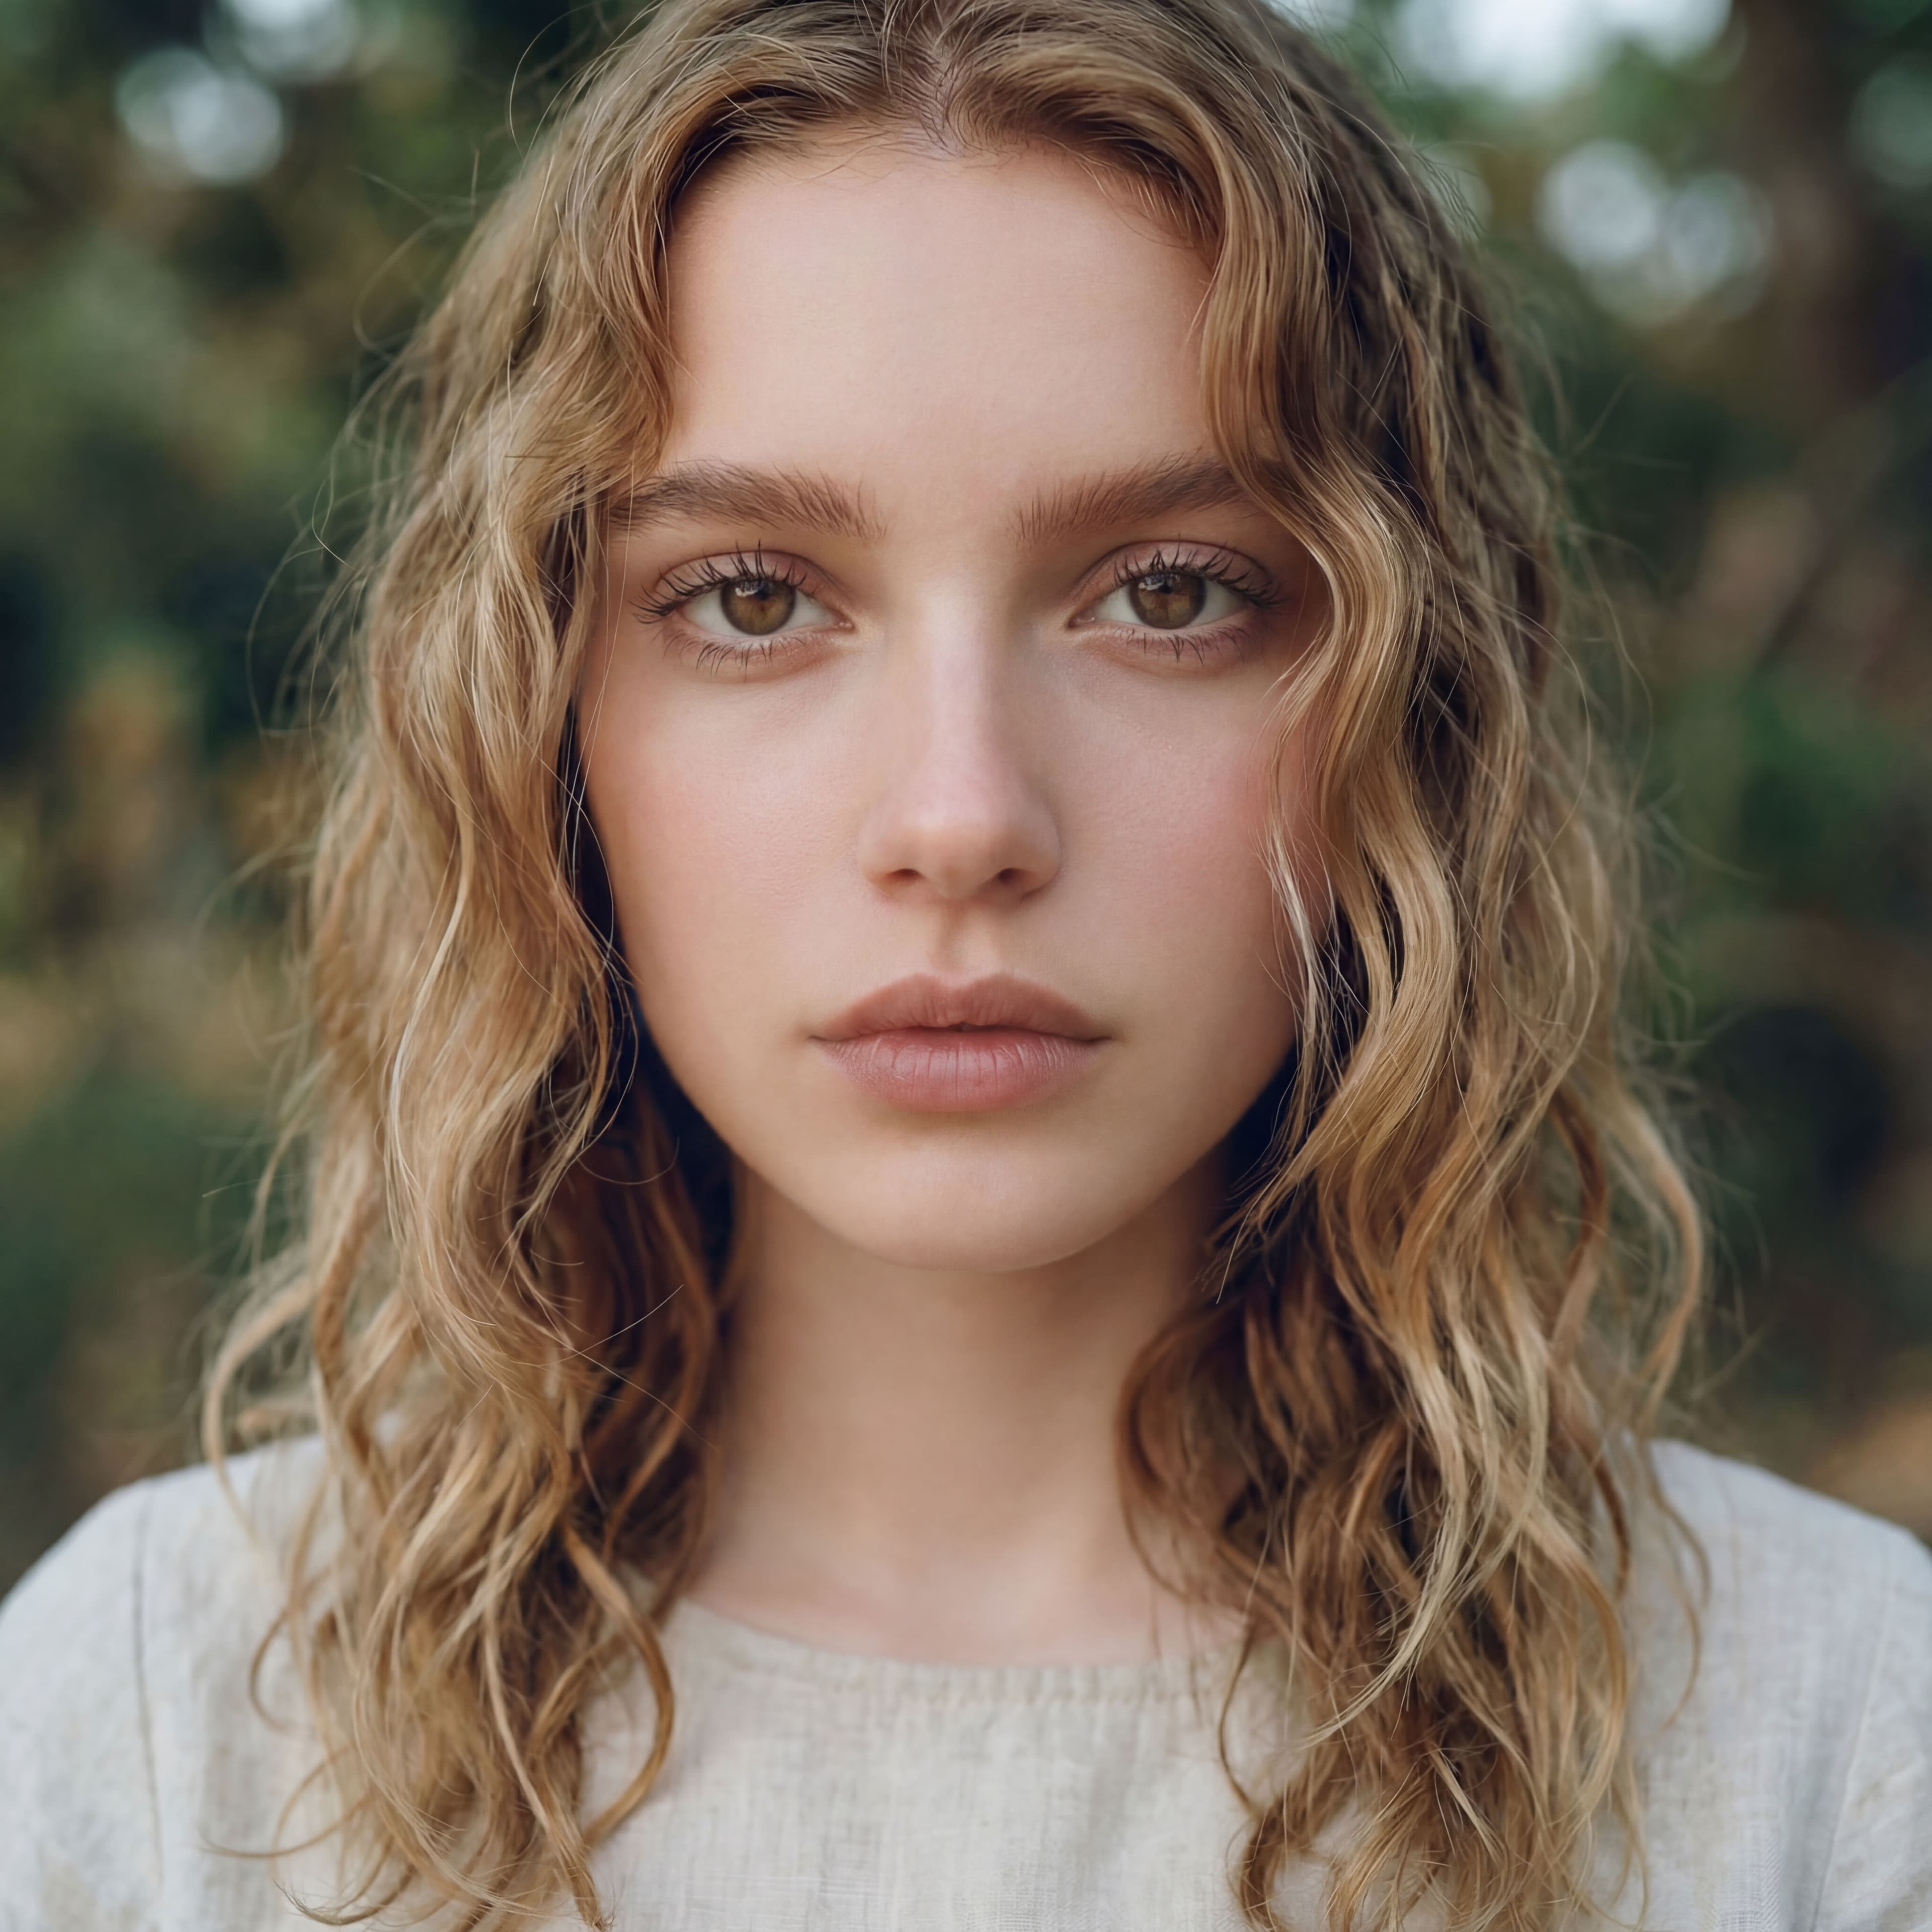
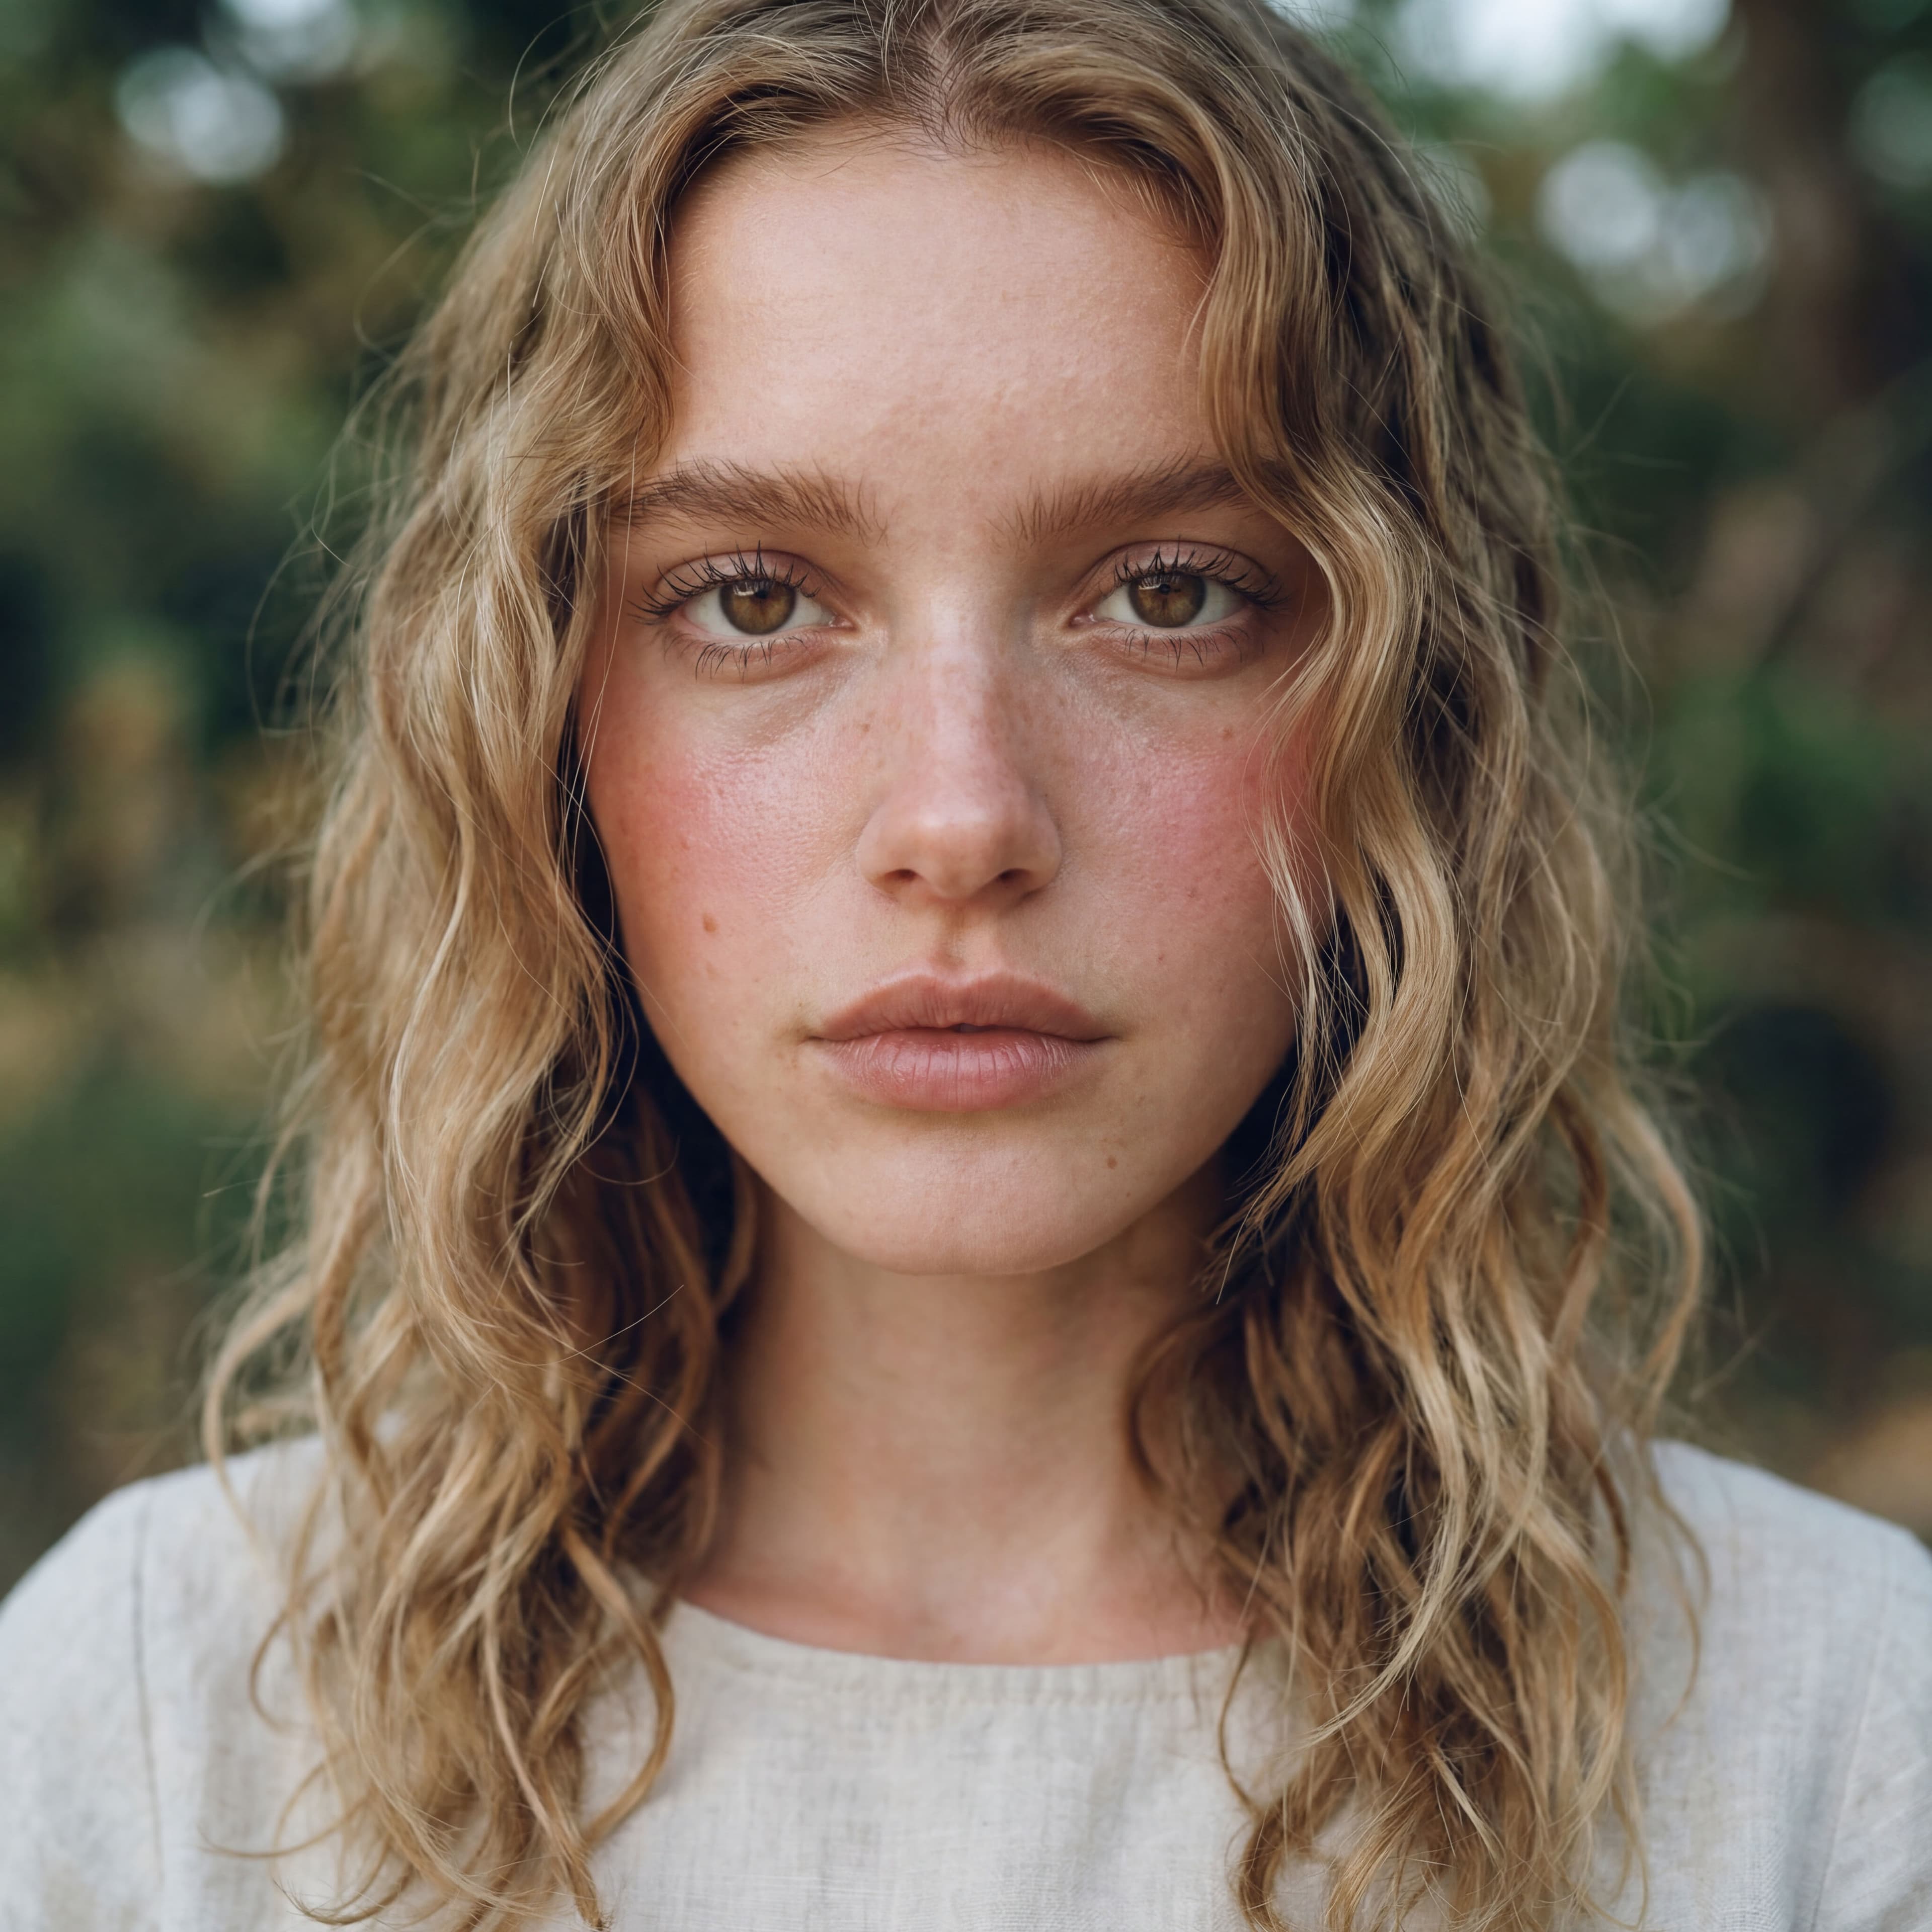
Hit "Run workflow," and Morphic enhances your AI-generated skin with natural texture and detail. Here is a plastic-looking AI portrait corrected to realistic skin:
What makes great AI skin correction
| Quality | What it means | Why it matters |
|---|---|---|
| Texture accuracy | Skin grain matches the scale and pattern of real human skin at the image resolution | Oversized or undersized texture patterns look artificial and defeat the purpose of correction |
| Pore detail | Individual pores are visible at appropriate density with natural variation across face zones | Uniform pore distribution looks synthetic because real skin varies across forehead, cheeks, and nose |
| Imperfection naturalism | Blemishes, color variation, and minor asymmetries are subtle and randomly distributed | Perfectly placed or overly prominent imperfections look deliberately added rather than natural |
| Tonal consistency | Skin color transitions smoothly across zones without harsh boundaries or color shifts | Abrupt tone changes between enhanced and non-enhanced areas create an obvious edited appearance |
The AI analyzes facial zones independently and applies zone-appropriate texture, so forehead skin looks different from cheek skin, just as it does in real life.
AI skin enhancement vs. manual retouching
| Morphic's skin enhancer workflow | Manual retouching | |
|---|---|---|
| Cost | Available on Morphic | Professional rates per image for retouching |
| Time to delivery | Seconds | 30 minutes to 2 hours per image depending on complexity |
| Skill required | None | Advanced Photoshop skills with frequency separation and texture painting |
| Consistency | Same quality level across every image | Varies with retoucher fatigue and skill level |
| Batch processing | Process multiple images with identical settings | Each image requires individual manual attention |
| Iterations | Adjust intensity and regenerate instantly | Each revision requires additional retouching time and cost |
FAQs
The workflow processes portraits and images containing visible skin from any AI generator including Midjourney, DALL-E, Stable Diffusion, Flux, and others. Both close-up headshots and full-body shots with visible skin are supported.
No. The workflow only modifies skin texture, tone, and surface detail. Facial structure, features, expression, and overall composition remain unchanged. The enhancement is applied as a surface-level treatment that preserves the identity of the subject.
The workflow is optimized for AI-generated skin but can also enhance real photographs that have been over-smoothed by beauty filters or aggressive noise reduction. It restores natural texture that processing may have removed.
Yes. The AI adapts its texture generation, color variation, and subsurface scattering to match the specific skin tone in the image. The enhancement works across the full range of skin tones and produces naturally appropriate results for each.
Professional manual retouching can be expensive per image and takes significant time. Morphic's skin enhancer workflow is available on Morphic and delivers results significantly faster with consistent quality across every image.