What is a storyboard maker?
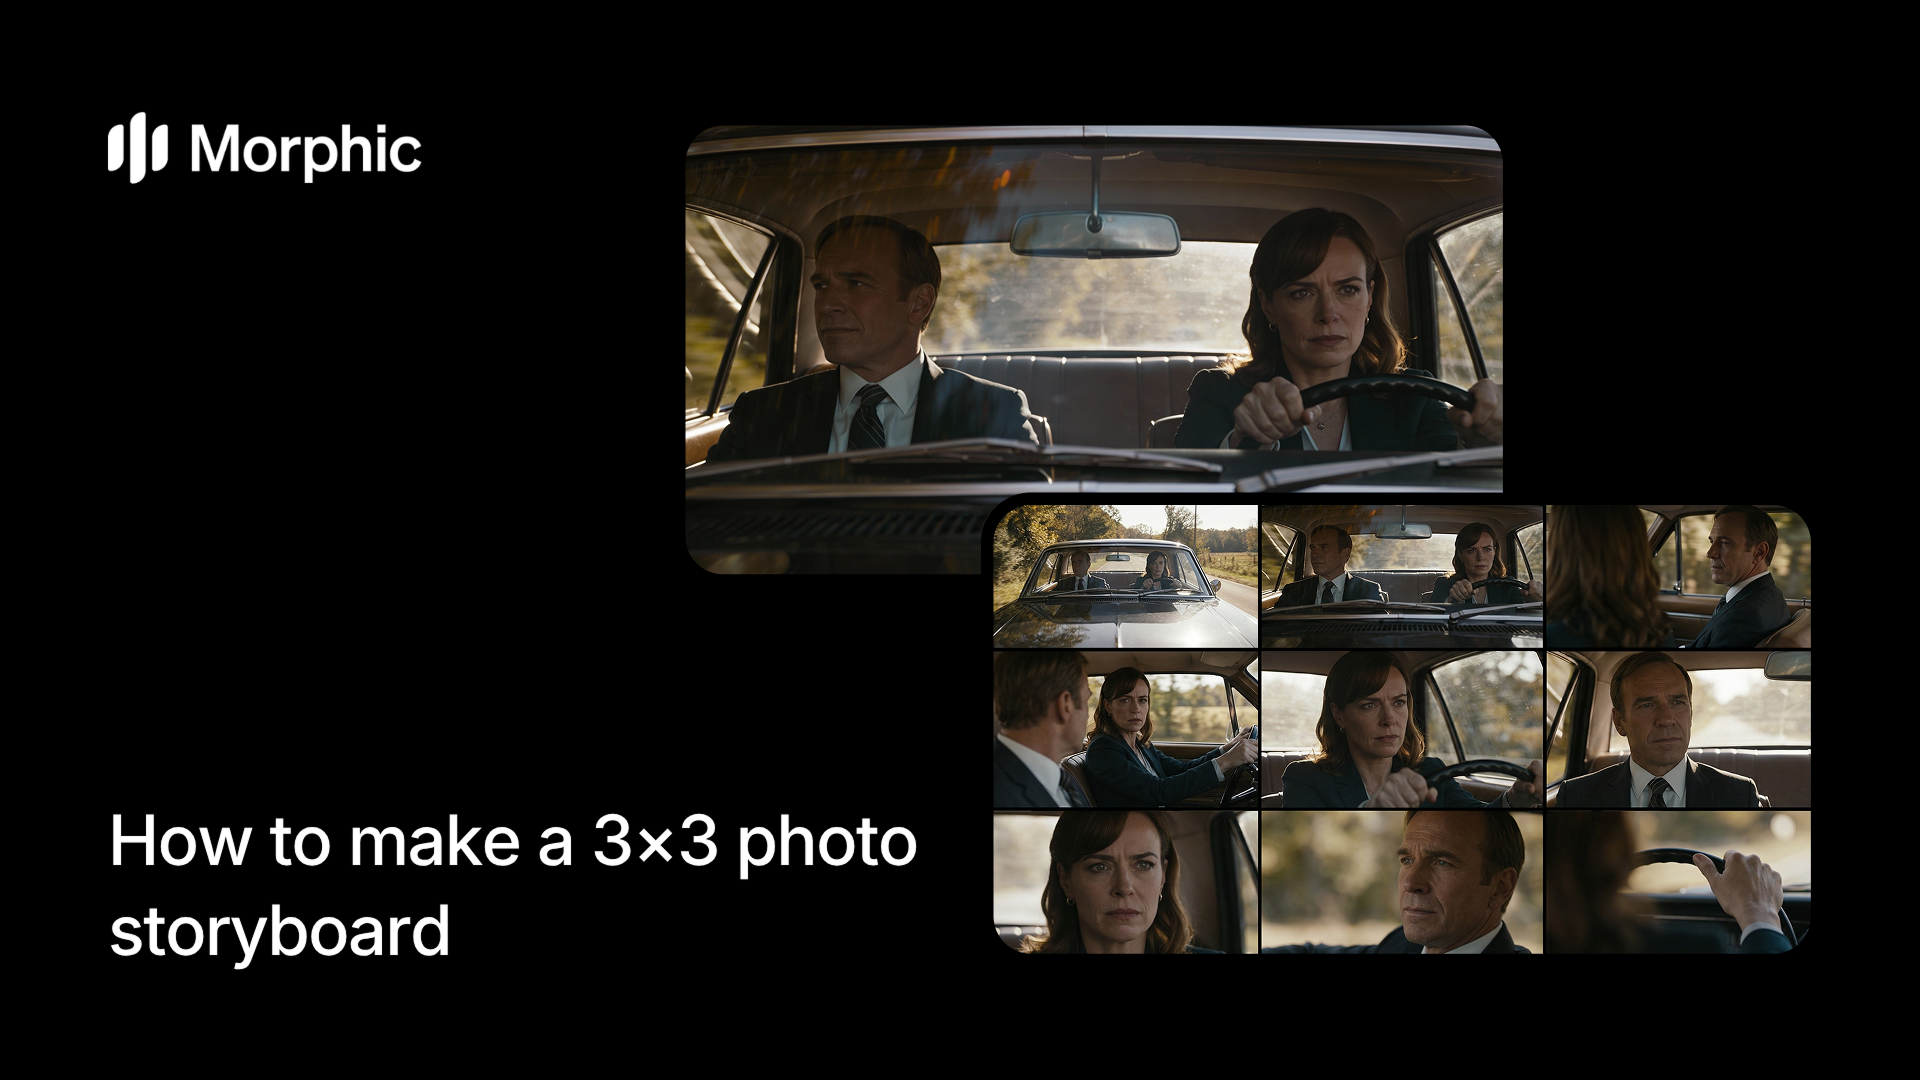
A storyboard is a visual sequence of frames that breaks down a narrative, scene, or concept into individual moments. Each frame shows a key beat, with panels flowing left to right, top to bottom, like a comic strip. Storyboards help creators plan shots, timing, and narrative flow before production starts. They're essential in film, animation, advertising, and game design.
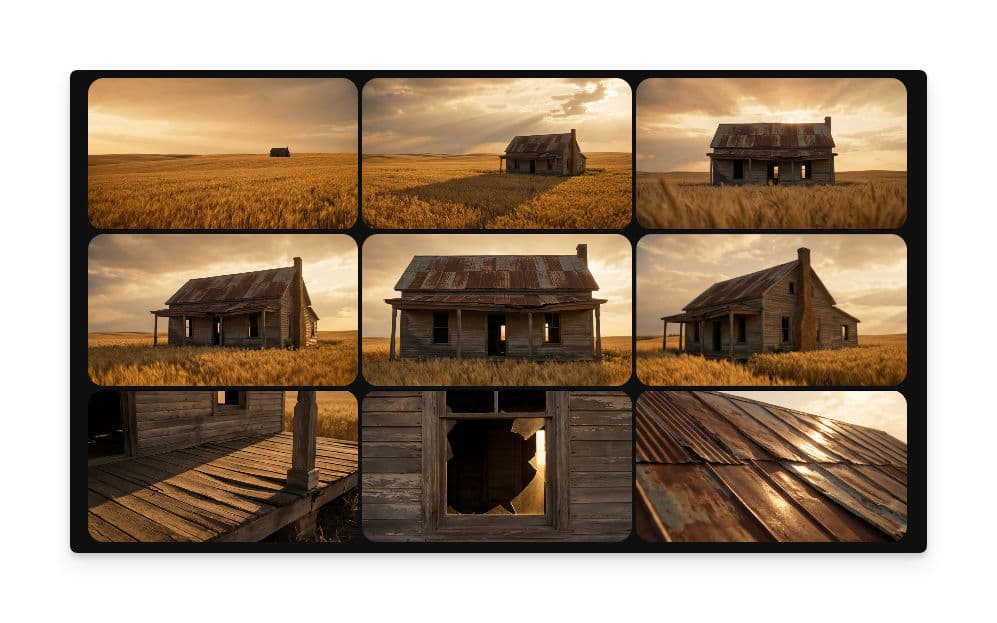
The storyboard template takes a single reference image and generates 9 different cinematic interpretations. Each panel reframes the scene from a different angle, moment in time, or thematic perspective. The result is a complete 3x3 grid that reads as a visual story, all generated in seconds.
1.
Upload your hero scene
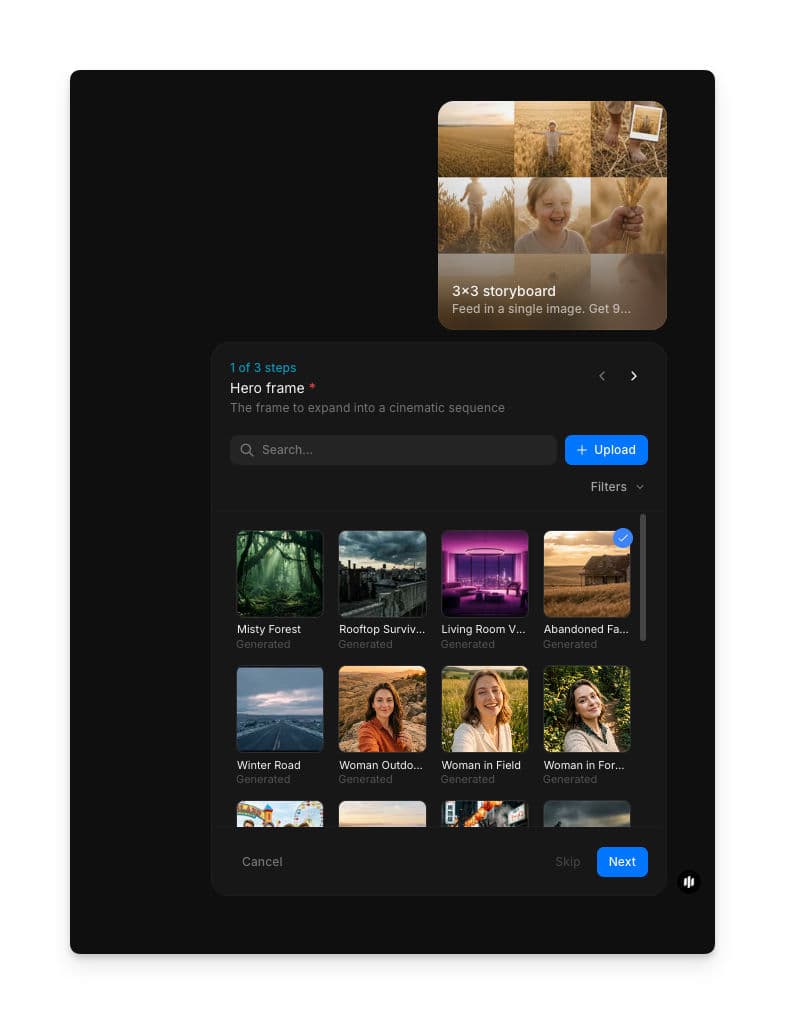
Open the "3x3 storyboard" workflow. In the "Hero Scene" step, browse the gallery or upload a reference image. This image becomes the anchor for the storyboard — the workflow generates nine cinematic panels that expand on this scene.
2.
Choose your frame placement
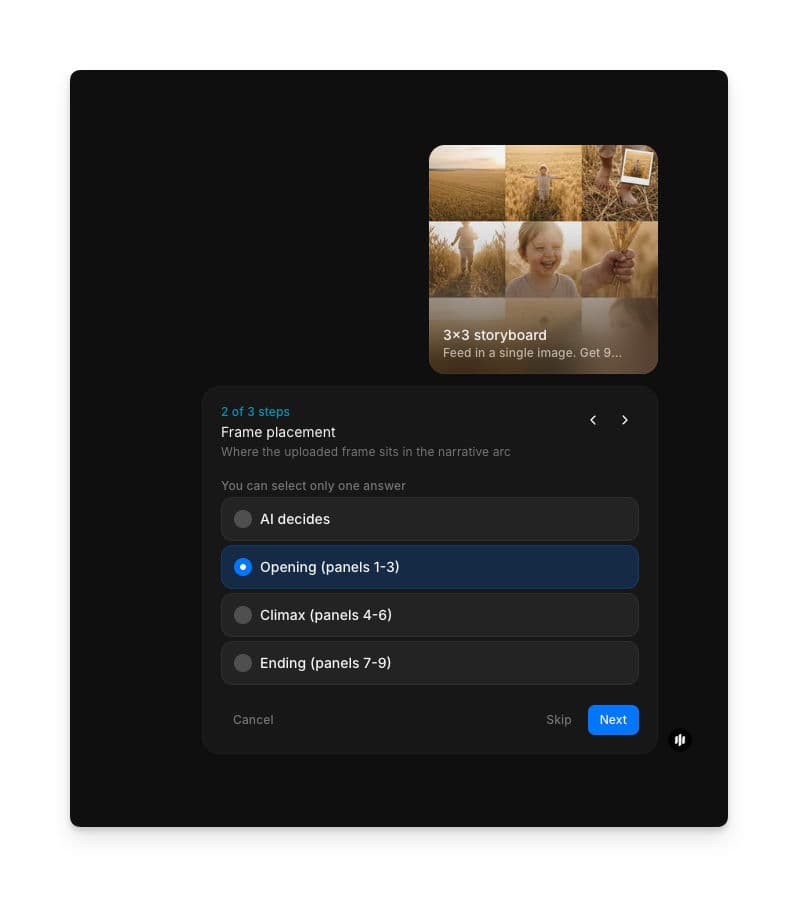
In step 2, select where your uploaded image sits in the narrative arc. You can let AI decide automatically, or manually place it in the Opening (panels 1-3), Climax (panels 4-6), or Ending (panels 7-9) section of the storyboard. This controls how the remaining panels are generated around your reference frame.
3.
Pick a cinematic grading style and generate
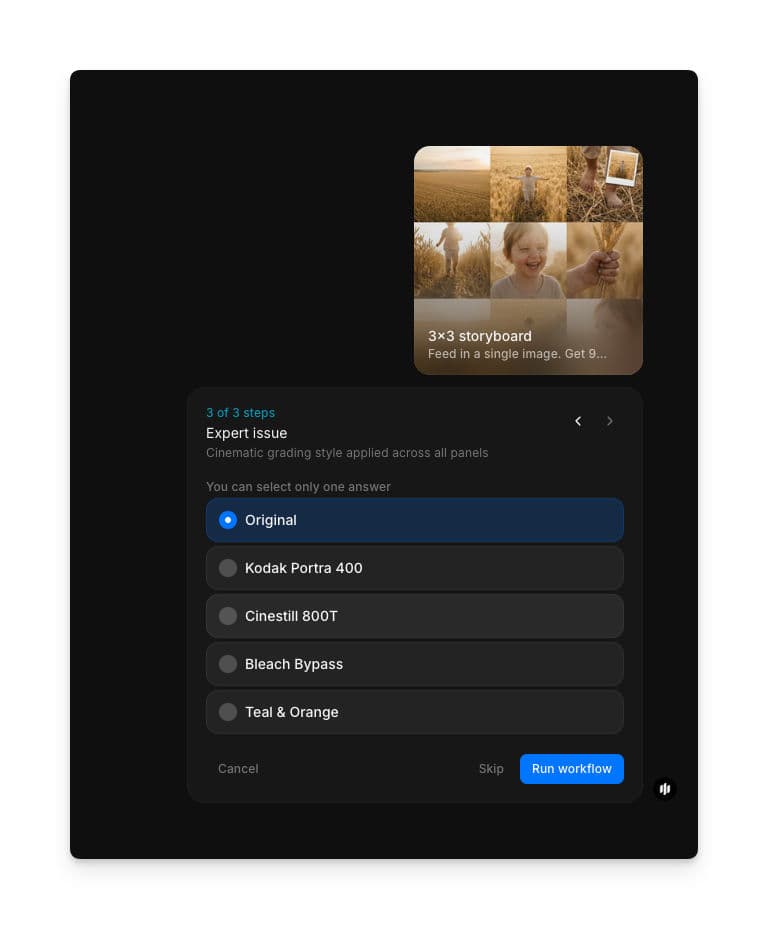
In the "Expert issue" step, select a cinematic grading style applied across all nine panels. Options include Original, Kodak Portra 400, Cinestill 800T, Bleach Bypass, and Teal & Orange. Click "Run workflow" to generate the complete 3x3 storyboard grid.
The workflow processes your input and creates nine distinct panels that flow as a narrative sequence. Each panel is automatically sized and positioned in the 3x3 grid layout, progressing logically whether temporal, emotional, or thematic.
What makes a great storyboard
| Quality | What it means | Why it matters |
|---|---|---|
| Visual clarity | Each panel is distinct and legible at any size | Viewers can follow the story without confusion |
| Narrative flow | Panels progress logically, telling a clear story | The sequence reads intuitively from start to finish |
| Composition variety | Each panel shows a different angle, moment, or perspective | Repetitive frames feel static and fail to advance the story |
| Detail level | Key action and emotion are visible in each frame | Important story beats must be immediately clear |
The template handles composition, framing, and narrative progression automatically, so you only need to provide your starting image and story direction.
3x3 storyboard vs. manual storyboard creation
| Storyboard template | Manual Photoshop approach | |
|---|---|---|
| Time to completion | 2-3 minutes | 2-4 hours per storyboard |
| Skill required | None, describe your idea | Advanced design and illustration skills |
| Iteration cycles | Regenerate with adjusted inputs | Each change means redrawing or repositioning |
| Consistency | All panels auto-aligned in grid | Manual alignment prone to errors |
| Cost | Available on Morphic | Software subscription plus artist time |
| Output quality | Professional, cinema-ready | Depends entirely on artist ability |
FAQs
Yes. Each panel can be regenerated independently while keeping the others locked. You can also refine feedback on a specific frame and Morphic will update just that panel to match your direction.
The workflow automatically adapts the grid layout and panel composition to work with portrait, landscape, or square source images. The 3x3 grid structure remains consistent regardless of aspect ratio.
You can run the workflow multiple times as needed, experimenting with different hero scenes, frame placements, and grading styles.
No. Storyboards are generated on demand and deleted after download. Your images and narrative descriptions are not retained once the workflow completes.
Professional storyboard artists charge per panel, and a 9-panel storyboard adds up quickly. Morphic's storyboard workflow is available on Morphic and generates complete 3x3 grids significantly faster.