What is a before and after reveal video?
A before and after reveal video is a short clip that shows a transformation by transitioning between two states, the original and the result, using cinematic motion and timing. Unlike a simple side-by-side comparison, a reveal video builds anticipation, uses camera movement or creative transitions to unveil the change, and makes the difference feel dramatic and satisfying. These videos are widely used in interior design, beauty, fitness, real estate, and creative portfolios.
Morphic's template analyzes both images, selects transitions that complement the type of transformation, and renders a video with professional pacing and motion design.
1.
Upload your before image
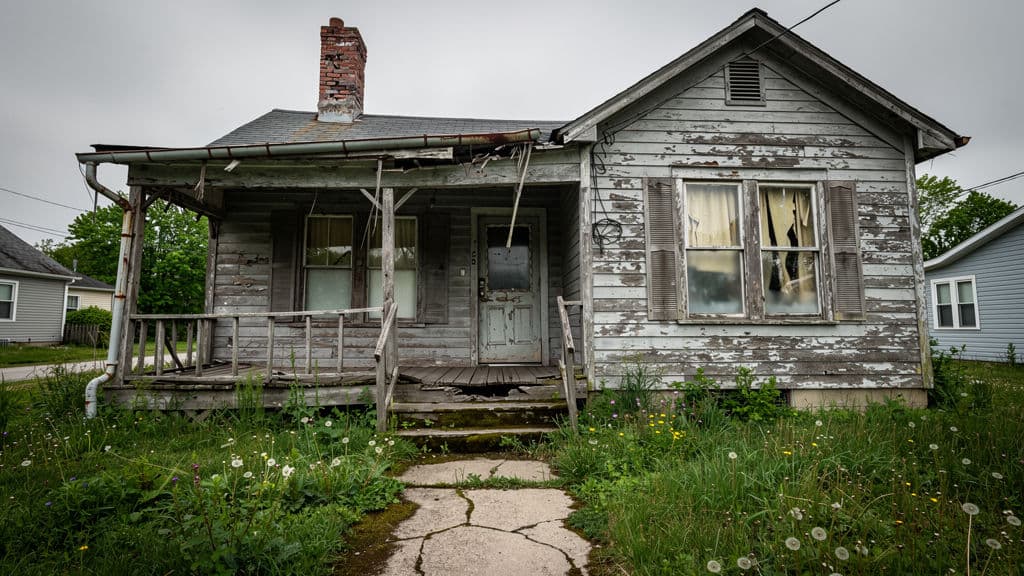
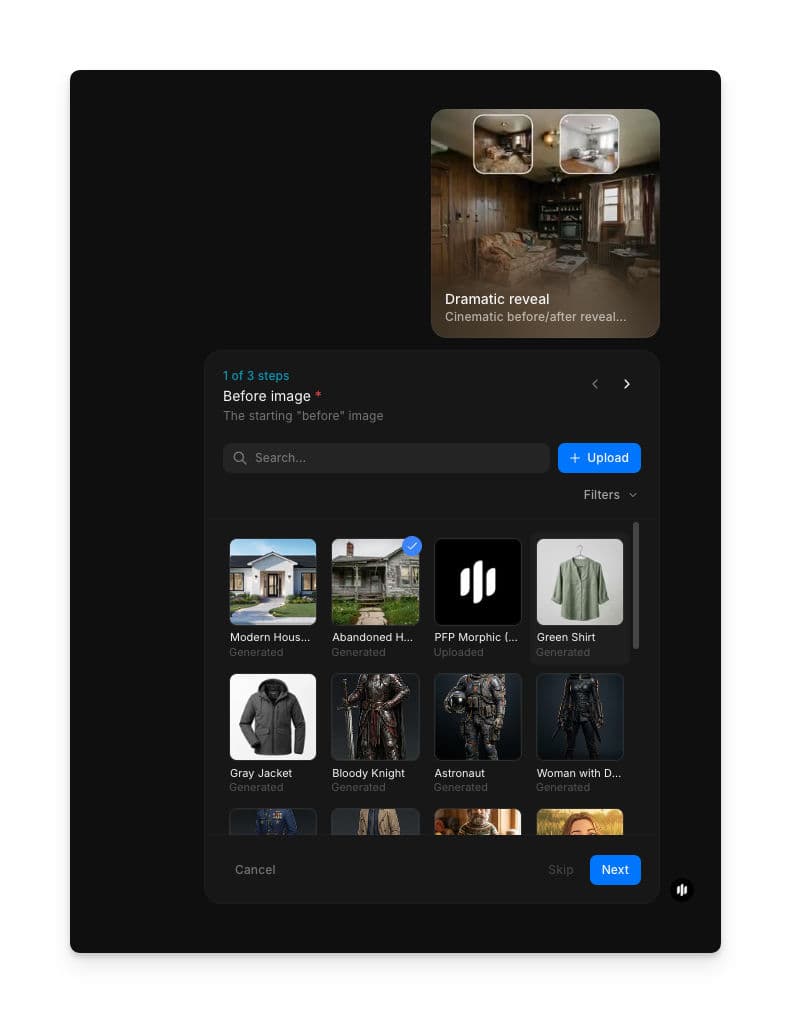
Open the "Dramatic reveal" workflow. In the "Before image" step, browse the gallery or upload the image showing the original state.
2.
Upload your after image
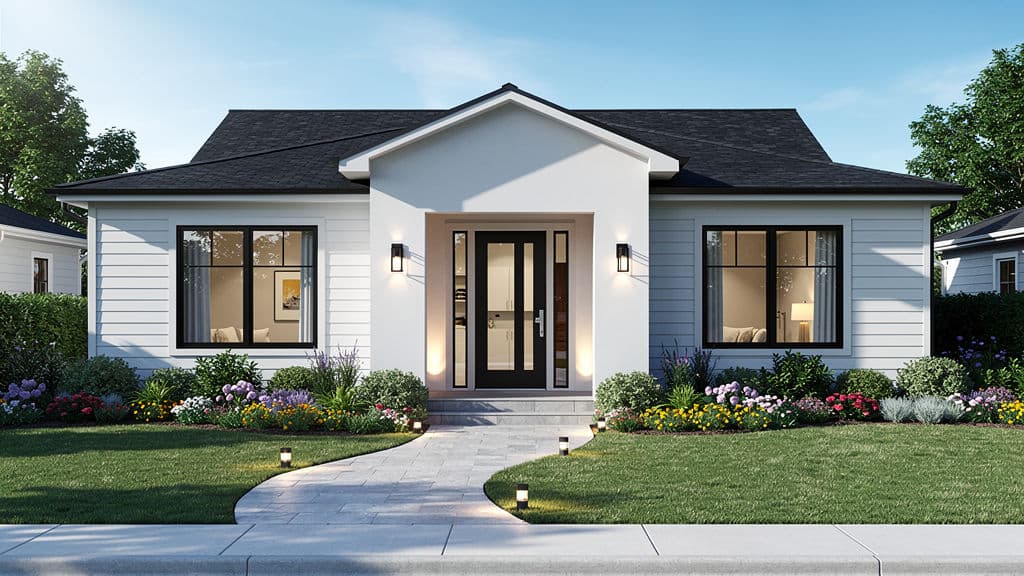
In the "After image" step, browse the gallery or upload the image showing the transformed result. Both images should show the same subject from approximately the same angle for the most impactful reveal.

3.
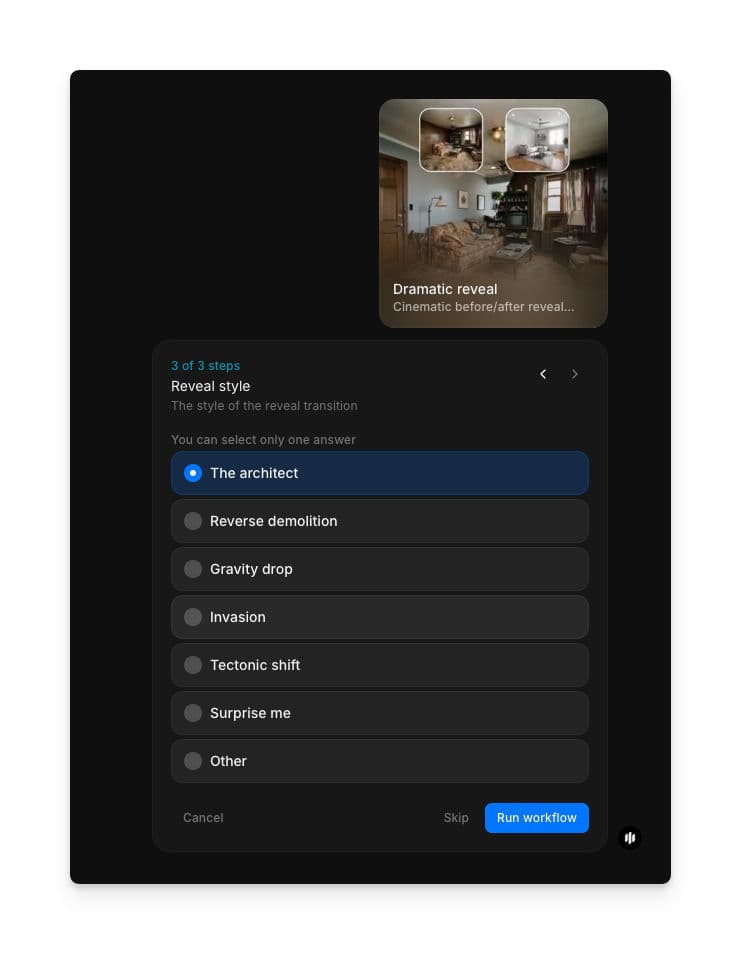
Select your reveal style and generate
In the "Reveal style" step, choose the transition type. Each style creates a different camera movement and effect. Click "Run workflow" to generate.
| Reveal style | Transition type | Best for |
|---|---|---|
| The architect | Technical blueprint overlay dissolving into the final result | Home renovations, interior design, and architectural projects |
| Reverse demolition | The after state deconstructs back to the before, then rebuilds | Construction projects, restorations, and dramatic transformations |
| Gravity drop | The before image falls away to reveal the after beneath it | Quick, punchy reveals for social media and short-form content |
| Invasion | The after state creeps in from the edges, overtaking the before | Makeovers, rebrandings, and gradual transformation stories |
| Tectonic shift | The image splits and shifts apart to reveal the new state | Side-by-side transformations and split-screen comparisons |
| Surprise me | Morphic selects the best style based on your images | When you want Morphic to choose the most impactful reveal |
| Other | Describe a custom reveal style | Specific creative visions |
Final output: a cinematic before and after reveal video with smooth transitions
What makes a great before and after reveal video
| Quality | What it means | Why it matters |
|---|---|---|
| Smooth transitions | The movement between before and after is fluid and polished | Abrupt or janky transitions undermine the professional feel |
| Clear comparison | The viewer can easily see what changed between the two states | If the transformation is unclear, the reveal loses its impact |
| Appropriate pacing | The reveal builds anticipation without dragging | Too fast and viewers miss the change, too slow and they lose interest |
| Color consistency | Both images blend naturally within the transition | Harsh color jumps between before and after break the visual flow |
The workflow handles transition design, camera movement, color matching, and timing automatically, so your reveal video looks like it was edited by a professional motion designer.
Morphic vs Premiere Pro
| Morphic dramatic reveal | Premiere Pro | |
|---|---|---|
| Time to delivery | Under 5 minutes | 1-4 hours depending on complexity |
| Cost | Available on Morphic | Video editing software plus your editing time |
| Skill required | Upload two images and select a style | Video editing and motion design knowledge |
| Transition quality | Cinematic presets designed for reveal content | Custom transitions require motion design expertise |
| Iteration | Change style and regenerate instantly | Re-edit and re-render for each change |
| Music and sound | Professional pacing included | Source and sync audio manually |
FAQs
Yes. Morphic generates the video with professional pacing that works well with or without audio. You can add your own music track in any video editor after downloading the output, or use the video as-is with its default pacing.
The workflow handles differences in image dimensions automatically. It crops and aligns both images to create a smooth transition. For the best results, try to use images with the same aspect ratio and framing, but the workflow adapts to what you provide.
The output is typically 5 to 10 seconds, optimized for social media formats where short, punchy content performs best. The pacing is designed to build anticipation and deliver the reveal within that timeframe for maximum impact.
Yes. The output format and aspect ratio are compatible with all major social media platforms. The video is designed to perform well in feed posts, stories, and reels. You can post it directly or add it to a larger edit.
The dramatic reveal workflow is available on Morphic. You can run the workflow multiple times as needed to create reveal videos for different projects.