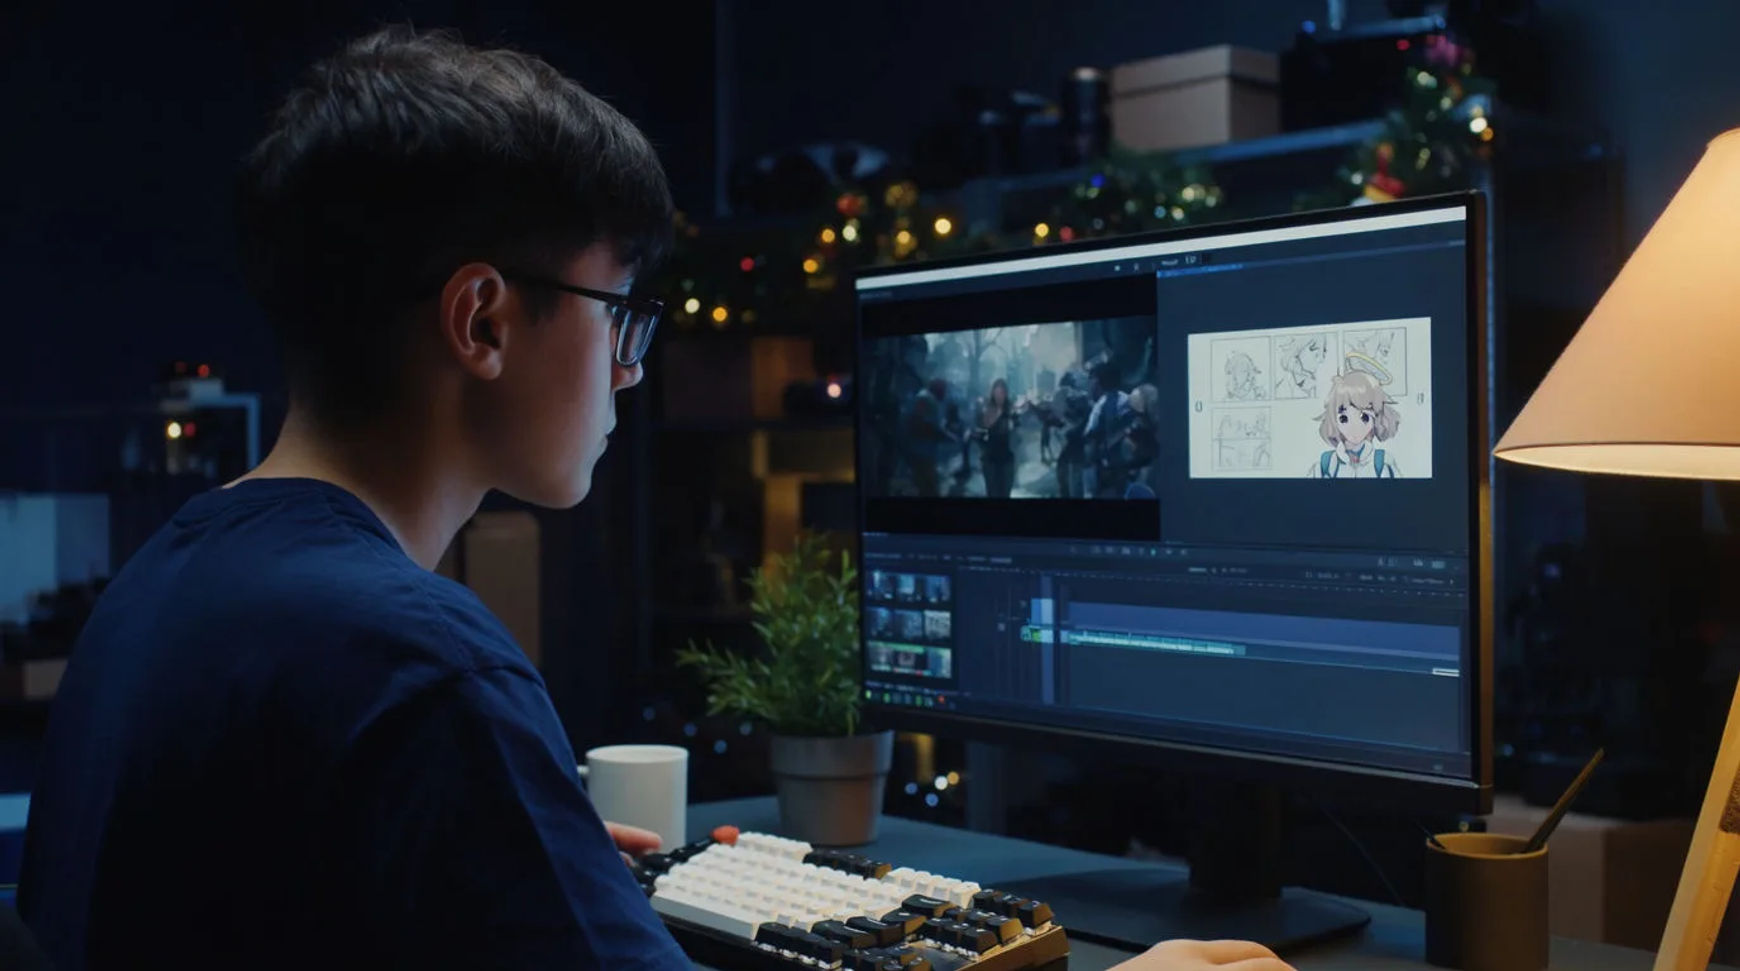
Indie game studios produce trailers and cinematics with AI by storyboarding the beats, then generating the cinematic shots, holding characters consistent with references, and cutting the trailer with music and sound in one platform instead of standing up a cinematics team. The workflow is short: storyboard the beats, generate cinematic shots, keep characters consistent via references, then cut the trailer with music and sound. Because every step lives in the same project, a trailer that used to mean a pipeline a small studio could not staff becomes something the team produces itself alongside the game.
Steps at a glance
- Storyboard the beats of the trailer
- Generate the cinematic shots
- Keep characters consistent via references
- Cut the trailer with music and sound
- Cut real gameplay in alongside the cinematics
How indie studios produce a trailer, step by step
Storyboard the beats of the trailer
Start with the shape of the trailer: the cold open, the reveal, the rising beats, the title card. This is the part that stays human, because it is where the game's tone and hook actually live. Written as a shot list with a line of direction each, the storyboard becomes a queue you hand to the tools one beat at a time rather than a blank timeline you face with no cinematics budget behind you.
Generate the cinematic shots
Turn each beat into a shot: an establishing sweep of the world, a slow push on the hero, a charged moment before the reveal. Direct it like a filmmaker, naming the light, the camera move, and the mood, so the shot reads as an intentional cinematic rather than a generic render. A second version of a key beat for testing is a second prompt, so a trailer's worth of shots comes back without a cinematics team.
Keep characters consistent via references
A trailer falls apart if the hero looks different in every shot, and consistency comes from reference sheets rather than re-describing the character each time. Build reference images for each character and pass them into every generation so the same face, armor, and silhouette carry across the cut. That is reference conditioning: the design holds because you supplied it, which keeps the character in your hands.
Cut the trailer with music and sound
Bring the shots onto the Compose timeline, lay a music bed, set the per-clip volume, add sound and transitions, and cut to the beat. A change to the pacing or a new title becomes a fresh cut the same day rather than a note back to a vendor. A paid plan exports at higher resolution for a storefront and press.
Here are a few of the finished shots this produces, each generated from a storyboard beat:
Cinematic open
Hero shot
Reveal beat
Outsourced trailer versus AI-assisted
The saving is less about any single shot and more about how a trailer changes when the cinematics stop waiting on a vendor or a team you cannot staff. Here is the shift, honestly drawn.
| Stage | Outsourced trailer | AI-assisted |
|---|---|---|
| First shots | A vendor booking | The same afternoon |
| A revision | A round of notes out | A regeneration in place |
| Consistency | Brief the vendor again | Held by reference sheets |
| Store cut-downs | A re-edit each | A reframe or a trim |
| Best used for | A flagship AAA piece | Announces, story beats |
Put it together
Producing a game trailer with AI is not about faking the game; it is about making the cinematics a small studio could never staff, then cutting them together with real gameplay. Storyboard the beats, generate the cinematic shots, hold the characters with reference sheets, then cut the trailer with music and sound and drop your in-engine footage in alongside it. The thing that matters is a trailer that exists at all on an indie budget, which is where a small studio either gets noticed at announce or does not. The text-to-video generator is the fastest place to turn a storyboard beat into a shot, and how to make an AI video covers directing a shot so it reads as an intentional cinematic.