Expression study sheet
One mouth drawn several times in fine ink across a range of expressions, each small study ruled into its own box.
Edit prompt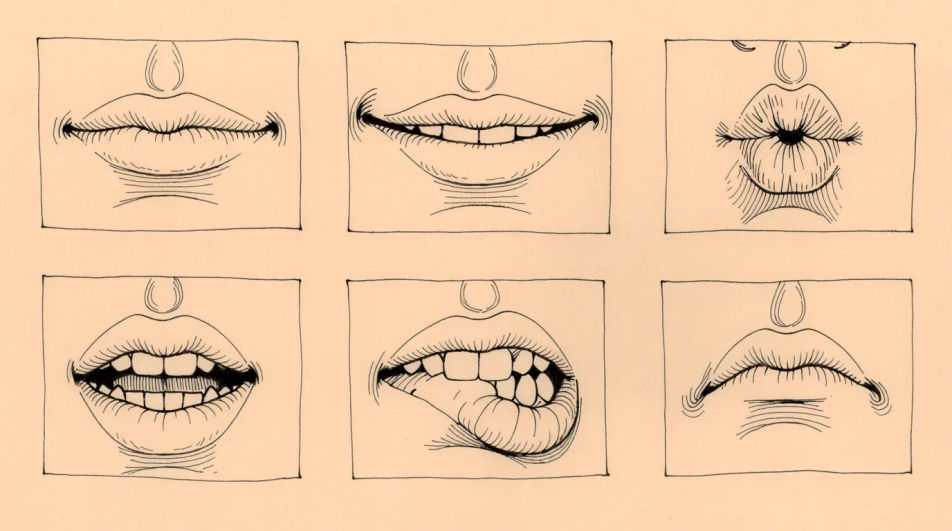
Describe the mouth you want in Morphic's Image tool, from a bare contour study to a fully modelled close crop, and get a finished drawing back. Set the angle, the expression, the medium, the line weight and the paper, adjust it on the Canvas, then download it in HD.
One mouth drawn several times in fine ink across a range of expressions, each small study ruled into its own box.
Edit promptThe same lips drawn from several angles in graphite, so the corner placement changes across the row.
Edit prompt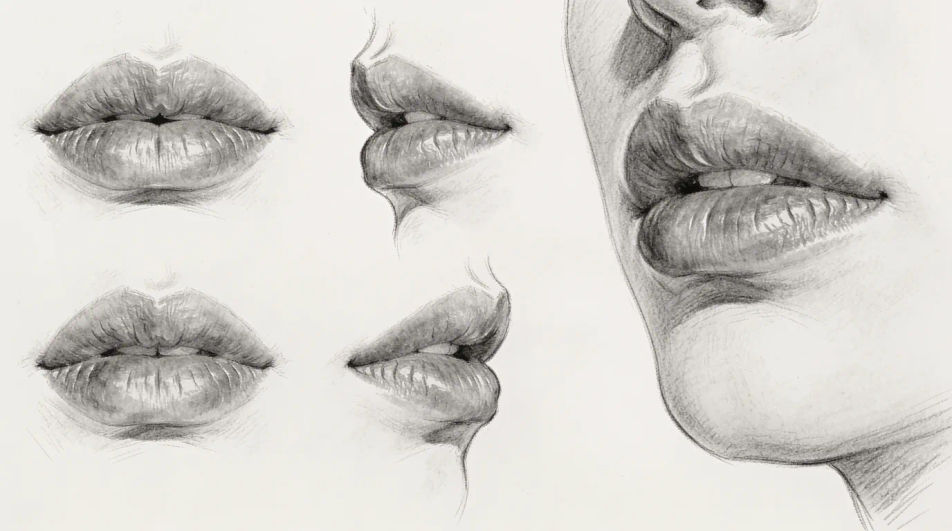
A cropped lower face in ink and wash, the mouth fully drawn and the nose and chin reduced to contour, with a flat grey wash under the jaw.
Edit prompt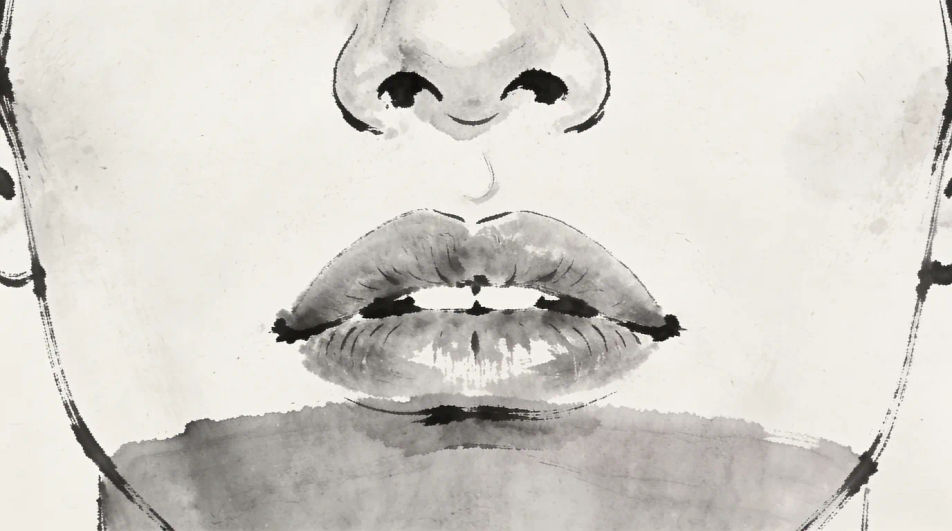
Four versions of one open mouth in fine pen line, moving from a bare contour to increasingly dense interior hatching, showing what shading density alone does to the form.
Edit prompt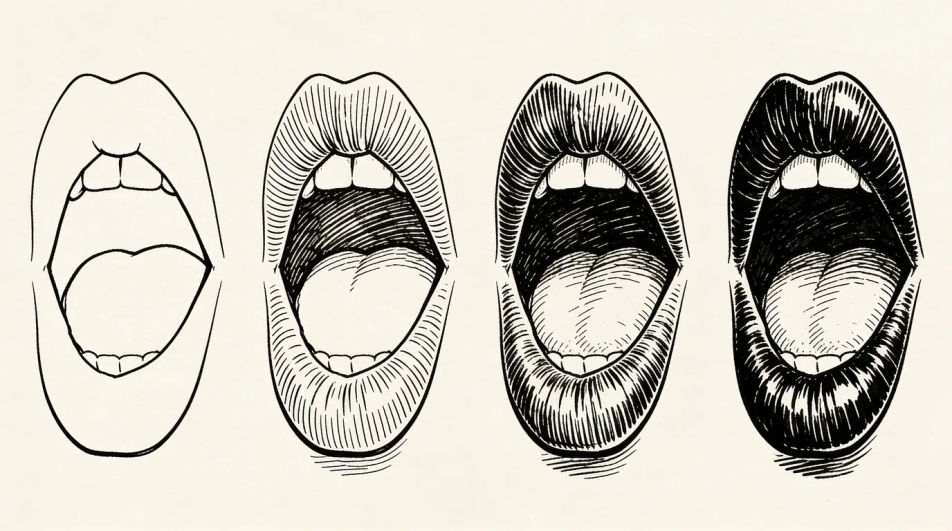
Jelaskan Lips drawing yang Anda inginkan, dengan kata-kata sederhana.
Morphic membuat gambar bersih yang siap diterbitkan di canvas Anda dalam hitungan detik.
Ubah prompt, buat ulang variasi, lalu unduh atau bagikan frame-nya.
Pick a reference image, apply its visual style to your own photo or artwork.
Convert any image to a new aspect ratio. Smart crop or extend the edges to fit.
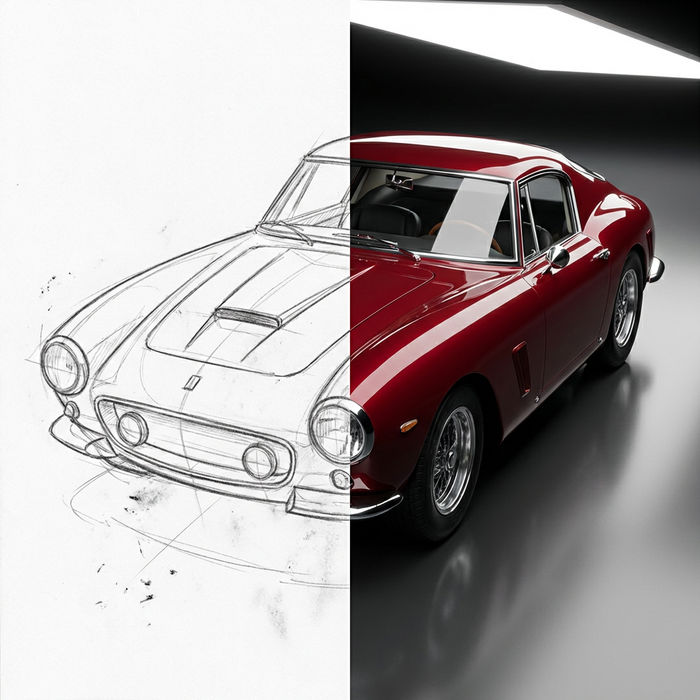
Turn any sketch or drawing into a finished render.
Restyle any video in a completely new visual style. Every frame transforms, all motion stays intact.
Reimagine any anime character as a photorealistic, high-fashion live-action portrait.
One selfie becomes a set of professional headshots. Studio-quality, multiple styles.
Face AI drawing
Create AI face drawings with our face drawing generator. Find detailed face drawings for any project in seconds.
Eye AI Drawings
Create AI eye drawings in your browser with Morphic's eye drawing generator. Make realistic eyes, expressive gazes, anime studies, and shaded pencil references in any style, perfect for practice or character design, and download in seconds.
Nose drawing generator
Turn a nose drawing idea into a finished image in Morphic. Describe the line work and style, generate variations, then refine it on the canvas.
Radha Krishna sketch maker
Create Radha Krishna sketch images in Morphic. Describe the subject and the line work you want, generate versions.
Mulai gratis hari ini, dengan opsi untuk upgrade atau membatalkan kapan saja.
Basic
2400 bulanan kredit
1 pengguna saja
Semua model
Workflows
Standard
3625 bulanan kredit
1 pengguna saja
Semua model
Workflows
Pro
6350 bersama bulanan kredit
1 pengguna
Semua model
Workflows
Max
24650 bersama bulanan kredit
1 pengguna
Semua model
Workflows
Enterprise
Untuk batas yang lebih tinggi
Khusus
ketentuan harga dan penagihan

Free
Untuk bereksperimen
$0
gratis selamanya