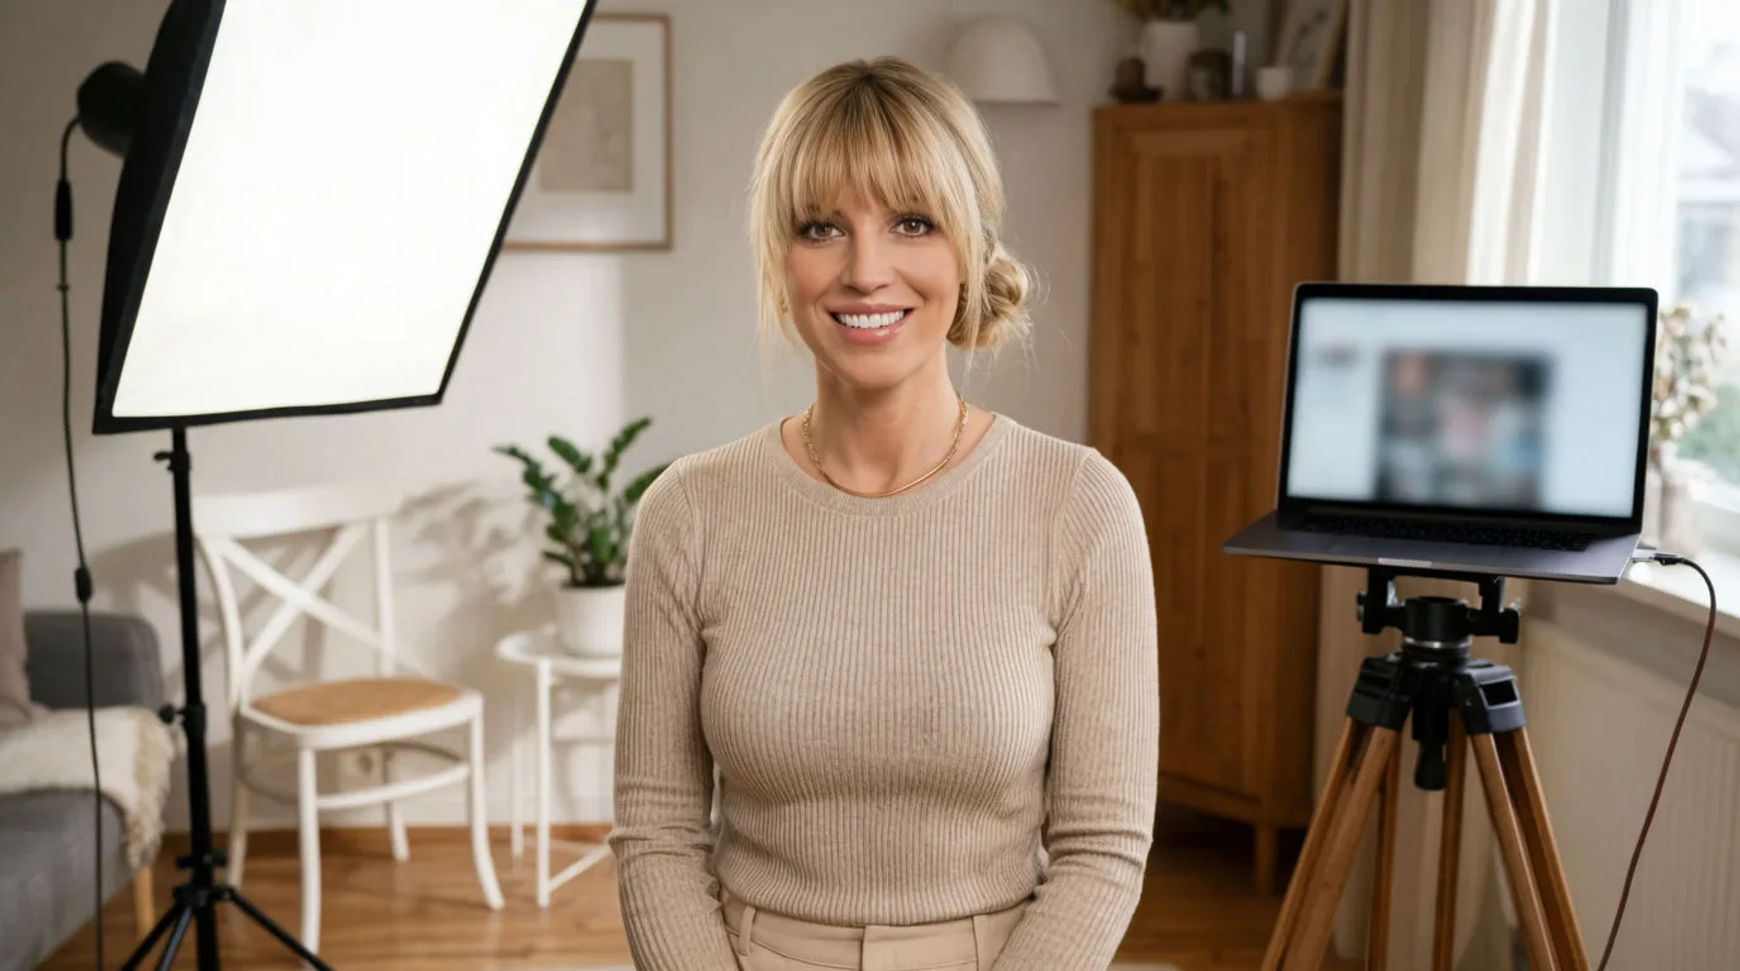
Online coaches produce course modules and sales videos by scripting the lesson, generating a presenter or a directed voiceover from that script, and assembling it with supporting visuals, instead of booking a studio and a camera crew. The workflow is short: write the module, voice it, add the visuals that carry each point, then assemble and export a clean cut. A camera becomes a deliberate choice for the moments that genuinely want your face, not the default cost of every lesson.
Steps at a glance
- Script the module
- Generate a presenter or voiceover
- Add supporting visuals
- Assemble the sales video
- Reserve a real camera for the moments that need you
How to produce a course video, step by step
Script the module
Start from the lesson, not the camera. Write, or have Copilot draft, the module as a short script: the one idea, the example, the thing to do next. A tight script is what makes the rest of the pipeline fast, because every later step works from it. Keeping each module to a single clear idea also makes it far easier to fix later, since a change is a line of script rather than a reshoot.
Generate a presenter or voiceover
Turn the script into a voice. Either generate a presenter to deliver the module on screen, or keep it to a directed voiceover over your visuals, whichever the lesson wants. Direct the read for tone, emotion, and pace rather than accepting a default, since that direction is the difference between narration and a robot reading a script. A line that lands wrong is edited and regenerated in place, not re-recorded, so getting the delivery right is cheap.
Add supporting visuals
Generate the images and short clips that carry each point: the concept diagram, the before-and-after, the example the lesson refers to. These do the work a slide deck used to, but they are made to match the module rather than pulled from a stock library. Producing them alongside the script, in the same place, keeps the whole module in one look instead of assembled from different sources.
Assemble the sales video
Bring the presenter or voiceover, the visuals, and a music bed onto the Compose timeline, order them, set per-clip volume, add transitions, and cut for rhythm. The same pipeline makes the sales video: a persuasive script, a presenter or voiceover carrying the pitch, visuals underlining the points. Because it all lives in one place, a positioning change becomes a fresh export the same day. A paid plan exports at higher resolution for a published module or a sales page.
Here are a few of the finished shots this produces, each generated from a script rather than filmed:
Presenter delivery
Concept visual
Sales video open
Studio recording versus AI-assisted
The saving is less about any single module and more about how each stage of producing a course changes. Here is the shift, honestly drawn.
| Stage | Studio recording | AI-assisted |
|---|---|---|
| Setup | A studio, a crew, a camera | A script and a prompt |
| A script change | A re-record | A regenerated line |
| One wrong line | Set up and read again | Edit and regenerate it |
| Extra modules | Another booking | The same pipeline again |
| Best used for | A signature on-camera moment | Modules, updates, sales video |
Put it together
Producing course and sales video with AI is not about pretending you were never on camera; it is about changing what a routine module costs to make and to update. Script the lesson, voice it with a read you direct, add visuals made to match, and reserve a real camera for the moment that genuinely wants your face. The advantage that compounds is that a fix is a line of script, so keeping a course current stops being a reshoot. Start with one module and compare it honestly to what recording it would have taken. The AI voiceover generator is the fastest place to hear a directed read, and how to make a talking avatar video covers putting a presenter on screen.