Animation
Move characters and objects through a 3D scene with paths, keyframes, easing, motion presets and live recording, then retime them on the timeline.
Animation in a 3D scene means deciding where everything is at each moment of the shot. The editor fills in the movement between those moments.
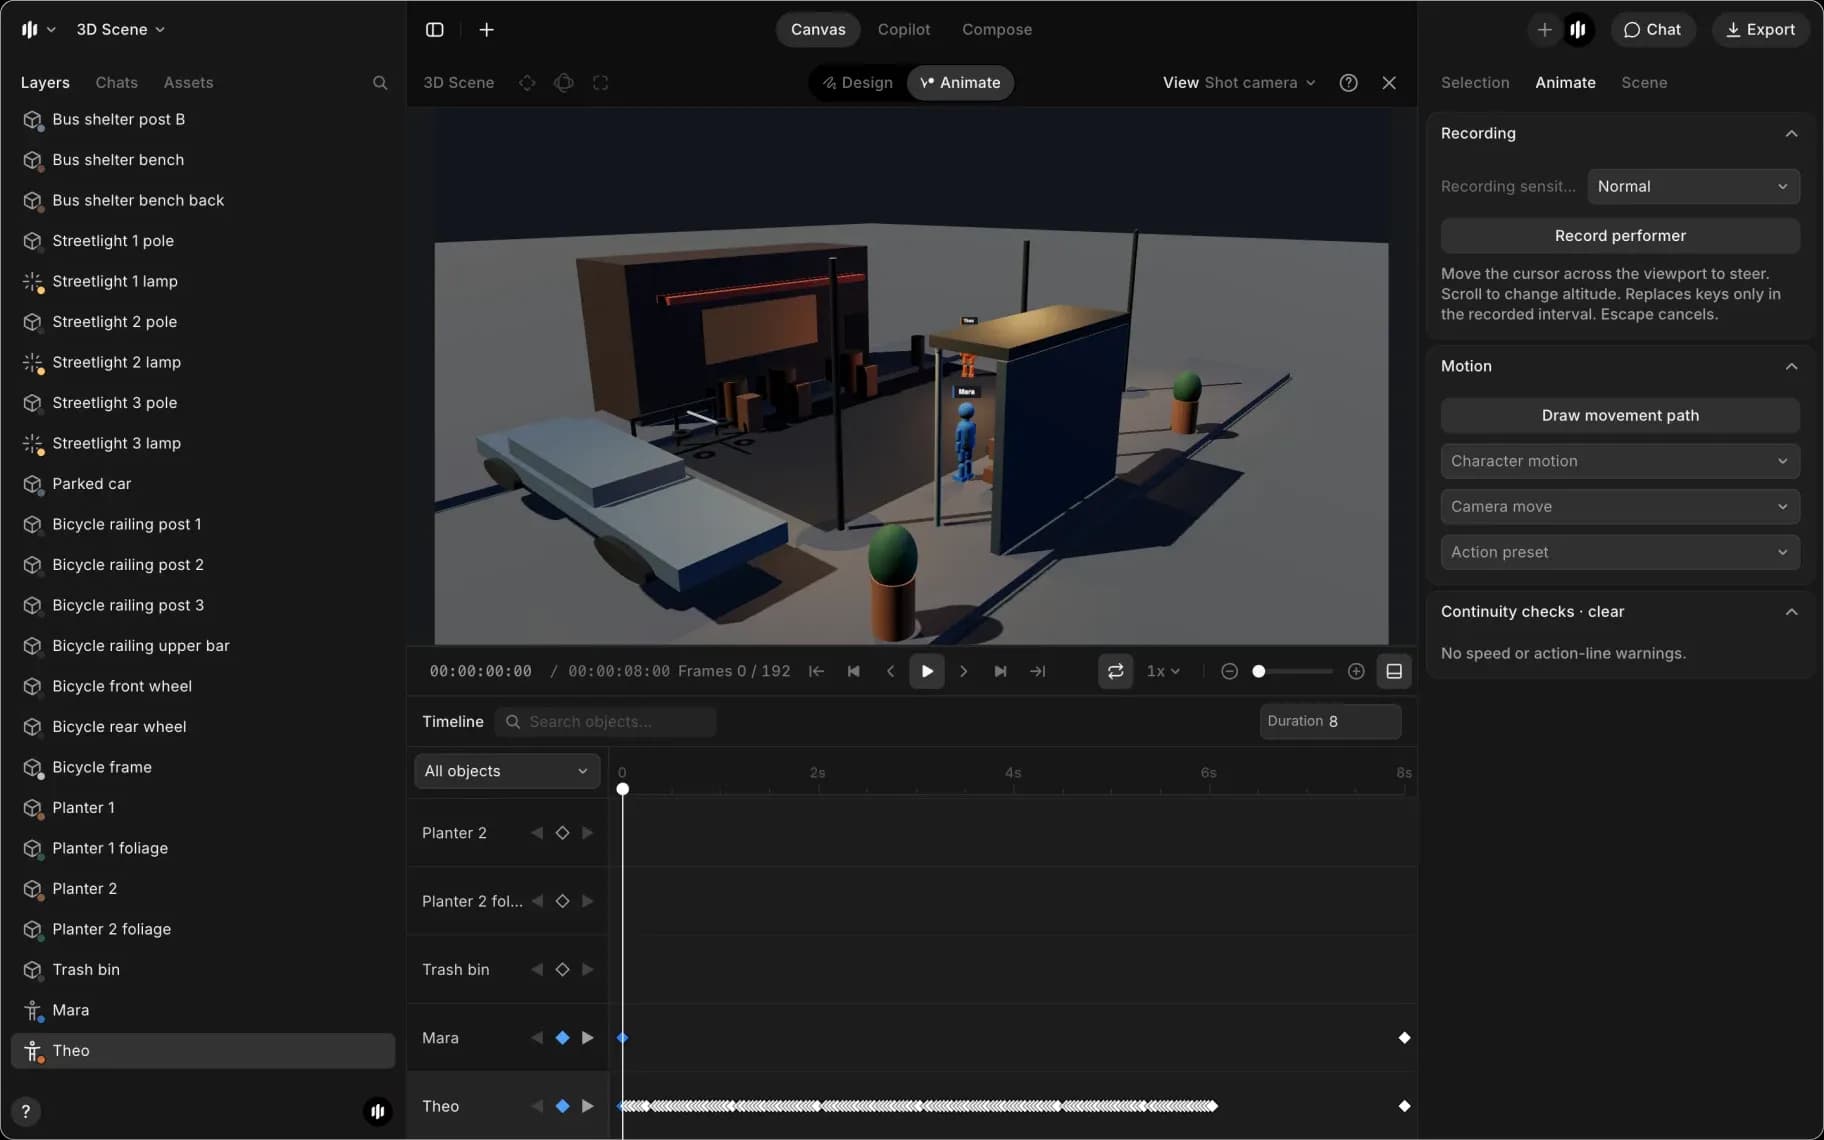
The 'Design' and 'Animate' buttons at the top switch modes. 'Design' is for placing objects and the camera; 'Animate' opens the timeline along the bottom, with a row for every object.
Movement paths
The quickest way to move a character or a vehicle.
- Select one object
- Click the 'Animate' tab, then 'Draw movement path'. Or press M. The editor switches to 'Animate' and a banner reads 'Click the floor to add a waypoint'
- Click the floor at each point on the route. The path starts at the playhead, with one second between points
- Press Esc, click 'Done' in the banner, or click 'Finish path' in the 'Animate' tab, to finish
- For a character, click the 'Selection' tab and set 'Motion' to 'Walk' or 'Run'. A character starts on 'Idle', which slides it along the path and raises a speed warning
- Press Space to play
Vehicles turn their wheels and birds flap their wings as they move.
Keyframes
- Click 'Animate' at the top of the editor. The timeline opens along the bottom
- Select the object
- Drag the playhead to a moment
- Move the object to where it should be then
- Click the diamond on its timeline row, or press I
- Drag the playhead later, move the object again, and add another keyframe
- Press Space to play. The object moves between the two
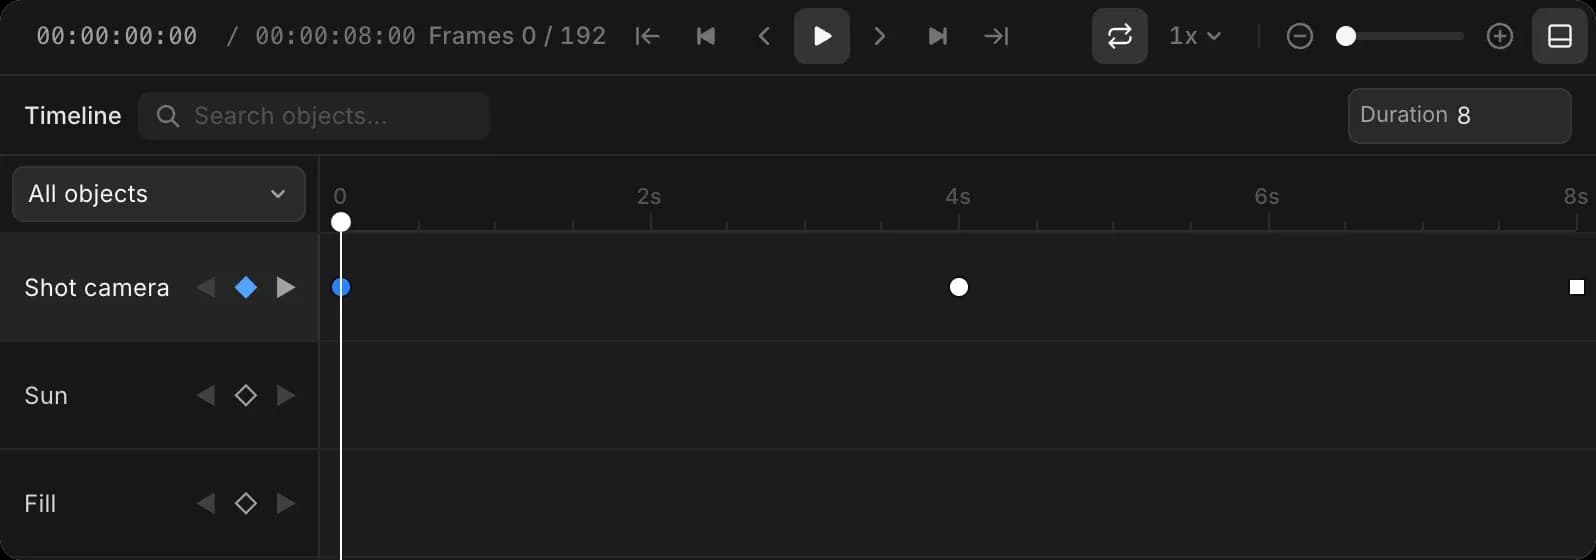
The diamonds beside 'Position', 'Rotation' and 'Scale' in the 'Selection' tab key a single property. The arrows on each timeline row jump to the previous or next keyframe.
To set which way a character faces when it arrives, turn it at its last keyframe.
Easing
Each keyframe sets the easing of the move that follows it.
- Click the keyframe on the timeline
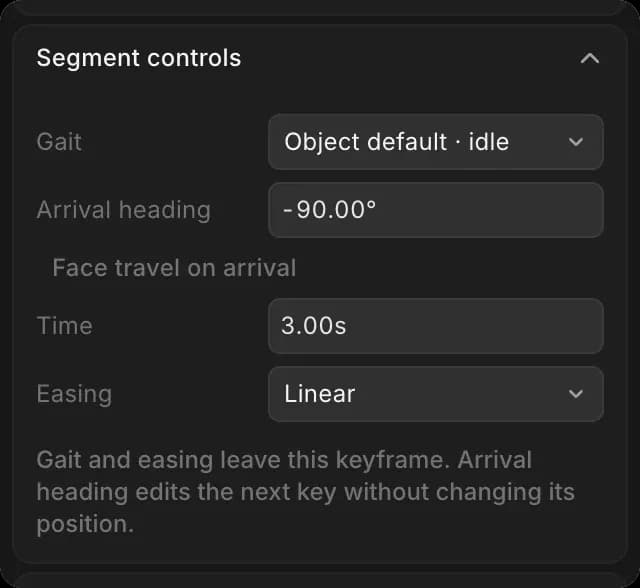
- In the 'Animate' tab, open 'Easing' under 'Keyframe easing'. For a character's path keyframe it sits under 'Segment controls', next to 'Gait'
- Pick Ease in/out, Ease in, Ease out, Linear, Hold or Custom curve
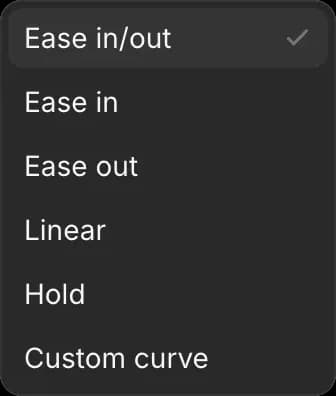
Linear moves at an even speed, and Hold keeps the object still until the next keyframe. A keyframe on a character can also set its own gait, so one character can walk, then run, then stop.
Motion presets
- Select the object
- Click the 'Animate' tab
- Under 'Motion', open one of these and pick a preset:
- 'Character motion': moves for a person, grouped into fights, dances, gestures, everyday actions such as sitting down or drinking, sports and stunts. Some loop, such as a clap or a dance groove
- 'Action preset': a whole path for the object, such as a plane takeoff, a helicopter orbit, a car drift turn, a building topple, or a person walking up stairs
- 'Camera move': see Camera moves
- Press Space to play
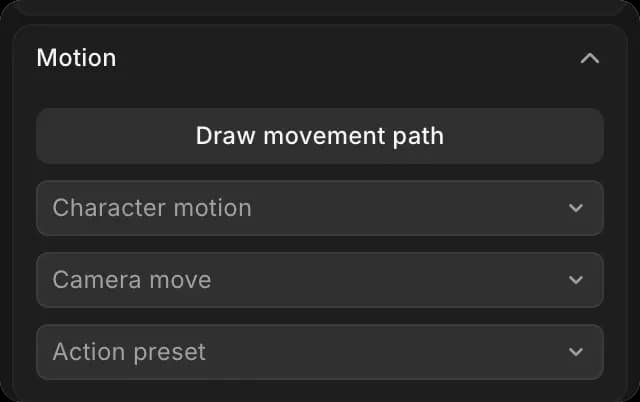
A preset replaces that object's animation with keyframes you can still edit. The dropdowns stay gray until something is selected.
Record a performance
Steer a character live instead of placing keyframes.
- Select the character
- Click the 'Animate' tab
- Click 'Record performer'. The shot plays
- Move the cursor across the viewport to steer, and scroll to change height
- Click 'Stop and save', or 'Cancel recording' (or press Esc) to throw it away
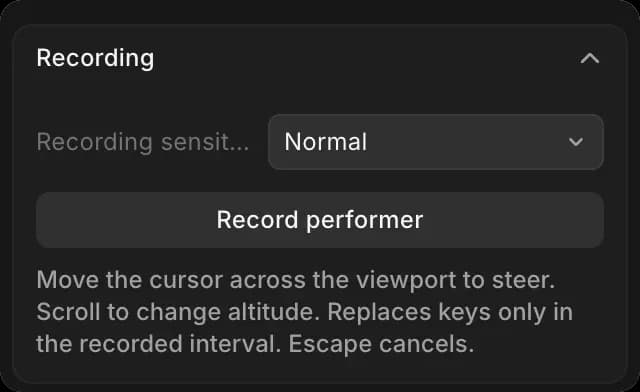
Recording replaces keyframes only in the time you record.
Timeline
Click 'Animate' at the top of the editor to open the 'Timeline' along the bottom. Each object has a row. 'All objects' filters which rows show, and 'Search objects' finds a row by name.
- To retime a keyframe, drag it along its row
- To see a keyframe's time and easing, click it. They show under 'Keyframe easing' in the 'Animate' tab
- To change its easing, copy it to the playhead, or delete it, right-click it
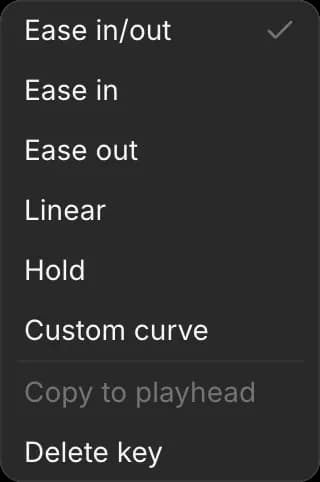
Playback
- Space plays and pauses
- The speed menu, at the bottom right of the viewport, runs from 0.25x to 2x
- The loop button next to it repeats the shot

For frame stepping and jumps, see Keyboard shortcuts.
That's how to animate a 3D scene on Morphic. Draw paths first, then refine timing on the timeline.
If you have any trouble or have any questions, feel free to reach out. We're happy to help. Write to us at support@morphic.com.