Camera
Set the shot camera's lens, frame a character, add a rig, and apply or record a camera move in a 3D scene.
Every scene has a shot camera. Exports are taken from it, so what it sees is what you get.
Views
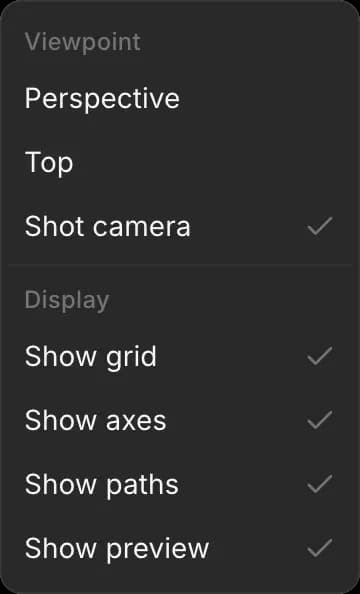
The 'Shot camera' preview in the bottom right corner of the viewport shows the shot while you work.
- To look through the shot camera, open 'View' at the top right and pick 'Shot camera', or press 3
- To go back, pick 'Perspective', or press 1
- C switches between the shot camera and your last view
Camera settings
Click 'Shot camera' in 'Layers', then the 'Selection' tab. It shows:
| Setting | What it does |
|---|---|
| 'Sensor' | Super 16, Super 35, Full frame or 65 mm |
| 'Lens preset' | 12, 16, 18, 24, 35, 50, 85, 100 or 135 mm |
| 'Field of view' | How much of the scene the lens takes in |
| 'Roll' | Tilts the frame |
| 'Position' and 'Look at' | Where the camera sits, and the point it aims at |
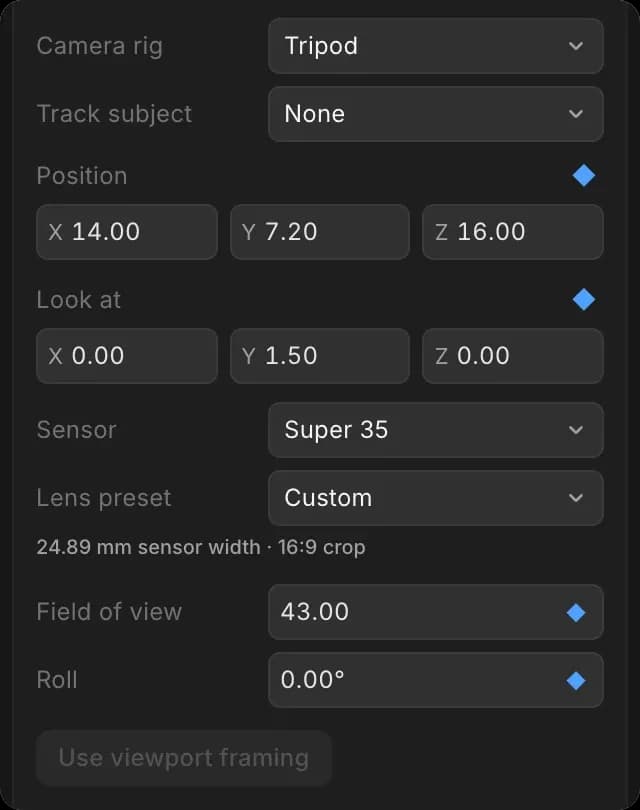
Lower millimetres are wider: 24 mm shows a whole room, 50 mm looks close to the eye, and 85 mm suits a face.
To put the shot camera where you are looking:
- Orbit, pan and zoom the viewport to the angle you want
- Select 'Shot camera' and click 'Use viewport framing'
Frame a character
- Click 'Shot camera' in 'Layers'
- In the 'Selection' tab, scroll to 'Frame subject'
- Open 'Choose subject' and pick the character
- Pick a 'Composition': Current angle, Two-shot, Over the shoulder, Reverse angle, Overhead or Low angle
- Pick a 'Shot size': Wide, Full, Medium or Close-up
- Click 'Frame subject'. The 'Shot camera' preview updates
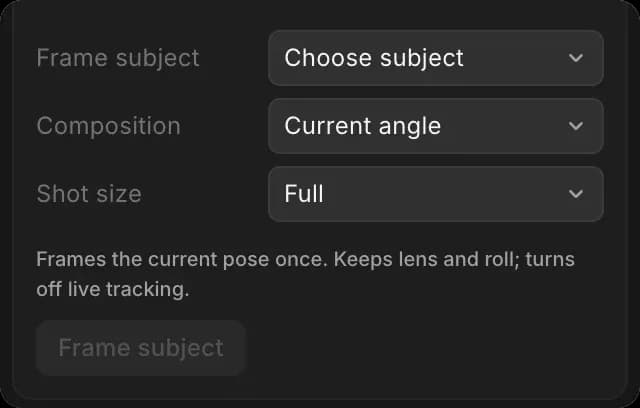
It frames the pose once, keeps your lens and roll, and turns off 'Track subject'. Two-shot and Over the shoulder need two characters.
Track a subject
- Click 'Shot camera' in 'Layers'
- In the 'Selection' tab, open 'Track subject' and pick an object
The camera stays aimed at it as it moves. Pick 'None' to stop.
Camera rig
- Click 'Shot camera' in 'Layers'
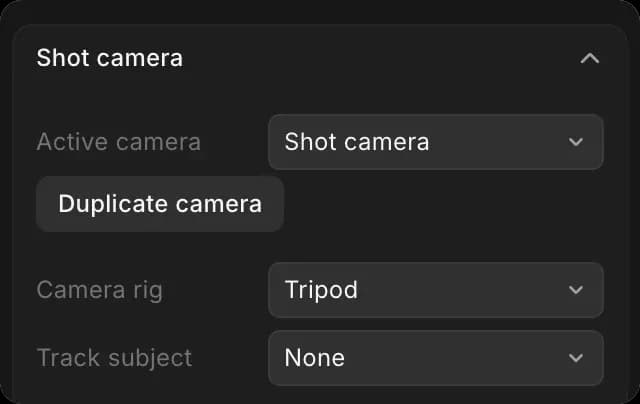
- In the 'Selection' tab, open 'Camera rig' and pick one: Tripod, Dolly, Steadicam, Handheld, Crane / Jib, Drone or Vehicle mount
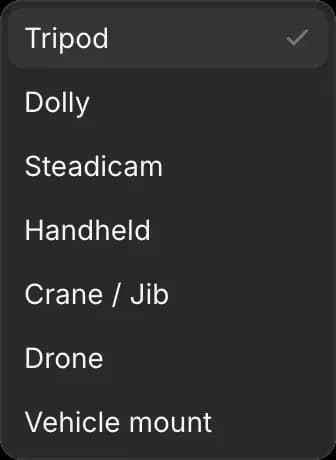
A rig adds the feel of real camera support on top of the move.
Camera moves
- Select the character or object the camera should move around
- Click the 'Animate' tab
- Open 'Camera move' and pick a move. It is applied at once, over the whole shot
- Press Space to play it
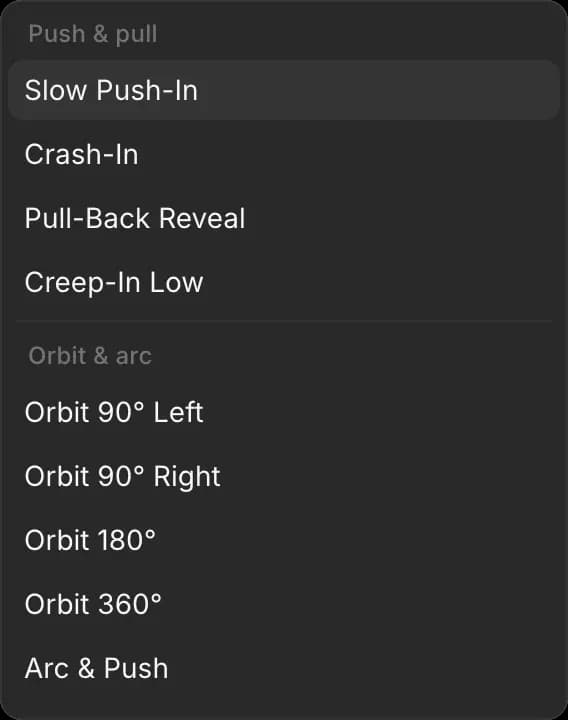
The moves are grouped into push and pull, orbit and arc, crane and boom, aerial, follow, pan and scan, and stylized moves such as a dolly zoom. A move replaces the shot camera's animation with keyframes you can still edit.
Record a camera move
- Click 'Shot camera' in 'Layers'
- Click the 'Animate' tab
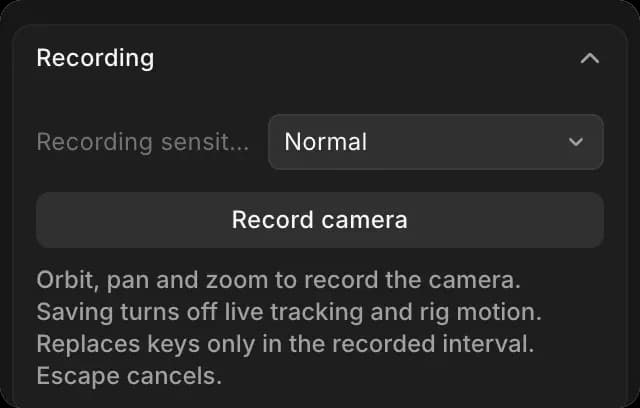
- Pick how closely it follows your hand in 'Recording sensitivity': Precise, Normal or Fast
- Click 'Record camera'. The panel reads 'Recording camera...' and the shot plays
- Orbit, pan and zoom in the viewport
- Click 'Stop and save', or 'Cancel recording' (or press Esc) to throw it away
Recording replaces keyframes only in the time you record, and turns off tracking and rig motion.
Keyframe the camera
- Switch to 'Animate' at the top of the editor
- Move the playhead to a moment
- Place the camera, or set its lens
- Click the diamond on the 'Shot camera' row of the timeline, or press I
- Repeat at a later moment
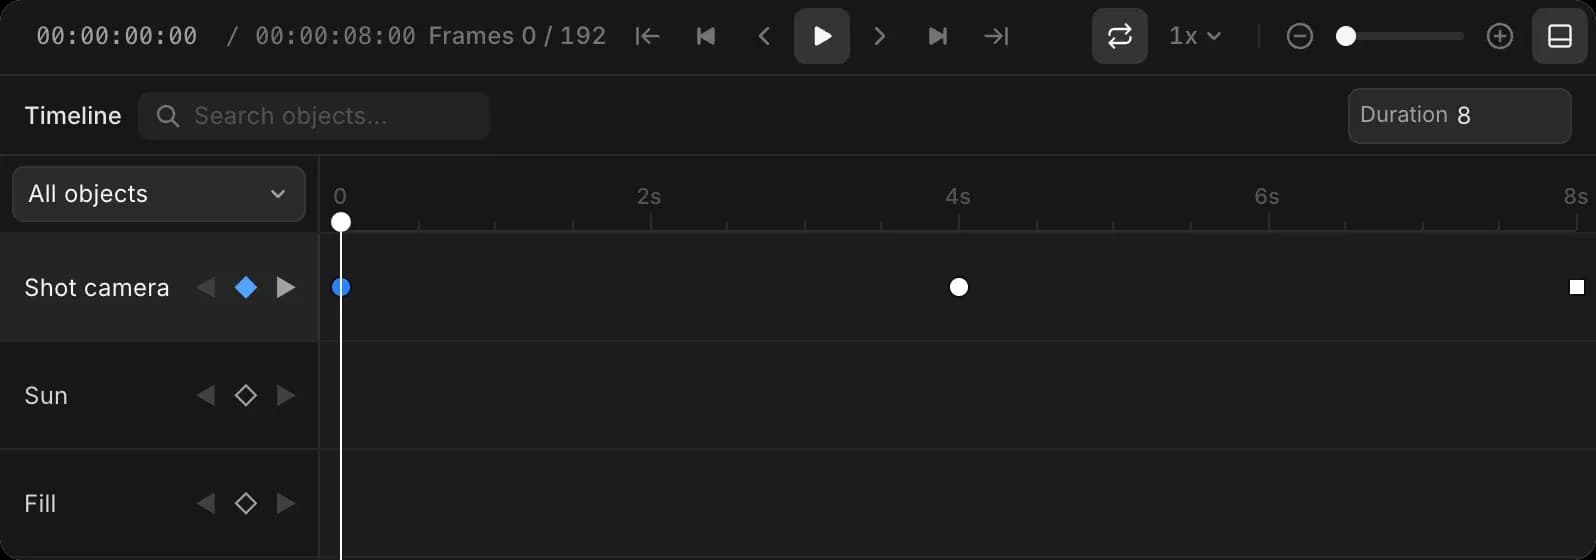
Two camera keyframes make a straight move; three or more make a smooth curve. Easing works as it does for any object; see Animation.
Multiple cameras
- Click 'Shot camera' in 'Layers'
- In the 'Selection' tab, click 'Duplicate camera'
- Move the copy to try another angle
- Pick the camera the export uses in 'Active camera'
That's how to set up the camera in a 3D scene on Morphic. Frame the key moment first, then add the move.
If you have any trouble or have any questions, feel free to reach out. We're happy to help. Write to us at support@morphic.com.