Lip Sync
How to sync a character's mouth to an audio track, and how to handle audio and video that are not the same length.
Here's a quick tutorial on how to use Lip Sync on Morphic:
- Go to Morphic.
- Open an existing file, or click 'New file' to create a new one under a project.
- Head to the global prompt bar at the bottom of the Canvas, switch the mode to Video, then select Lip Sync.
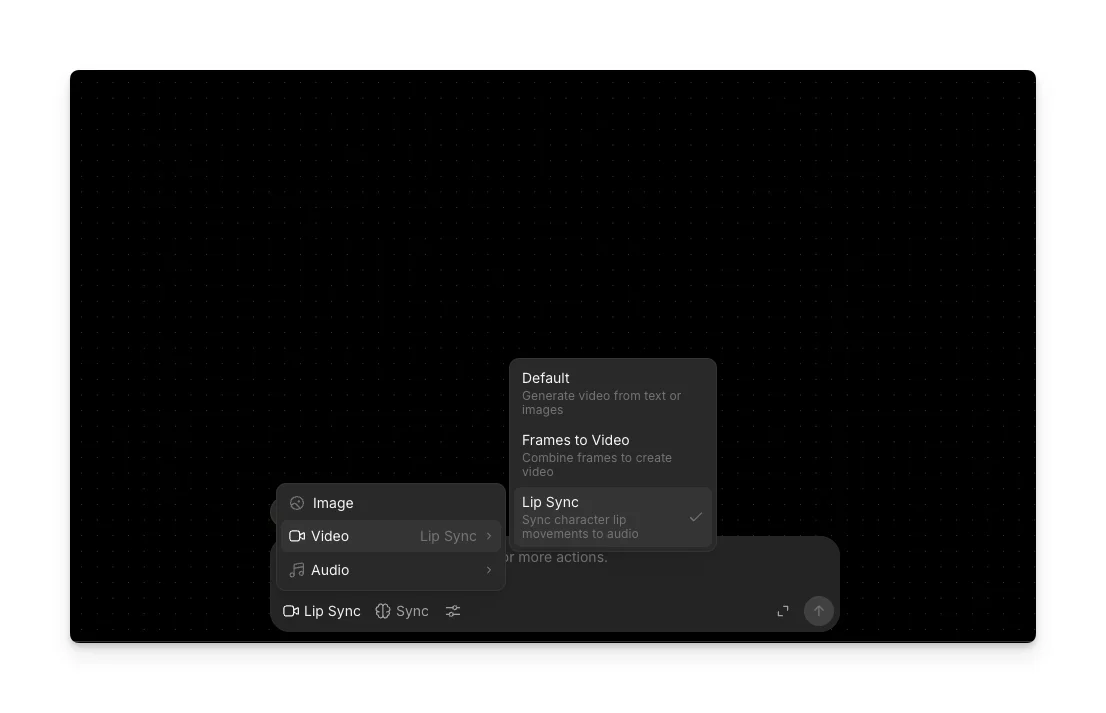
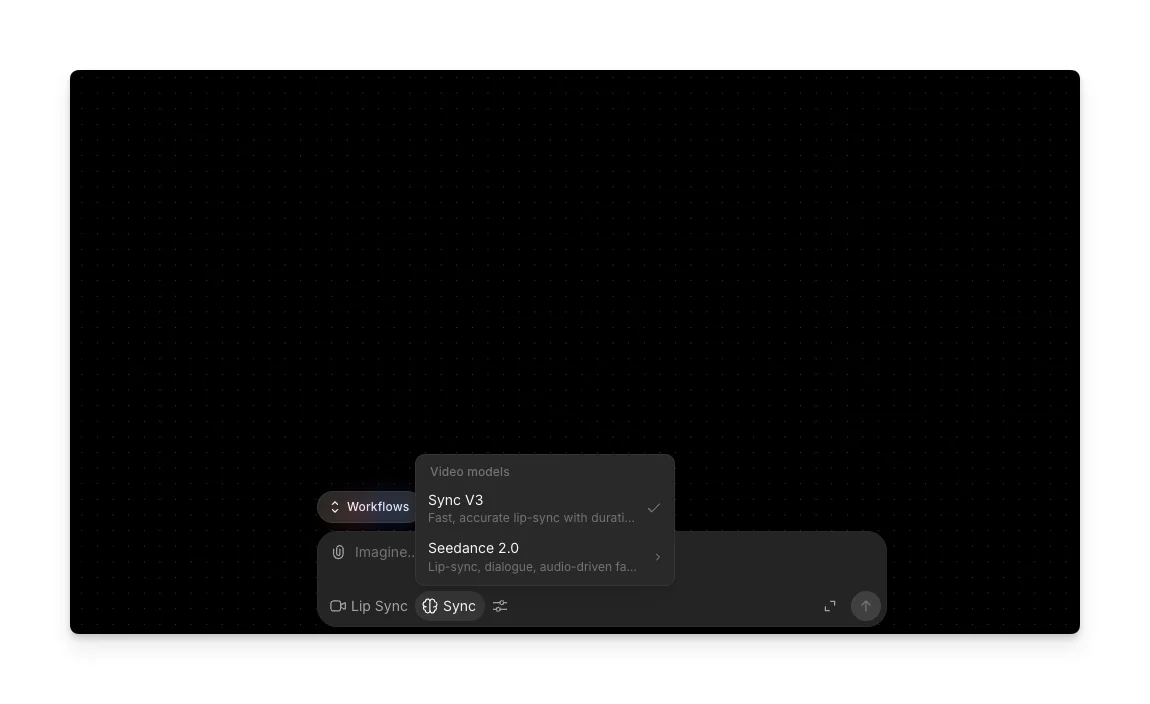
- Choose your lip sync model. Which models you see depends on what your organization has switched on for lip sync, so the list can differ from a teammate's. See Model access.
- Click the paper clip icon to attach your references. You can:
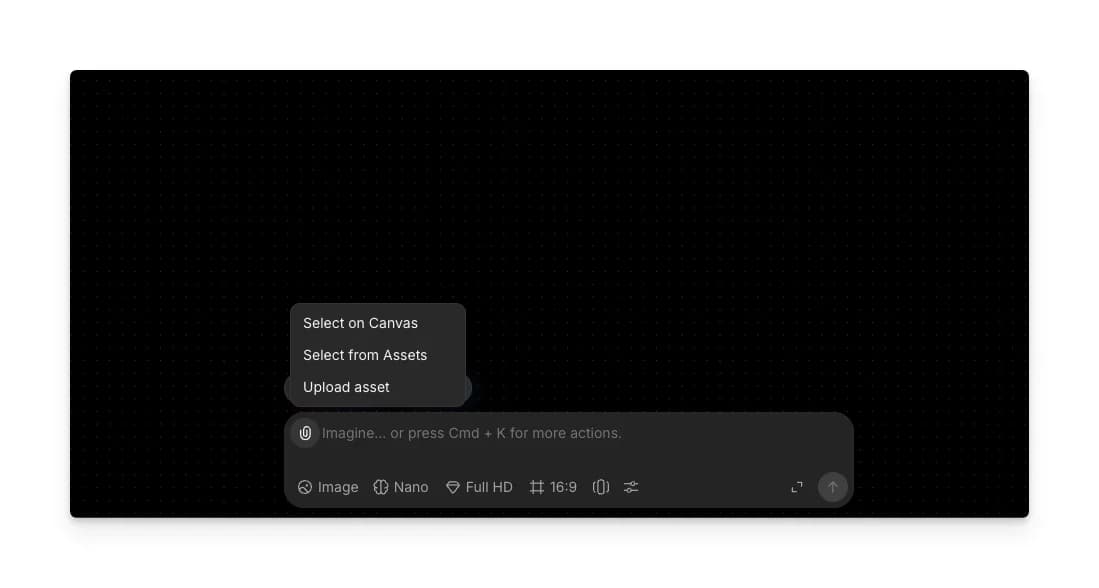
- Select on Canvas - pick references already placed on your Canvas
- Select from Assets - pick from your Assets library
- Upload asset - upload a file from your device
- Attach a video, along with the audio file you want it synced to.
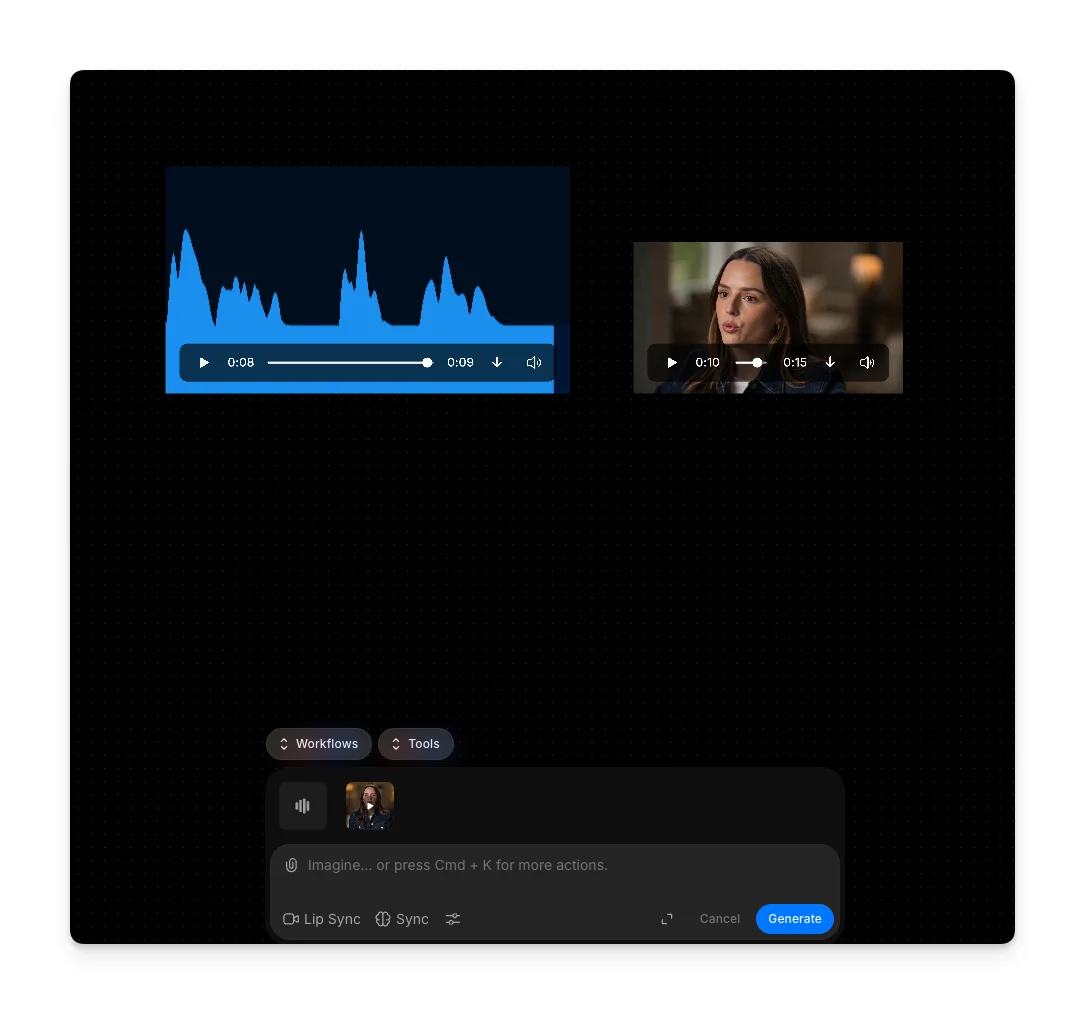
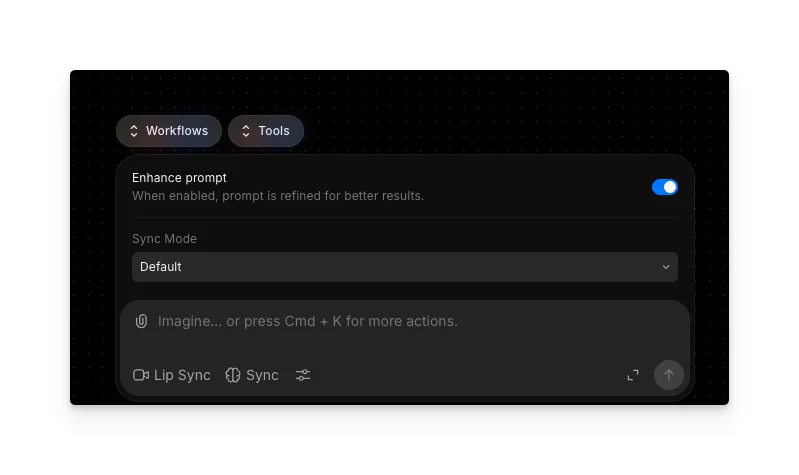
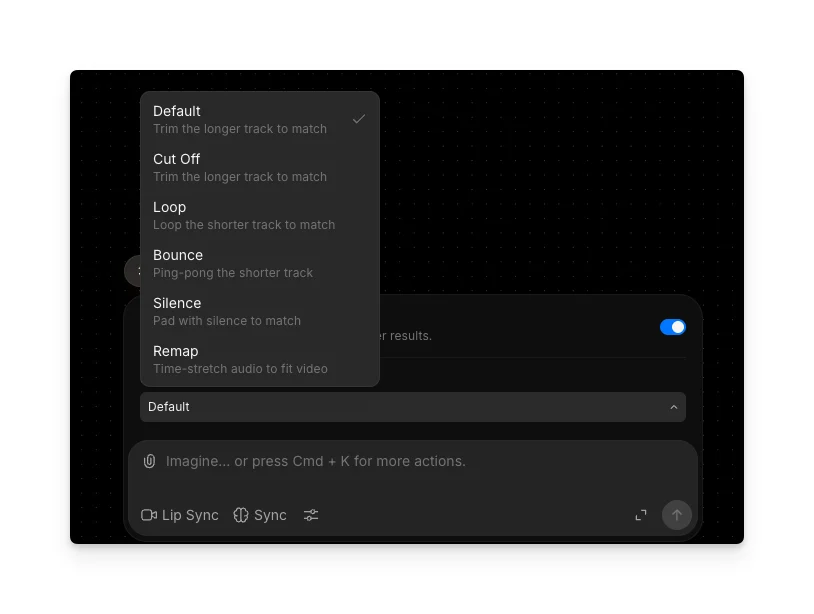
| Option | What it does |
|---|---|
| Cut Off | Trims the longer of the audio or video to match the shorter one. |
| Loop | When the video is shorter than the audio, loops the video to match the audio. |
| Bounce | When the video is shorter than the audio, plays the video forward then reverses it to match the audio. |
| Silence | When the video is longer than the audio, pads the audio with silence to match the video. |
| Remap | Slows down or speeds up the video to match the audio duration exactly. Keeps the full content of both by adjusting playback speed. |
What it costs
Lip sync models are priced differently from one another, and most are billed per second of output. The current rate for every lip sync model is in the Lip sync table on Plans & Credits.
That's how you use the Lip Sync feature on Morphic. It's a great fit for filmmakers, animators, and marketers who want to generate AI lip sync videos for characters, ads, and dialogue-driven scenes.
If you have any trouble or have any questions, feel free to reach out. We're happy to help. Write to us at support@morphic.com.