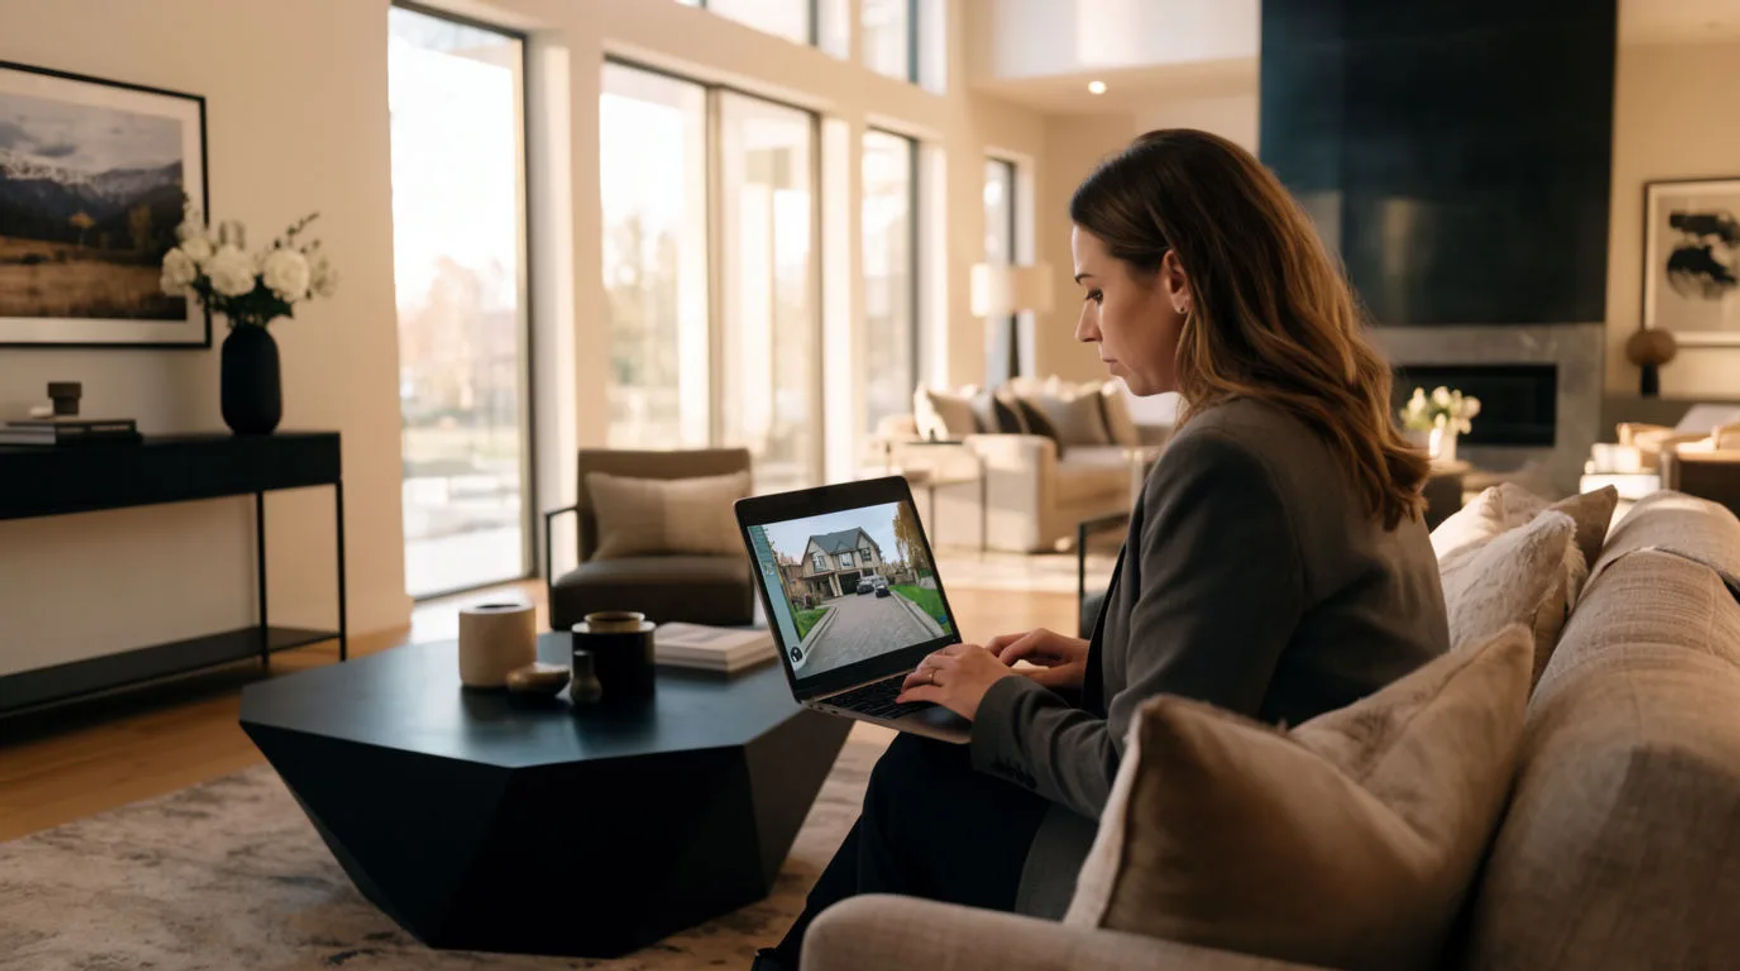
Real estate teams produce listing videos by animating the photos they already have into short, narrated walkthroughs, instead of booking a videographer for every property. The workflow is short: gather the listing photos, animate each one into a few seconds of motion, add a voiceover that names what the buyer is looking at, then brand and export a clean cut per listing. Filming becomes a deliberate choice for the flagship property, not the default cost of every listing.
Steps at a glance
- Gather the listing photos
- Animate the stills into a walkthrough
- Add voiceover narration
- Brand and export per listing
- Reserve a real shoot for hero properties
How to make a listing video from photos, step by step
Gather the listing photos
Start from the best photo of each room, since sharp focus on the space matters more than raw resolution. Order them the way a buyer would move through the property: exterior, entry, main living space, kitchen, bedrooms, then the view. If a room shot is dark, flat, or noisy, enhance it first (a paid feature) so the animation works from a clean frame rather than exaggerating the problem in every frame. A clean starting image is the single biggest factor in a believable result.
Animate the stills into a walkthrough
Upload each photo and describe the motion in plain words, keeping it subtle: a slow push toward a window, a gentle drift across the living room, light shifting through the kitchen. Name the move and its pace rather than asking for a lot of it. Subtle motion is what keeps the space looking like the real space; the more dramatic the move you request, the more a still begins to distort. Generate a couple of variations per room and keep the seconds that stay convincing.
Add voiceover narration
Write a short line for each room and generate a voiceover from it, directing the read for warmth and pace rather than booking a voice actor. The narration names what the buyer is looking at, the light in the mornings, the storage, the view, so the tour informs rather than just plays. The same script can be produced in a second language for another market, in the same place, without a separate vendor.
Brand and export per listing
Bring the animated rooms onto the Compose timeline in order, lay the narration and a soft music bed underneath with per-clip volume, add your agency intro and closing frame, and cut for rhythm. Because it all lives in one place, a price change or a new photo becomes a fresh export the same afternoon rather than a reshoot. A paid plan exports at higher resolution for a client-facing listing.
Here are a few of the finished shots this produces, each animated from a listing still rather than filmed:
Living room push-in
Kitchen drift
Golden-hour exterior
Hiring a videographer versus AI-assisted
The saving is less about any single clip and more about how each stage of the job changes. Here is the shift, honestly drawn.
| Stage | Hiring a videographer | AI-assisted |
|---|---|---|
| Turnaround | Booked days out | The same afternoon |
| Per-listing cost | A shoot every time | The photos you already have |
| A price or photo change | A reshoot | A fresh export today |
| Volume across listings | One booking each | A repeatable pass |
| Best used for | Flagship properties, real drone | Everyday listings, portals, social |
Put it together
Producing listing videos with AI is not about replacing the photographer; it is about changing what every routine listing costs. Gather the photos, animate each into a few gentle seconds, add narration that guides the buyer, and reserve a real shoot for the property that genuinely earns one. The lowest-risk way to feel it is to rebuild one recent listing as an animated, narrated cut and compare the cost honestly. The image-to-video generator is the fastest place to turn a room photo into motion, and how to make an AI video from a photo covers choosing motion so the space still looks like itself.