Pair from above
Two shoes side by side seen top down in fine ink, laces falling loose across the tongues and a ruled floorboard line beneath them.
プロンプトを編集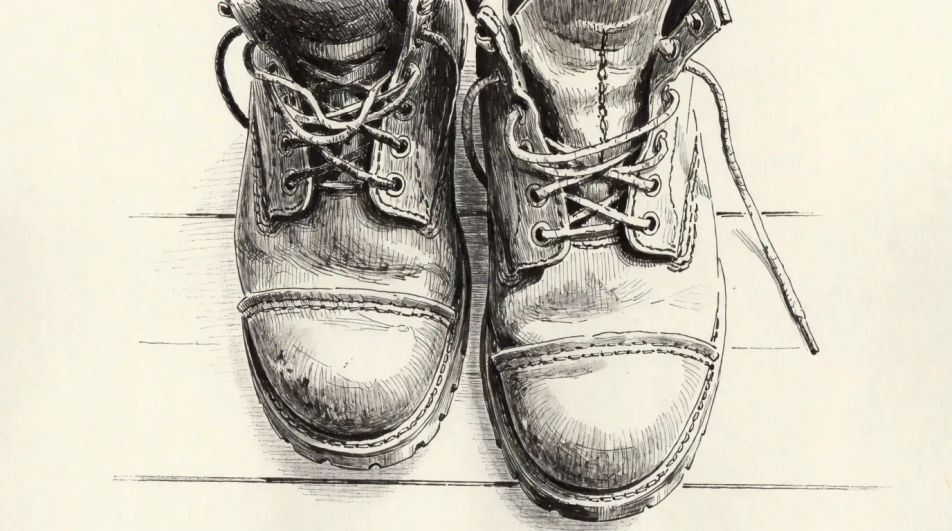
Describe the shoe you want in Morphic's Image tool, from a clean side-on design outline to a scuffed pair drawn from above, and get a finished drawing back. Set the shoe type, the angle, the material, the medium and the paper, refine it on the Canvas, then download it in HD.
Two shoes side by side seen top down in fine ink, laces falling loose across the tongues and a ruled floorboard line beneath them.
プロンプトを編集One shoe drawn four times in technical pen, side, top, heel and sole, with hand-ruled margins and blank labels beside each view.
プロンプトを編集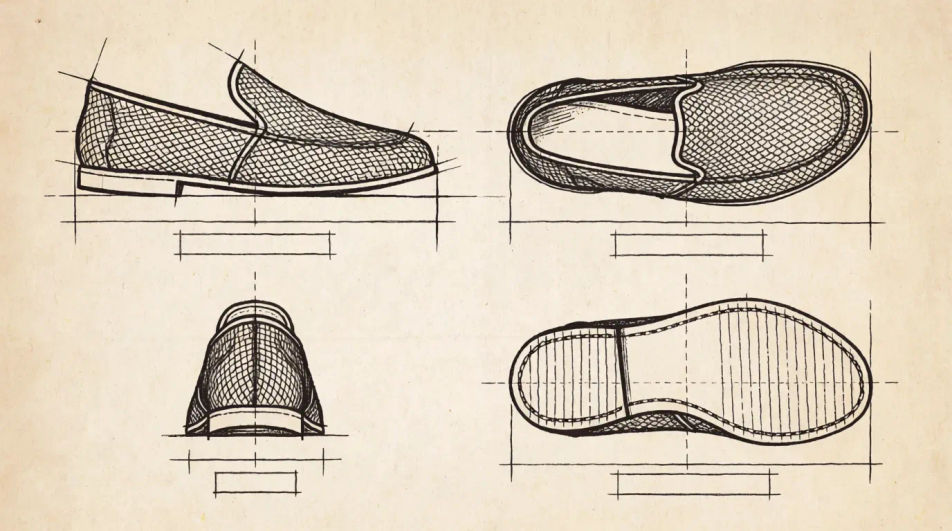
A kicked-off pair on a tiled floor in ink line, one shoe upright and one on its side, with a flat grey wash marking the cast shadows.
プロンプトを編集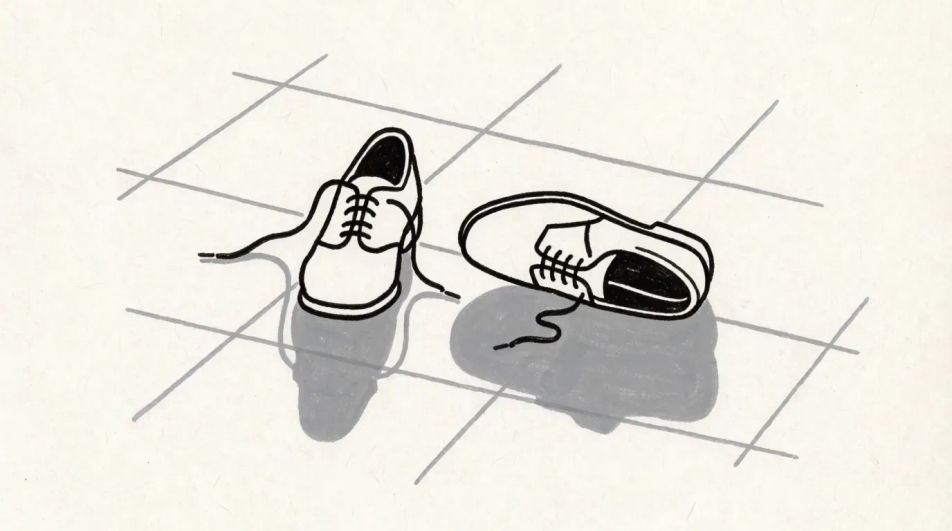
A row of shoes in charcoal, the front pair drawn sharply and the back ones smudged down to silhouette so depth reads immediately.
プロンプトを編集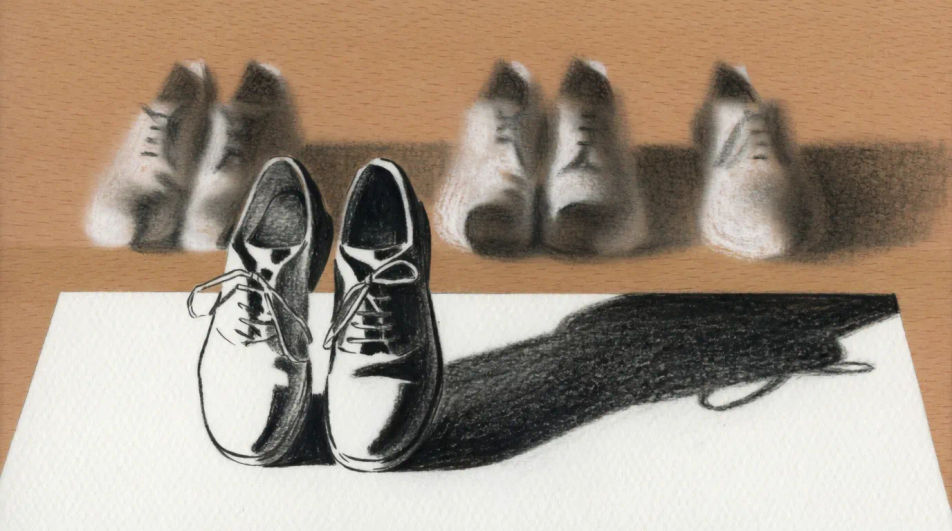
作りたいShoe drawingを、わかりやすい言葉で記述します。
Morphicがキャンバス上に公開できる画像を数秒で生成します。
プロンプトを調整して再生成し、気に入った画像を保存・共有します。
参照画像を選択し、そのビジュアルスタイルを自分の写真やアートワークに適用します。
画像を新しいアスペクト比に変換します。スマートクロップまたはエッジを拡張してフィットさせます。
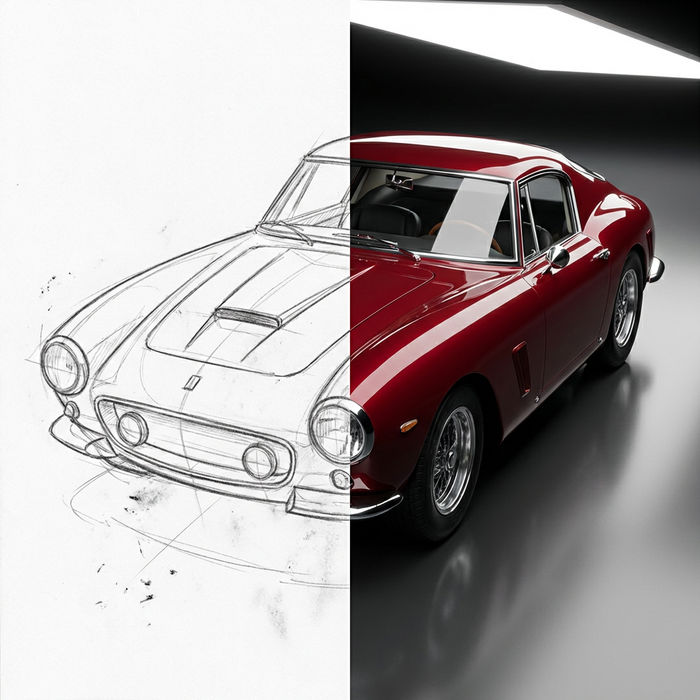
スケッチや描画をレンダリング済みの完成品に変換します。
あらゆる映像を全く新しいビジュアルスタイルに再構築します。全てのフレームが変容し、全ての動きはそのまま維持されます。
あらゆるアニメキャラクターを、フォトリアルでハイファッションな実写ポートレートとして再想像してください。
1枚の自撮り写真がプロ仕様のヘッドショットセットに。スタジオ品質、複数のスタイル。
Boots drawings in any medium
Turn a boots drawing idea into a finished image in Morphic. Describe the line work and style, generate variations, then refine it on the canvas.
Ballet shoes drawing maker
Turn a ballet shoes drawing idea into a finished image in Morphic. Describe the line work and style, generate variations, then refine it on the canvas.
Clothes drawing generator
Turn a clothes drawing idea into a finished image in Morphic. Describe the line work and style, generate variations, then refine it on the canvas.
Trophy drawing generator
Turn a trophy drawing idea into a finished image in Morphic. Describe the line work and style, generate variations, then refine it on the canvas.
今すぐ無料で始めて、いつでもアップグレードまたはキャンセルできます。
Basic
2400 月 クレジット
1 ユーザーのみ
すべてのモデル
ワークフロー
Standard
3625 月 クレジット
1 ユーザーのみ
すべてのモデル
ワークフロー
Pro
6350 共有 月 クレジット
1 ユーザー
すべてのモデル
ワークフロー
Max
24650 共有 月 クレジット
1 ユーザー
すべてのモデル
ワークフロー
Enterprise
より高い制限のために
カスタム
料金と請求条件
Free
気軽に試したい方に
$0
ずっと無料