What is a cap embroidery mockup?
A cap embroidery mockup is a product image showing your artwork stitched onto the front panel of a cap before any sampling happens. Merch brands, teams, events and corporate gifting buyers use it to approve a design and to sell from a store page. It matters because embroidery behaves nothing like print, and a design that works flat can lose all its detail in thread.
With Morphic you make this mockup from a text prompt in your browser. Describe the cap style and colour, the stitched artwork and thread colours, and the lighting, then adjust and download in HD. You get a convincing stitched product shot without ordering a sample.
Simplify the artwork for stitching
Reduce the design to bold shapes, thick strokes and a small number of thread colours, because fine hairlines and gradients do not stitch cleanly. Keep any wording short so each letter stays readable at chest-panel size.
Describe the cap
Open Morphic and describe the cap: the style such as a structured six-panel or a soft dad cap, the fabric colour, and the brim. State that the front panel carries embroidery so the material reads correctly.
Specify the stitch look
Ask for raised satin-stitch lettering with visible thread texture and a slight sheen, and name the thread colours against the cap fabric. Calling out the stitch type is what separates a real embroidery look from a flat printed one.
Generate options to compare
Produce takes with different cap colours or thread combinations so you can see which pairing keeps the design legible. Contrast between thread and fabric matters more in embroidery than in print.
Check the detail and export
Zoom in and confirm the stitching follows the curve of the panel and that no element has collapsed into a blob. Download in HD and send it out for approval or upload it to your store.
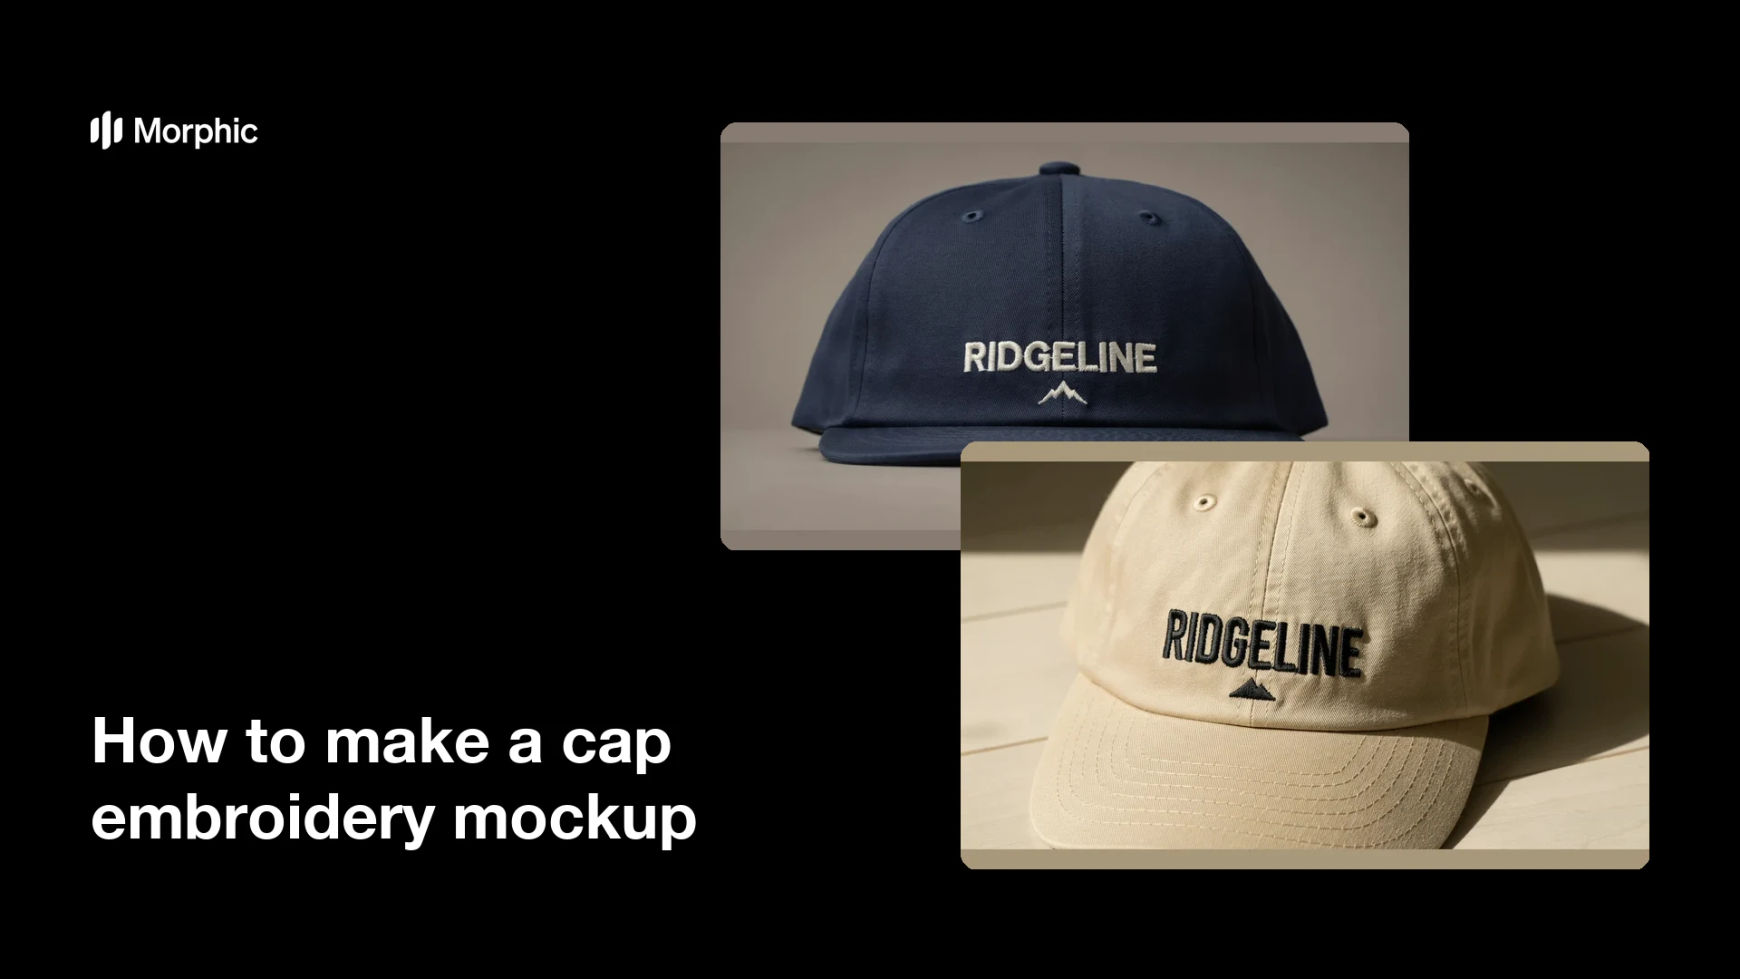
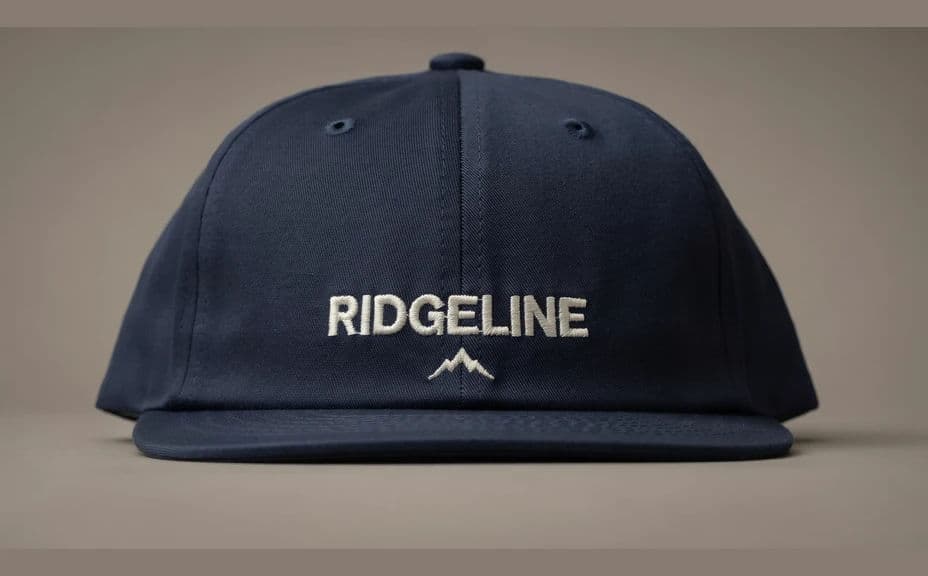
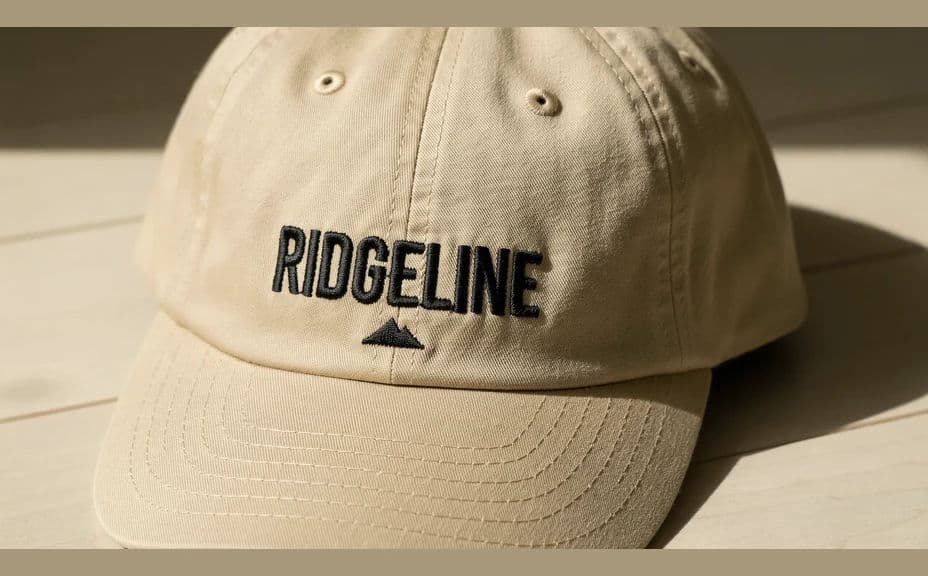
Two mockup options for the same embroidered cap design, in different cap and thread pairings.
What makes a good cap embroidery mockup
| Quality | What it means | Why it matters |
|---|---|---|
| Stitch-friendly artwork | Bold shapes and few thread colours | The design survives being sewn, not just drawn |
| Visible thread texture | Raised stitching with a slight sheen | The mockup reads as embroidery, not print |
| Panel-aware placement | Artwork centred and curved with the front panel | It matches what an embroiderer can actually do |
| Thread and fabric contrast | Clear separation between thread and cap colour | The design stays legible from a distance |
Morphic vs the traditional way
| Morphic | Digitising and a sample cap | |
|---|---|---|
| Cost | Available on Morphic | Digitising fee plus sample and shipping |
| Time | A finished mockup in minutes | Days of sampling and back-and-forth |
| Skill needed | Describe it in plain language | Embroidery digitising knowledge |
| Consistency | Regenerate colourways in one look | New sample for every combination |
FAQs
Yes. Describe the artwork and any short wording, and the mockup renders it on the front panel. Keep the design bold so it holds up as stitching.
Yes, if you ask for it. Specify raised satin stitch, visible thread texture and a slight sheen, and the panel reads as sewn rather than printed.
Structured six-panel, soft dad cap, trucker, or five-panel. Name the style and brim shape in your prompt and generate more than one for your listing.
Keep it to two or three. Fewer colours stitch more cleanly, cost less to produce, and keep the design readable on a small front panel.
Yes. Ask for the same stitched artwork on different fabric colours, so one design becomes a full range with a consistent look.
Yes. Mockups you generate with Morphic are cleared for commercial use across your store, proposals and social channels.