What is a city guide graphic?
A city guide graphic is a single illustrated or photographic panel that presents a destination and a short list of things to see, eat, or do there. Travel bloggers, tour operators, hotels, and tourism boards use them because one saveable image carries more than a caption ever will. It works as a social post, a carousel cover, a blog header, or a printed handout at a front desk.
With Morphic you make one from a text prompt in your browser. Describe the city, the landmark or skyline you want featured, the title text, and the colour palette, then adjust the result and download it in HD. You end up with a finished, on-brand guide graphic without opening design software or briefing an illustrator.
Choose the city and the angle
Pick the destination and the single theme the guide covers, such as a weekend itinerary, a food trail, or a neighbourhood walk. A narrow angle keeps the graphic focused instead of trying to cover a whole city at once.
Write the title and short list
Decide the exact city name for the headline and up to four short entries you want shown. Writing the copy before you generate keeps the layout tight and the text legible.
Describe the visual style
Open Morphic and describe the landmark, skyline, or map motif you want, along with the illustration or photographic style. Name your palette so the graphic matches the rest of your travel content.
Generate layout options
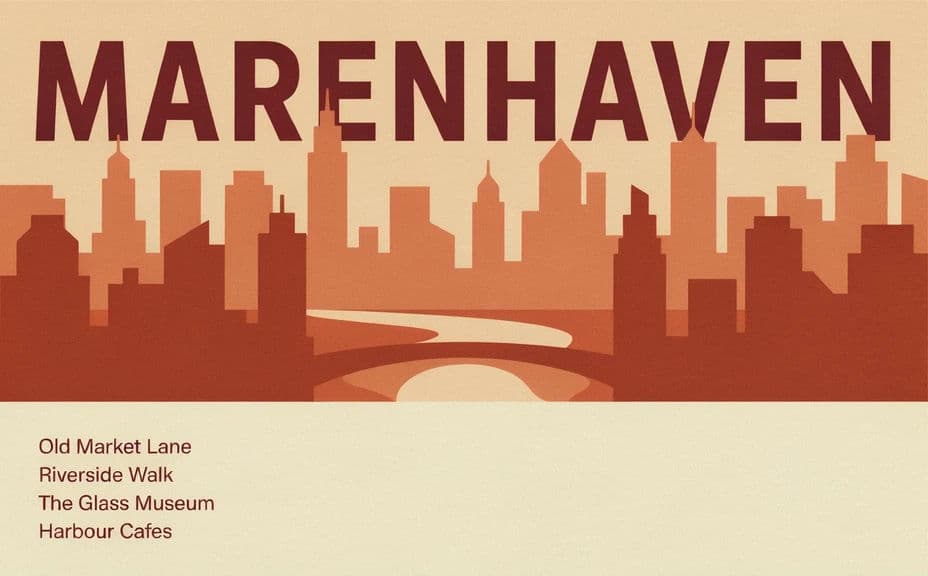
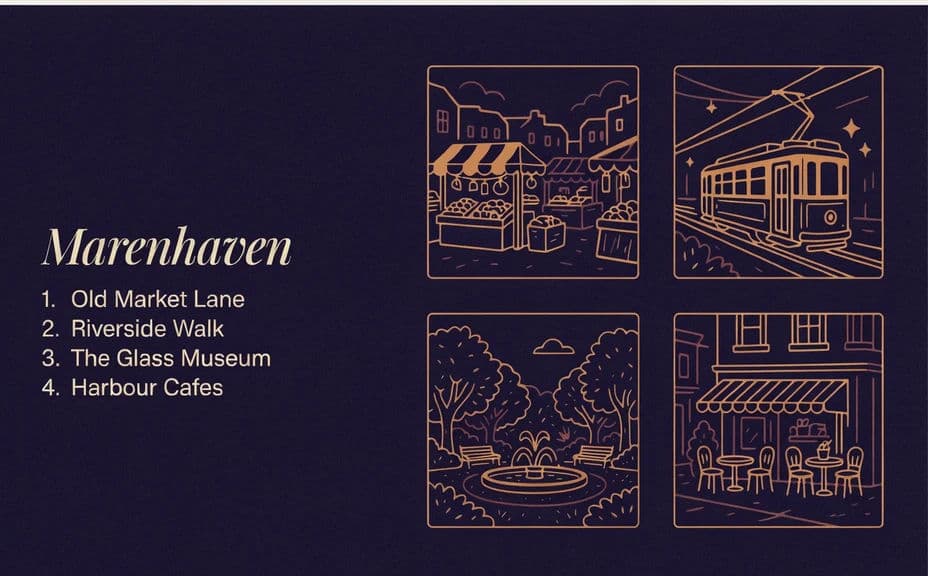
Produce two versions of the same city guide with different compositions, such as a full-bleed landmark and a panel-based layout. Comparing them side by side shows which one carries the title most clearly.
Check the text and export
Preview the graphic at feed size and confirm the city name and list entries stay sharp and correctly spelled. Download in HD, then post it or drop it into your blog and print materials.
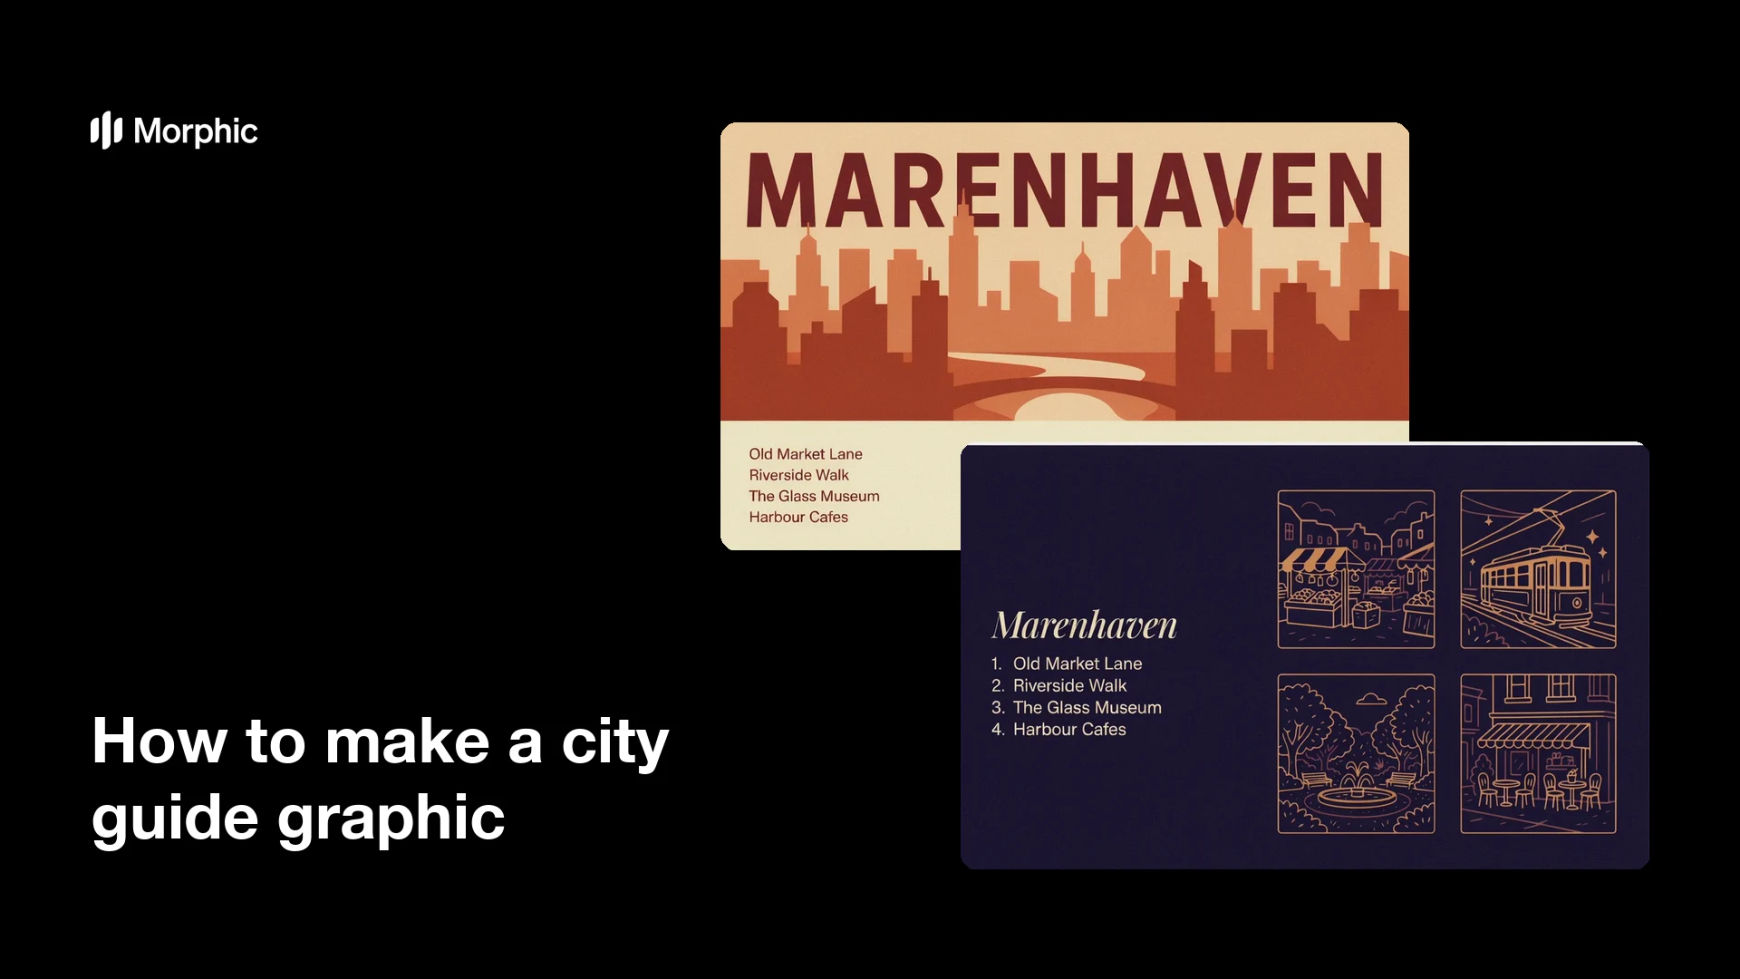
Two layout options for the same city guide, each carrying the city name and list.
What makes a good city guide graphic
| Quality | What it means | Why it matters |
|---|---|---|
| Recognisable landmark | A skyline or icon tied to the city | Viewers identify the destination instantly |
| Short, scannable list | Four entries at most, kept brief | The graphic reads in a single scroll |
| Legible headline | The city name is large and high contrast | The post works as a small thumbnail |
| Consistent palette | Colours match your travel content | Your guides look like a series, not one-offs |
Morphic vs the traditional way
| Morphic | An illustrator and design software | |
|---|---|---|
| Cost | Available on Morphic | Illustration fee plus a software subscription |
| Time | A finished guide graphic in minutes | Days of sketching, revisions, and layout |
| Skill needed | Describe it in plain language | Illustration and typography skills |
| Consistency | Regenerate every city in one style | Manual rework to match each new guide |
FAQs
Yes. Give the exact city name and any list entries in your prompt, and the layout renders around them. Regenerate with new wording whenever the itinerary changes.
Yes. Describe the style you want, such as flat vector, line art, or watercolour, and the graphic renders that way. You can try both and compare before choosing.
Match it to where it will run. A 4:5 or square shape suits social feeds, while a wide ratio works better as a blog header, and you can generate both.
Yes. Keep the same style description and swap the city, landmark, and list each time so the whole set looks like one series.
Yes, if you keep the headline large and the list short. Preview at thumbnail size and regenerate if any line looks cramped or low contrast.
Yes. City guide graphics you generate with Morphic are cleared for commercial use across your social channels, blog, and printed materials.