What is a shoe product photo?
A shoe product photo is a controlled image of a single pair, framed so a buyer can read the silhouette, the materials, and the sole in one look. Footwear is bought on shape and finish, so the angle and the light do most of the persuading before any copy is read. Retailers, resellers, and footwear labels rely on it because it is the image that carries the listing, the ad, and the marketplace thumbnail.
With Morphic you make this photo from a text prompt in your browser. Describe the shoe, the angle, the surface, and the light, compare a few setups, then download in HD. You get a clean product shot without a studio, a light tent, or a retouching pass.
Describe the shoe in detail
Name the silhouette, the materials, the colourway, and the sole construction. Footwear detail is what makes the difference between a generic shoe and your actual product.
Choose the angle
Open Morphic and specify the view, whether that is a straight profile, a three-quarter hero angle, or a top-down pair shot. The angle decides which part of the design a buyer sees first.
Set the surface and light
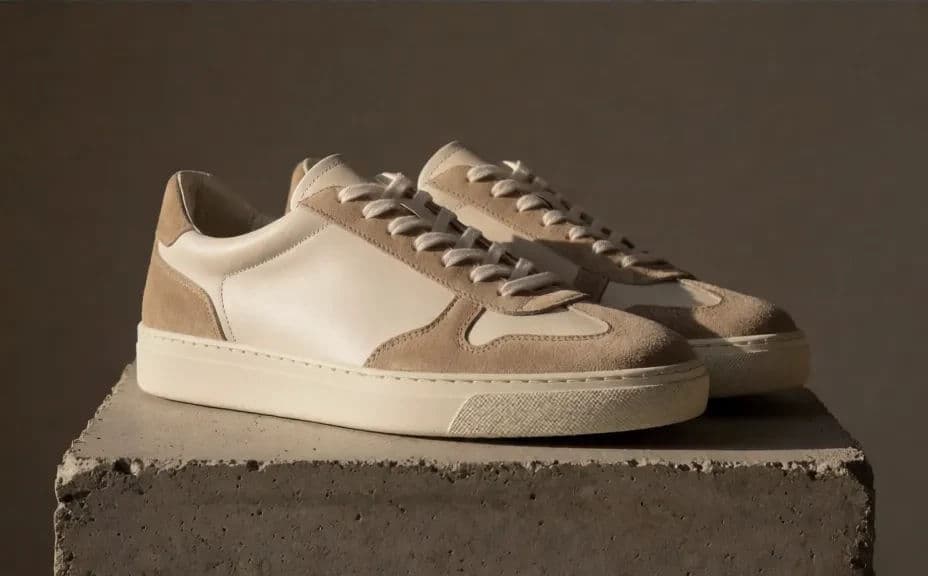
Describe the surface the shoe sits on and the quality of light falling on it, from seamless studio white to concrete under directional sun. Controlled light keeps leather, mesh, and rubber reading as distinct materials.
Compare a few setups
Ask for several versions that vary the angle, background, and shadow. Reviewing them together shows which setup presents the shoe most clearly.
Export and list it
Check the stitching, the sole edge, and the colour at full size before you commit. Download in HD and use the image on your product page, marketplace listing, and ads.
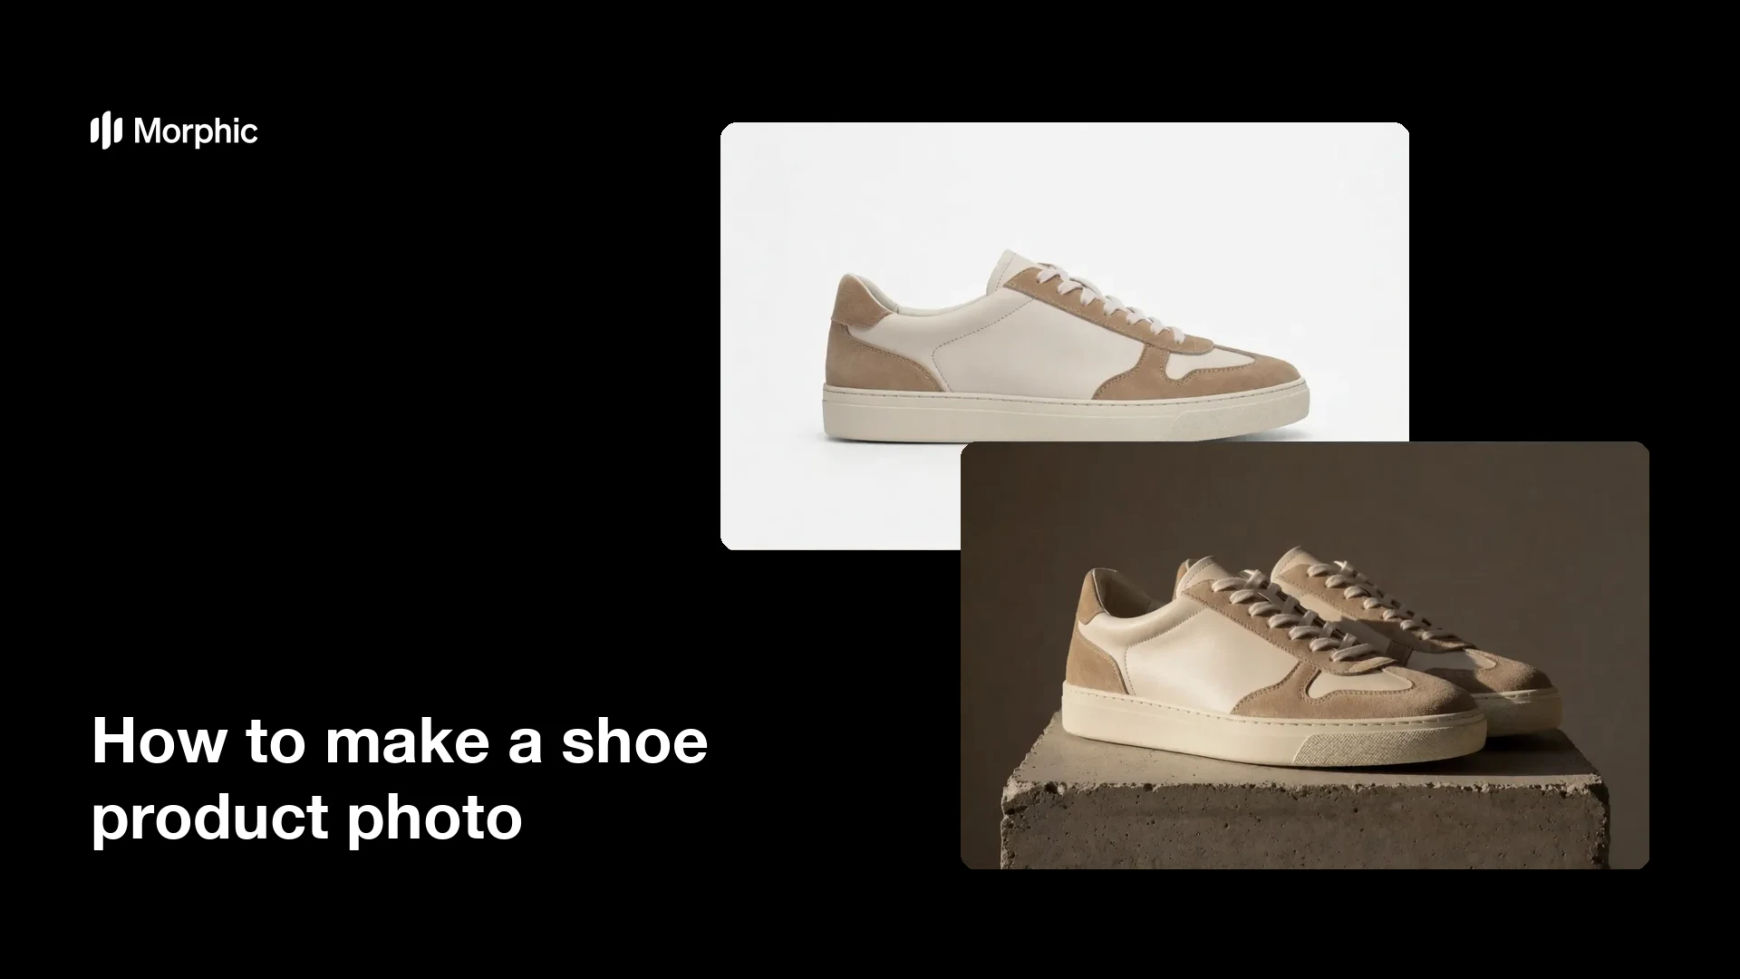
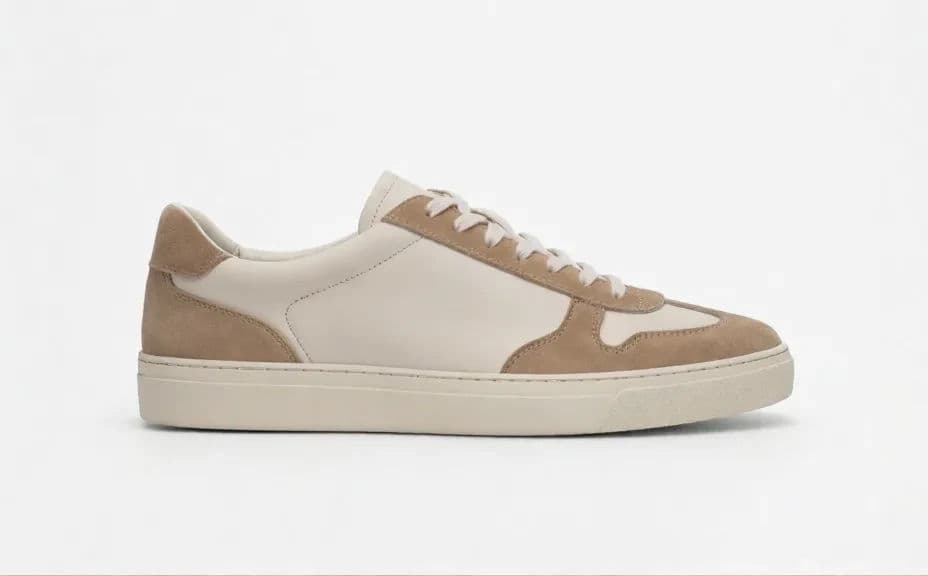
Two studio setups for the same pair of shoes, shot from different angles.
What makes a good shoe product photo
| Quality | What it means | Why it matters |
|---|---|---|
| Readable silhouette | The shape is clear from the chosen angle | Buyers judge footwear on shape first |
| Distinct materials | Leather, mesh, and rubber look different | The finish and quality come across |
| Grounded shadow | The shoe sits on the surface convincingly | The product looks photographed, not floating |
| True colourway | The tones match the real pair | Fewer returns and fewer questions |
Morphic vs the traditional way
| Morphic | A product studio shoot | |
|---|---|---|
| Cost | Available on Morphic | Studio time, lighting, and retouching fees |
| Time | A finished image in minutes | Hours of setup and post per pair |
| Skill needed | Describe it in plain language | Studio lighting and retouching skills |
| Consistency | Regenerate images that match | Careful re-rigging for every pair |
FAQs
A profile view shows the silhouette clearly, while a three-quarter angle shows the toe and the sole together. Generate both and compare.
Yes. Ask for a sole-up view or a close crop on the stitching, laces, or heel counter as extra listing images.
Describe the same angle, background, and lighting for every pair so the catalogue reads as one coherent set.
Yes. Ask for a seamless white background with a soft contact shadow, which suits most marketplace requirements.
Yes. Describe them on a person walking or standing, and the photo will place the pair in a lifestyle context.
Yes. Images you generate with Morphic are cleared for commercial use across your store and marketing.