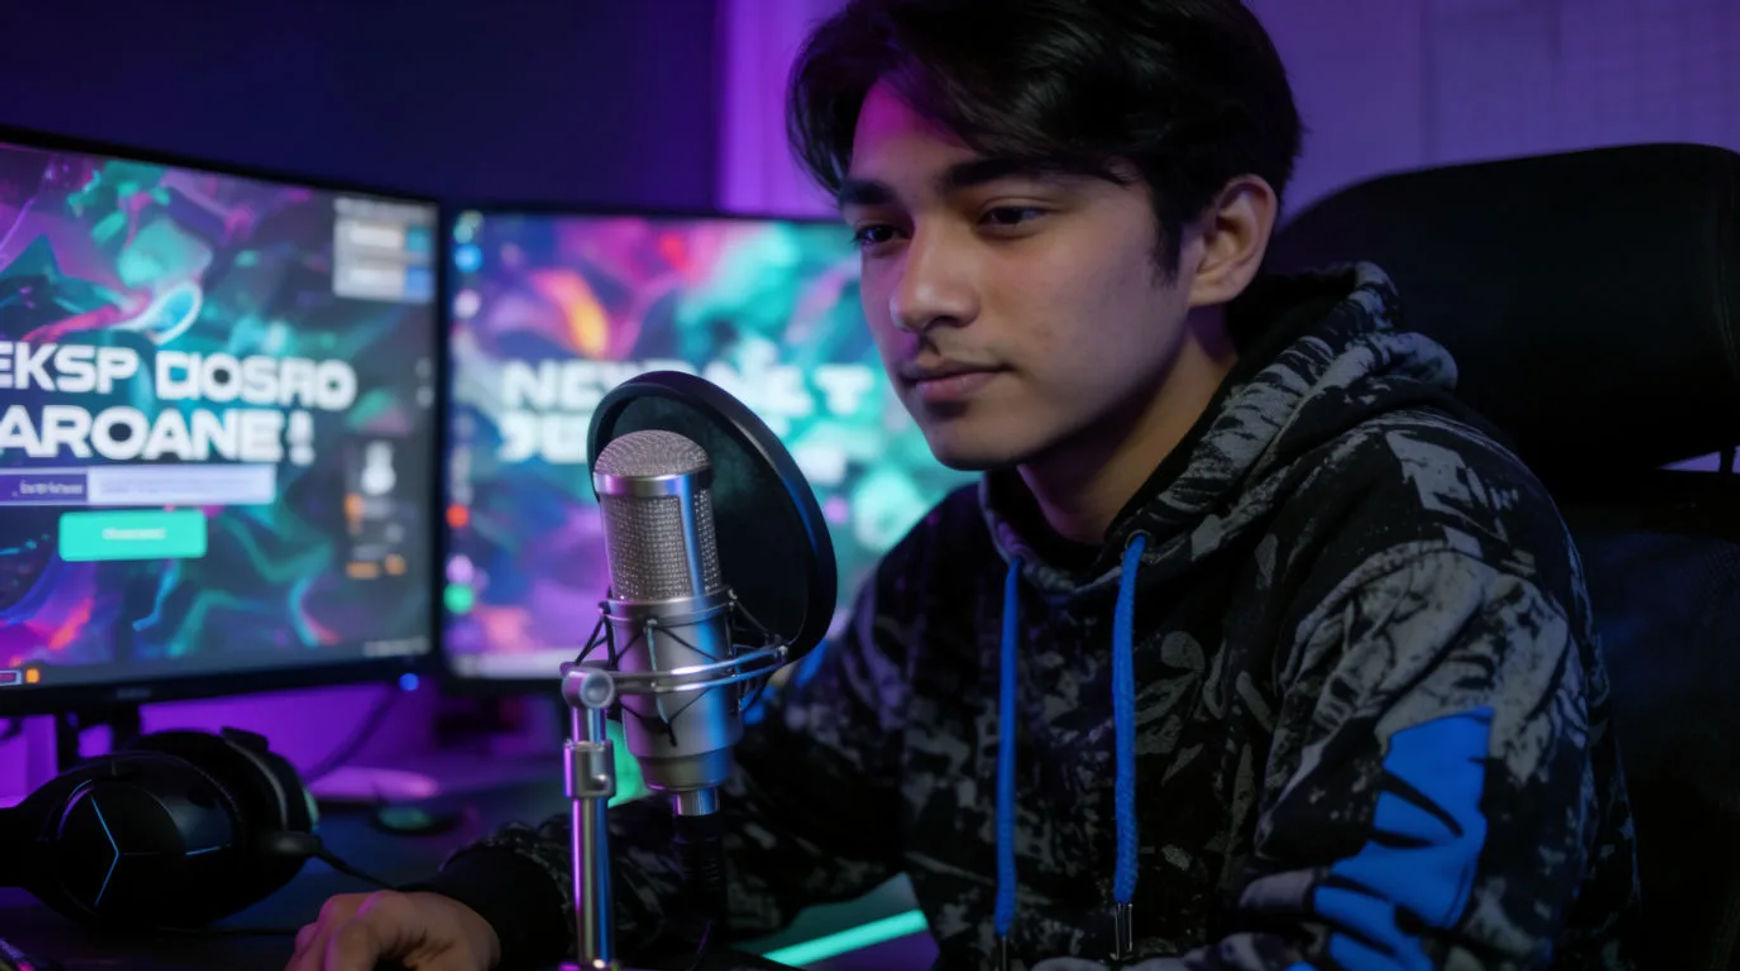
Streamers build a channel look by generating the intro animation, the overlay and scene art, and a recurring avatar from one set of references, instead of commissioning a designer for each piece. The workflow is short: settle the look, generate the intro, produce the overlay set in that same style, then build an avatar you can reuse. Because the pieces come from one place and one reference, the intro, the scene cards, and the avatar read as a single brand rather than three separate jobs.
Steps at a glance
- Design the look
- Generate the intro animation
- Create the overlay and scene art
- Build a recurring avatar
- Assemble and export in one place
How to build a stream look, step by step
Design the look
Start by describing the channel's direction in plain language: the palette, the mood, the energy, the kind of world it lives in. Generate a few options and pick the one that feels like your channel, then keep it as the reference the rest of the work follows. This first decision is the one that matters most, because every later piece inherits it. Naming the light and the mood, rather than asking for something generic, is the difference between art that looks generated and art that looks designed.
Generate the intro animation
Turn the look into a short intro: describe the motion you want, the reveal of your name or logo, the energy of the open, and generate a few seconds of animation. Direct it like a shot, naming the move and its pace, then generate variations and keep the take that lands. If an open drifts from your look, adjust one thing and regenerate rather than starting over, so the intro stays inside the brand you set in step one.
Create the overlay and scene art
Produce the scene cards as a matching set in the same style: Starting Soon, Be Right Back, Stream Ending, plus your alert and panel art. Ask for the group rather than one card at a time, so they share a palette and a frame instead of looking assembled from different sources. Generating them together is what makes the overlay read as one system, and adding a new scene later starts from the same look rather than a fresh brief.
Build a recurring avatar
Create an avatar or mascot for the channel, then build a reference for it and pass that reference into every generation that needs it, so the same character carries from the intro to the panels to future art. Reference sheets are how a recurring character stays recognisably the same from one piece to the next; you stop re-describing the look in words and hoping. That reusable character is what turns a one-off avatar into channel branding you can extend for as long as the channel runs.
Here are a few of the branded pieces this produces, each generated from the channel's look rather than commissioned:
Intro reveal
Animated overlay
Avatar in motion
Hiring a designer versus AI-assisted
The saving is less about any single asset and more about how each stage of the branding job changes. Here is the shift, honestly drawn.
| Task | Hiring a designer | AI-assisted |
|---|---|---|
| Starting art | A brief and a wait | The same afternoon |
| A revision | A back-and-forth round | A regeneration today |
| A matching set | Priced per asset | One style, generated together |
| A new scene later | A fresh commission | Same look, extended |
| Best used for | A bespoke signature identity | Intros, overlays, avatars, refreshes |
Put it together
Building a stream look with AI is not about replacing a designer's taste; it is about changing what it costs to have a consistent brand from day one. Settle the look, generate the intro, produce the overlay set in that same style, and build an avatar you can reuse for as long as the channel runs. The thing that holds it together is working from one look and one reference, so the pieces read as a brand instead of a pile of assets. Start by generating the look, then extend it. The AI image generator is the fastest place to settle a direction, and how to make an AI video covers directing the intro so it looks designed rather than generated.