Characters
Color, label, size and pose the characters in a 3D scene, and put a rider on a vehicle.
Characters in a 3D scene are mannequins: plain figures you color, label and pose. They show who stands where without committing to a look, which you add later when you generate the final shot.
Add a character
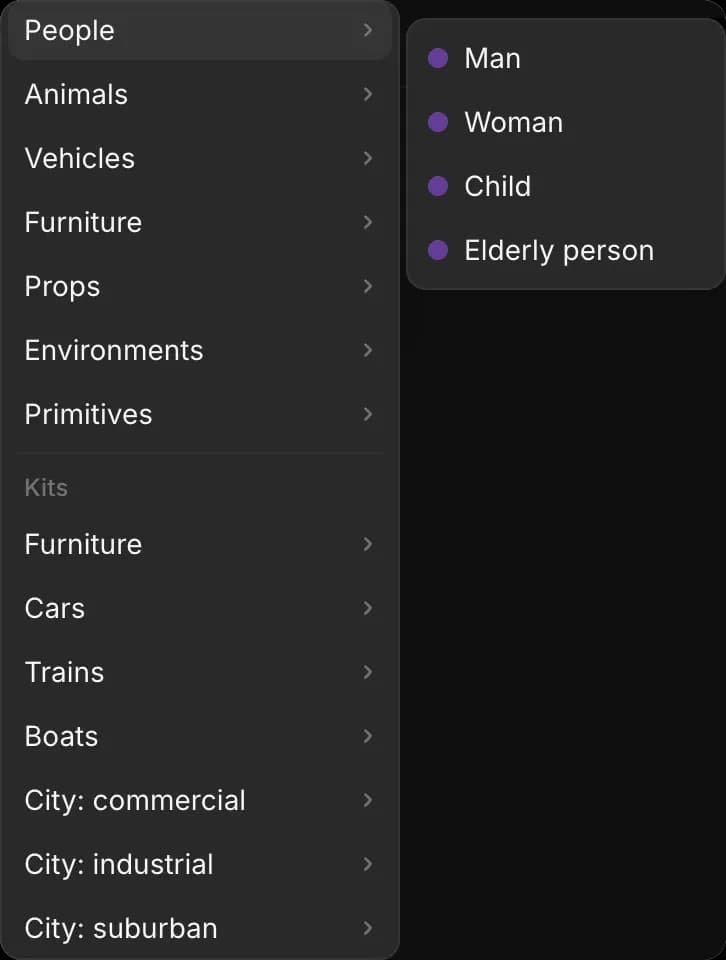
- Click 'Add object', the '+' at the top left
- Hover over 'People'
- Click 'Man', 'Woman', 'Child' or 'Elderly person'
For a plain figure, use 'Basic objects' > 'Character'. A new character is selected, and its settings open in the 'Selection' tab.
Color and label
Give every character a different color. When you generate from the export, you name each one by its color. See Cast by color.
- Select the character
- In the 'Selection' tab, click the swatch next to 'Color' and pick a color
- Type a name in 'Label'. It appears above the character in the same color
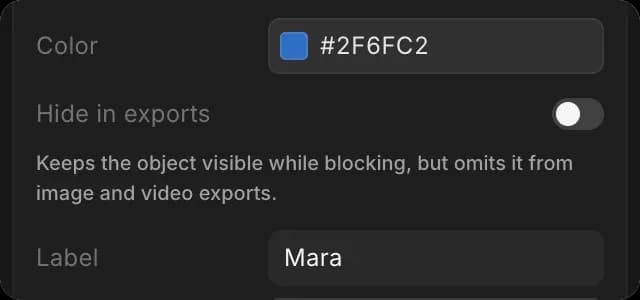
Labels appear in exports. Clear the label to hide it.
Height and build
Select the character, then in the 'Selection' tab:
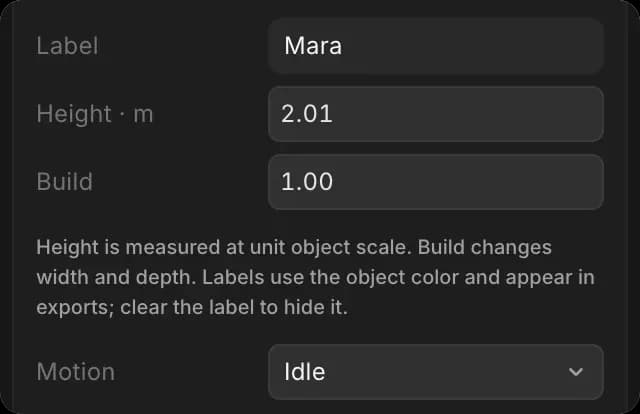
- Type a height in metres in 'Height · m'
- Type a number in 'Build' to make the figure wider or narrower. 1.00 is standard
Pose
- Select the character
- In the 'Selection' tab, go to 'Character pose'
- Pick a 'Pose': Standing, Sitting, Walking, Running, Crouching or Arms raised
To bend a single joint:
- Pick the joint in 'Joint': the torso, head, or a shoulder, elbow, hip or knee
- Type angles into 'Rotate'. 'Pose' changes to 'Custom'
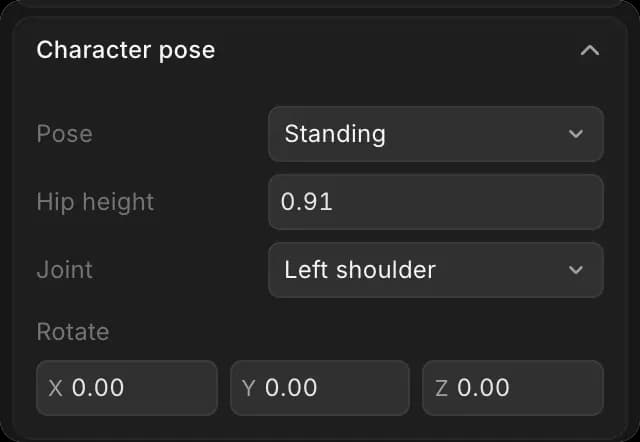
'Hip height' raises or lowers the body, for sitting on a higher seat. 'Motion', above 'Character pose', sets how the character moves between keyframes: 'Idle', 'Walk' or 'Run'. See Animation.
Riding a vehicle
Put a rider on a horse, or a driver in a car.
- Add the vehicle and the rider
- Select the rider, and move them onto the seat, or to where they climb on
- For a rider, set 'Pose' to 'Sitting'
- In the 'Selection' tab, scroll to 'Attachment & boarding'
- Open 'Parent' and pick the vehicle
- Leave 'Boarding frame' at 0 to ride from the start. To board later, move the playhead to that frame and click 'Use playhead'
- Click 'Attach / board'
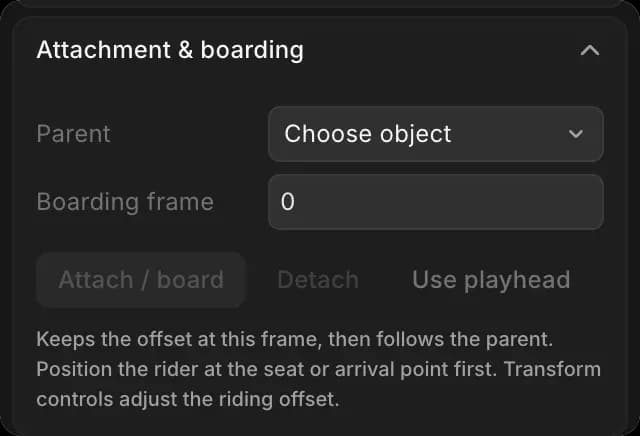
The panel shows the vehicle and the frames, such as 'Horse · frame 0–end'. From that frame the rider moves with the vehicle. 'Detach' lets them off.
That's how to set up characters in a 3D scene on Morphic. Color and label them first, so every export shows who is who.
If you have any trouble or have any questions, feel free to reach out. We're happy to help. Write to us at support@morphic.com.