Text and captions
Put titles on screen, and turn the speech in your video into subtitles.
Text is a clip like any other. Move it, stretch it, and change the wording at any point.
Titles
- Open the 'Text' tab on the left
- Move the playhead to where you want the text to appear
- Click a style:
| Style | Use it for |
|---|---|
| 'Headline' | A title card, or the opening line of a video |
| 'Subtitle' | A smaller line under a headline |
| 'Lower third' | A name and role while someone is speaking |
| 'Caption style' | A single line matching the look of your subtitles |
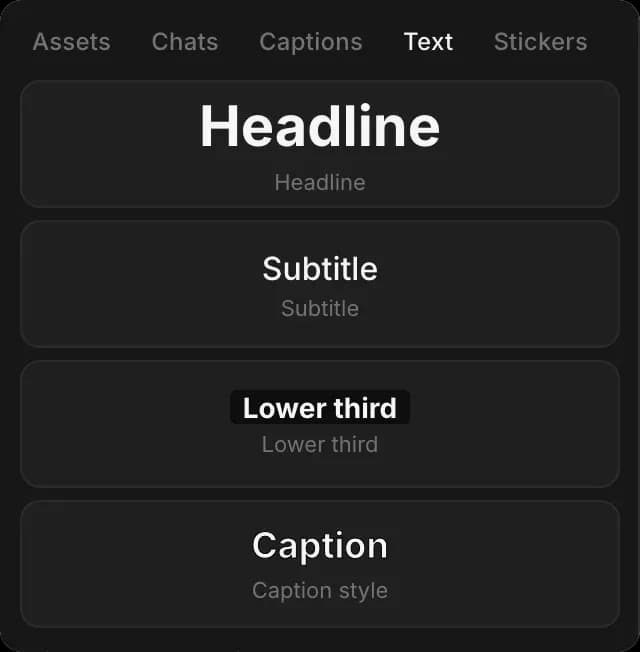
The text lands at the playhead, on a new lane above your clips. Drag its ends to change how long it stays on screen.
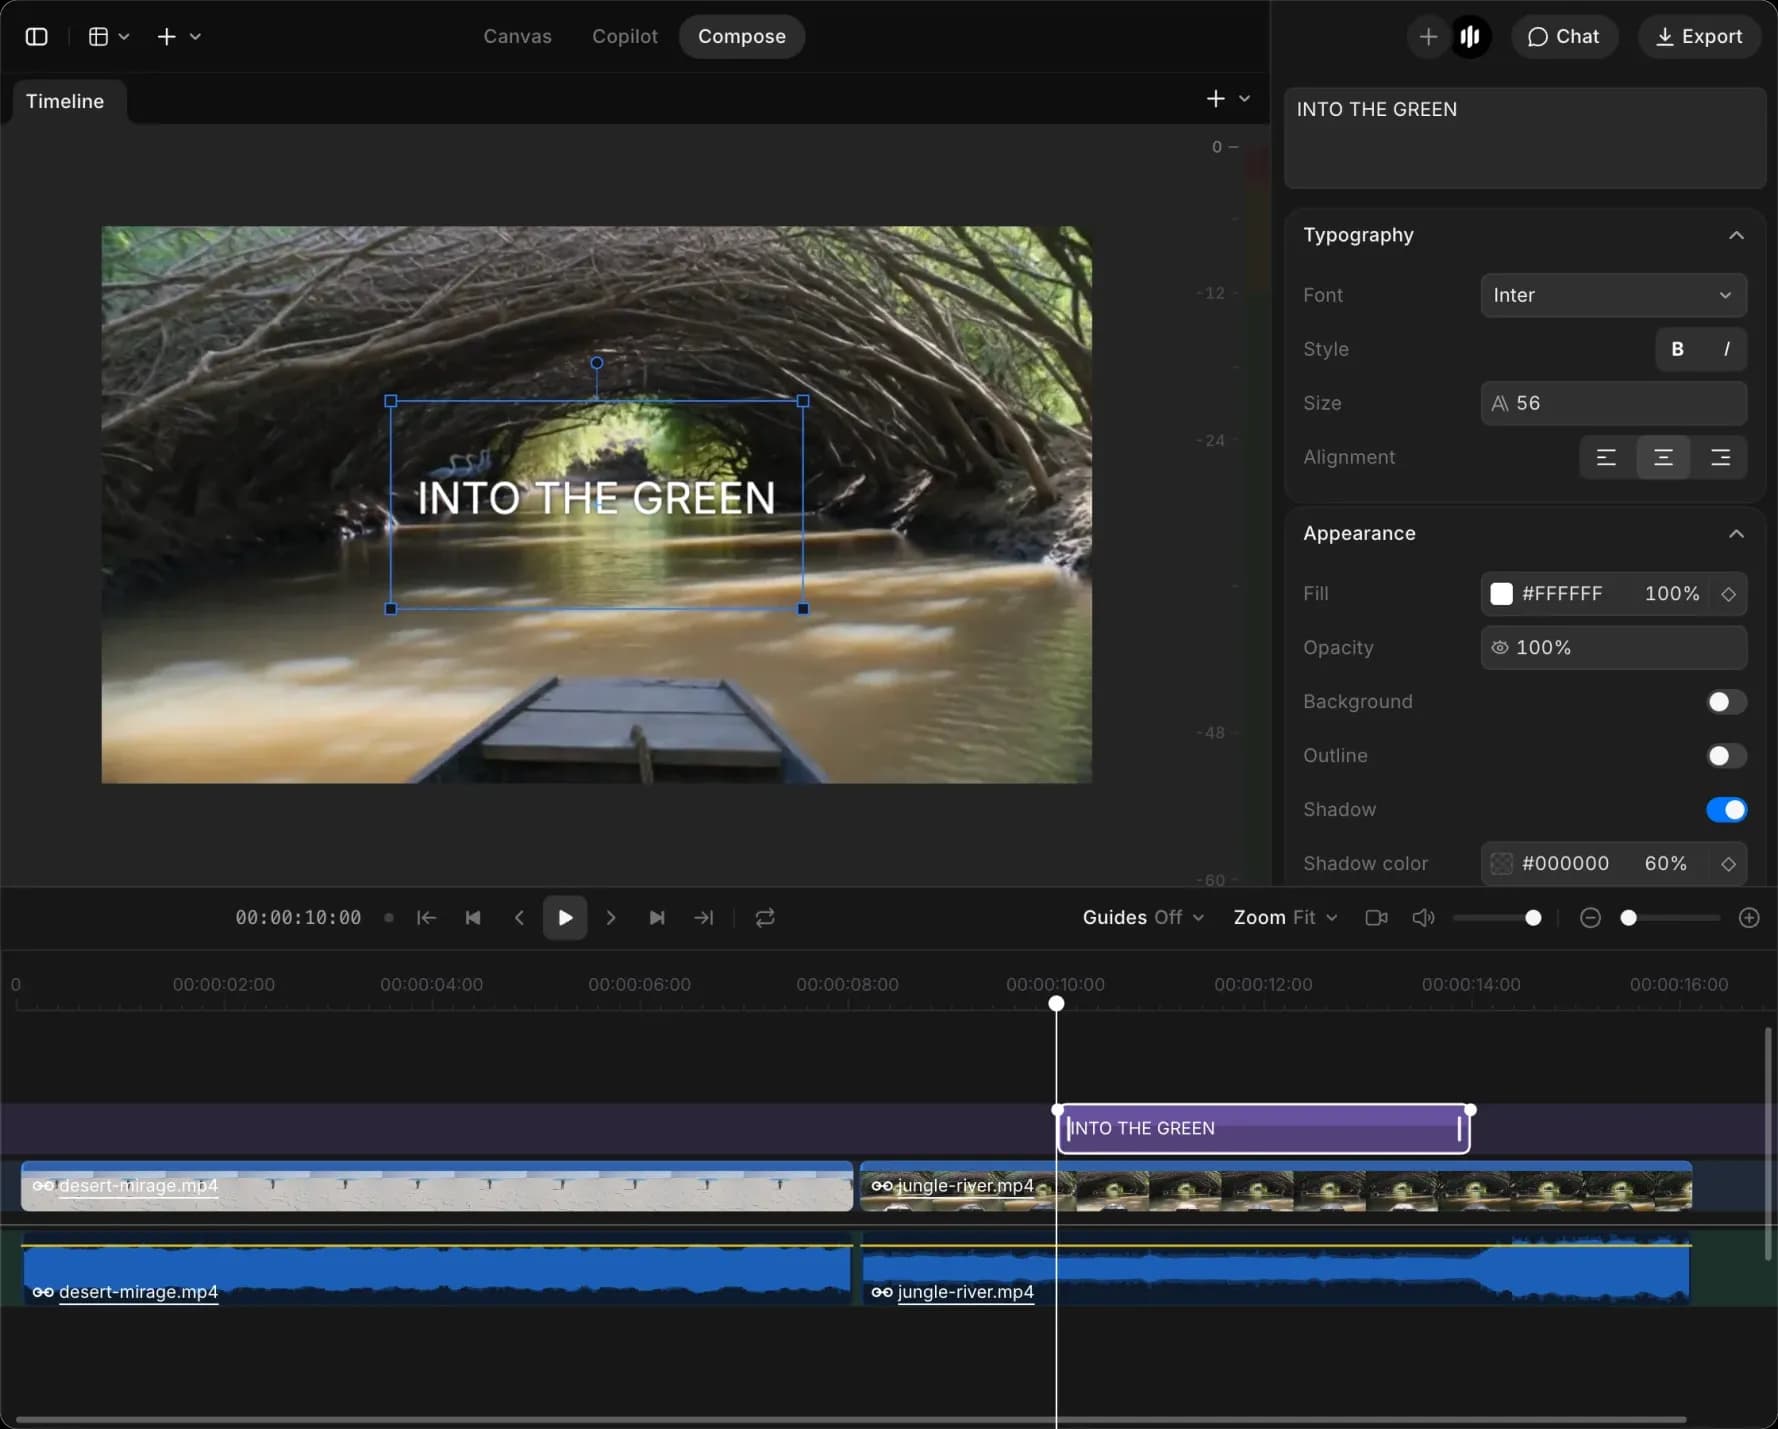
Select it and the right panel gives you a box for the wording, then:
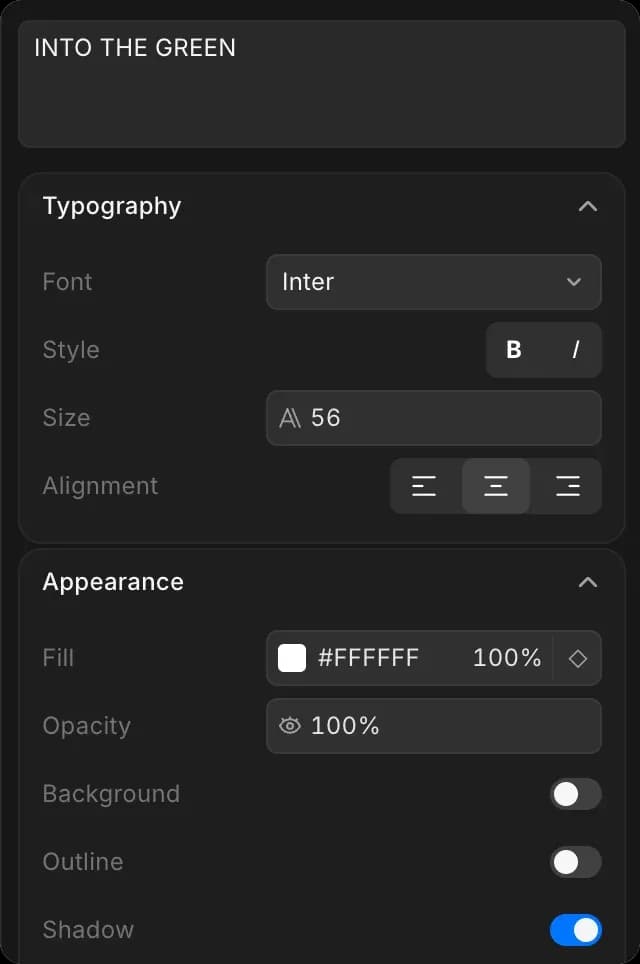
- 'Typography': font, bold and italic, size, and left, center or right alignment
- 'Appearance': fill color and opacity, plus 'Background', 'Outline' and 'Shadow' as toggles, with the shadow's color, offset and blur
- 'Animation': how the text arrives. 'Per line' offers fade in, pop in, slide up and typewriter; 'Per word' offers word reveal, word slide, word pop, word cycle, highlight and highlight block.
Most of these take keyframes, so a title can change color or drift as it plays. See Motion and framing.
A lower third is the name-and-title strip near the bottom of the frame when someone is speaking.
Generate subtitles
Compose listens to the audio on your timeline and writes the subtitles for you.
- Open the 'Captions' tab on the left
- Check 'Audio source'. 'All spoken audio' uses everything on the timeline.
- Set 'Language', or leave it on 'Automatic'
- Set 'Words per line' if you want shorter lines than 'Unlimited'
- Turn on 'Mask profanity' if you need it
- Click 'Generate captions'
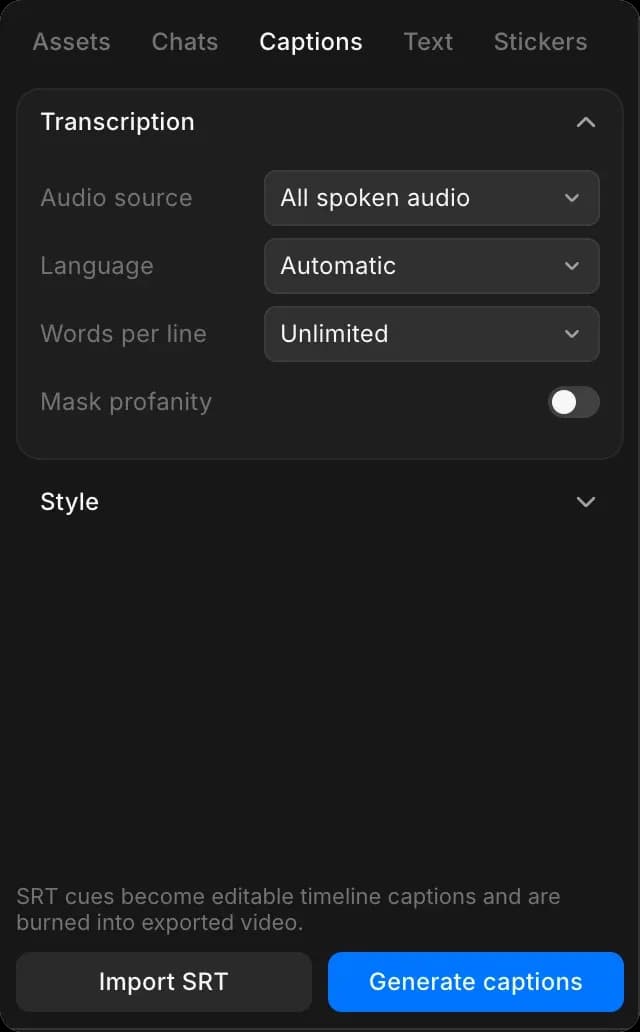
Each line of speech becomes its own clip.
This step spends credits based on how much audio it listens to; see Transcription for the rates. Changing the look or position afterwards costs nothing.
Subtitle style
The 'Style' section of the 'Captions' tab sets how subtitles look, with a sample line that updates as you change things. Set it before you click 'Generate captions' and every new line uses it:
- 'Font', 'Weight' and 'Relative size'
- 'Text color', 'Background' and 'Background opacity': a panel behind the words keeps them readable over a bright shot
- 'Outline color' and 'Outline': an edge around the letters, which does the same job more subtly
- 'Shadow', 'Line height' and 'Letter spacing'
- 'Bottom position': how far up from the bottom of the frame the lines sit, 5% by default
- 'Maximum width': how wide a line can run before it wraps, 82% of the frame by default
- 'Letter case': 'Automatic', or force capitals
- 'Animation': how each line arrives
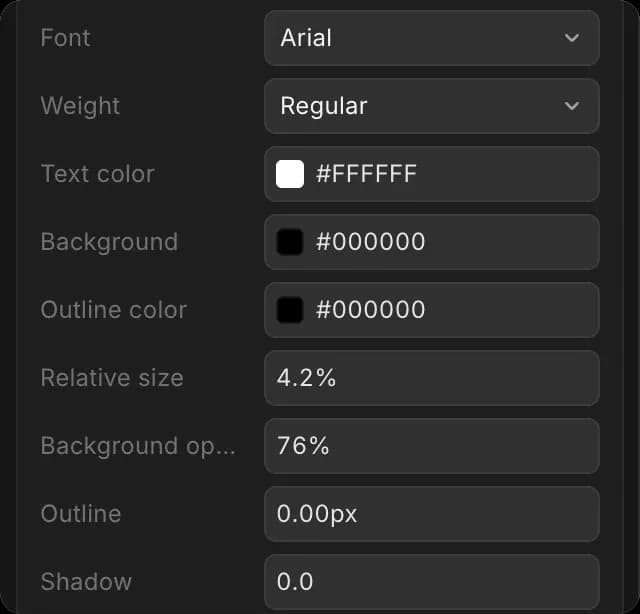
To restyle subtitles you already have, select one, change the style, then click 'Apply to selected captions'. The change covers the whole set, so you never restyle line by line. 'Load selected style' copies a set's look back into the panel, and 'Reset style' returns to the defaults.
Import an SRT file
If you have an SRT file from elsewhere, click 'Import SRT' in the 'Captions' tab. Each line becomes an editable caption on the timeline, styled with the settings above. Importing does not transcribe anything, so it costs no credits.
When you export, choose whether subtitles are burned into the picture or saved as a separate file. See Export a video.
Stickers
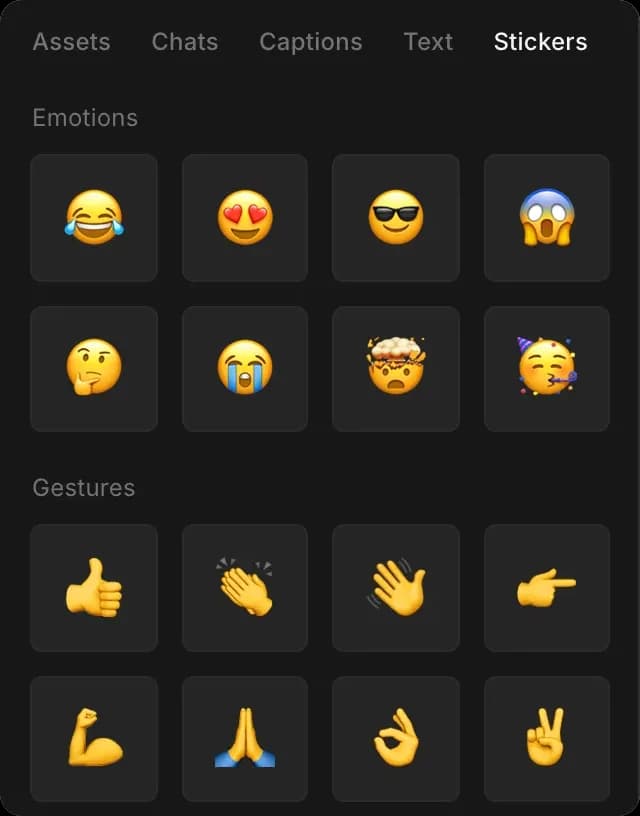
The 'Stickers' tab holds emoji graphics grouped into emotions, gestures and symbols. Drag one onto the timeline and it behaves like any other clip.
Using Copilot
Try 'transcribe this clip and add subtitles in the lower third', 'add a lower third with the speaker's name at 0:05', 'make every title the same size', or 'hold each caption a little longer'.
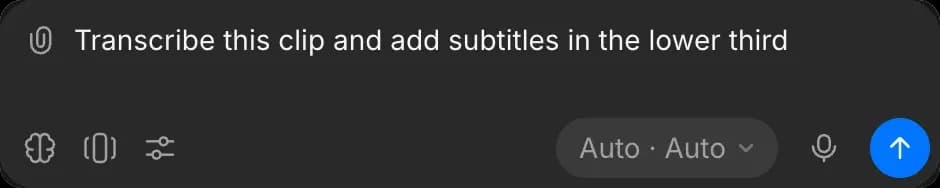
It can transcribe footage already on the timeline without you re-uploading anything. See Edit with Copilot.
Tips
- Set your aspect ratio before generating, so the lines are sized for the frame you are delivering.
- Use three or four 'Words per line' for vertical video. Long lines run off the side of a phone screen.
- A subtitle is an ordinary clip, so fix a misheard word by editing its text and fix its timing by dragging its ends.
That's how text and captions work in Compose on Morphic. Add subtitles to anything with speech in it, and to anything going on social, where many viewers keep the sound muted.
If you have any trouble or have any questions, feel free to reach out. We're happy to help. Write to us at support@morphic.com.