Grok Imagine Image 2.0 features and capabilities
Grok Imagine Image 2.0 is xAI's precision image model. The recurring theme is control: instructions land as written, typography gets planned rather than painted, edits touch one region at a time, and one finished image recomposes into every format you ship.
Image 2.0 is generally available as the Quality Mode on grok.com/imagine and in the Grok iOS and Android apps. It is also in xAI's API as grok-imagine-image-2.0, and on Morphic for text to image and image editing with up to 3 reference images.
| Feature | What it does | Best for |
|---|---|---|
| Instruction-faithful generation | Follows a dense, multi-part brief down to the details | Exact layouts, art direction |
| Typography and layout planning | Plans type like a designer, keeps small text sharp | Posters, infographics, packaging |
| Magic wand and segmentation | Edits only the region you point at, rest untouched | Retouching, product swaps |
| Multi-reference editing | Blends up to 5 input images in one generation (3 on Morphic) | Composites, style transfers |
| Smart Resize | Recomposes one image into 9 aspect ratios | Campaign formats, banners, stories |
Instruction-faithful generation
Image 2.0 was built around one goal: images you can use in real work. That starts with fidelity to the brief. A prompt with a subject, a layout, exact wording, and a lighting note comes back with all four honored, so complex multi-element directions land on the first pass more often, and revisions become refinements rather than re-rolls.
Typography and layout planning
Most image models paint letters; Image 2.0 plans them. It works out the type hierarchy and the layout the way a designer would before rendering, so dense, multi-part visuals like tutorial sheets, infographics, and title screens hold their structure, and small text comes out sharp instead of smudged. Spell the exact words in quotes and say where they sit, and they render as written.
Magic wand, segmentation, and background removal
Real work is iterative, so editing is region-precise rather than a full re-roll. The magic wand edits the region you point at and leaves the rest untouched. Segmentation selects precise areas of the image to change, one garment, one label, one surface. Background removal exports any subject with a transparent background, ready to drop into other work.
Multi-reference editing
A single generation accepts up to 5 input images in the Grok apps and xAI's API, and up to 3 on Morphic. That turns compositing into a prompt: one reference carries the product, another the style, another the scene, and the model fuses them in one pass instead of you assembling the result by hand. It preserves what you put in, so the product in the output is recognizably the product you supplied.
Smart Resize
One image, any size. Pick a ratio and the model fills in the frame, recomposing rather than cropping, across 9 formats from a 1:2 tall banner through 9:16, square, and 16:9 out to a 2:1 wide banner. A finished hero visual becomes a full campaign set without regenerating the concept from scratch.
Templates and world building
Templates package common jobs, photo edits, product color changes, e-commerce photos, headshots, icons, mascots, game assets, and merch, into ready-made starting points where you supply the inputs. And because the model holds a look across generations, you can build a world image by image: a character, her locations, and the props she carries, generated separately and holding one style, ready to feed a video pipeline.
Grok Imagine Image 2.0 use cases
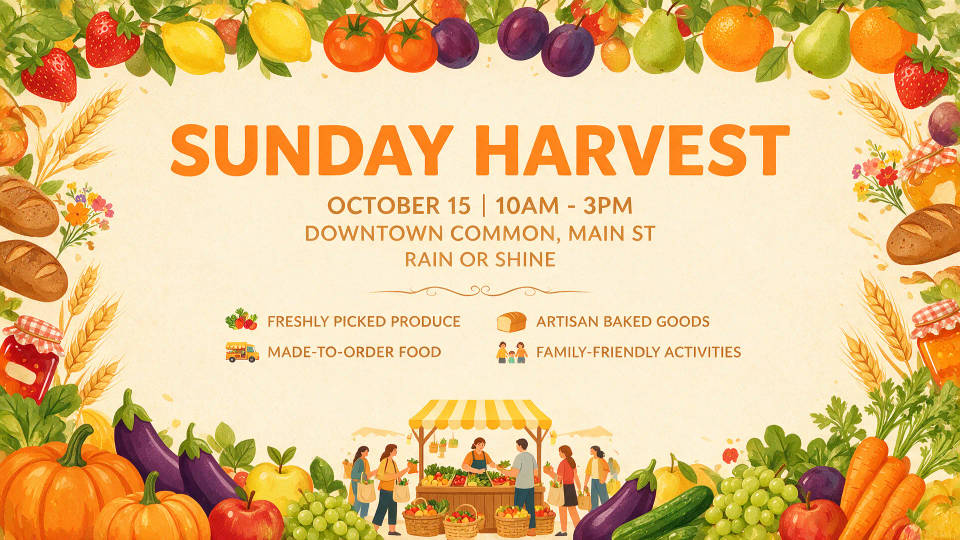
Posters with working type
Set the headline, the subline, and the hierarchy in the prompt and the poster comes back laid out, with the words rendered as written. Small print stays legible instead of dissolving into texture.
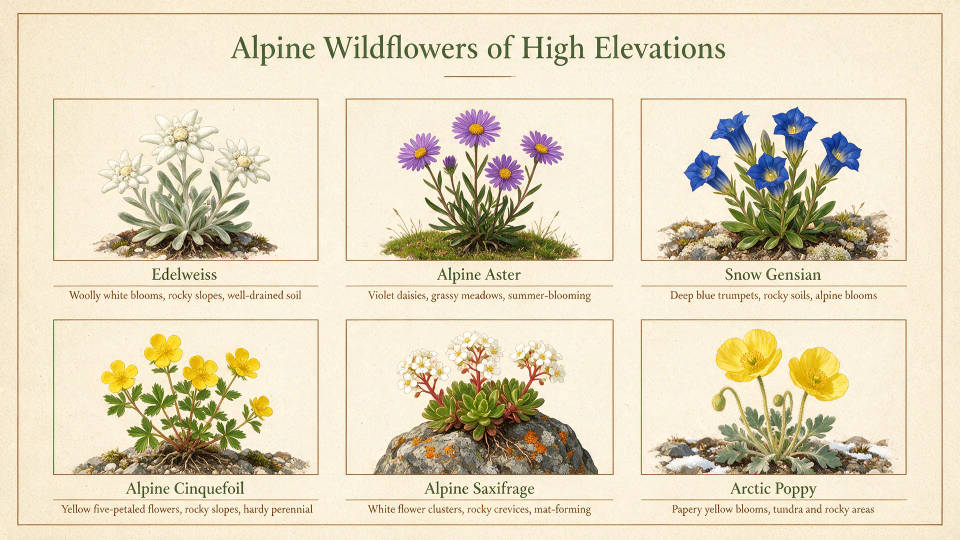
Infographics and tutorial sheets
Dense, multi-part visuals hold their logic: labeled steps, arrows that point at the right things, and captions that read. A process diagram or a step-by-step sheet arrives structured in one pass.
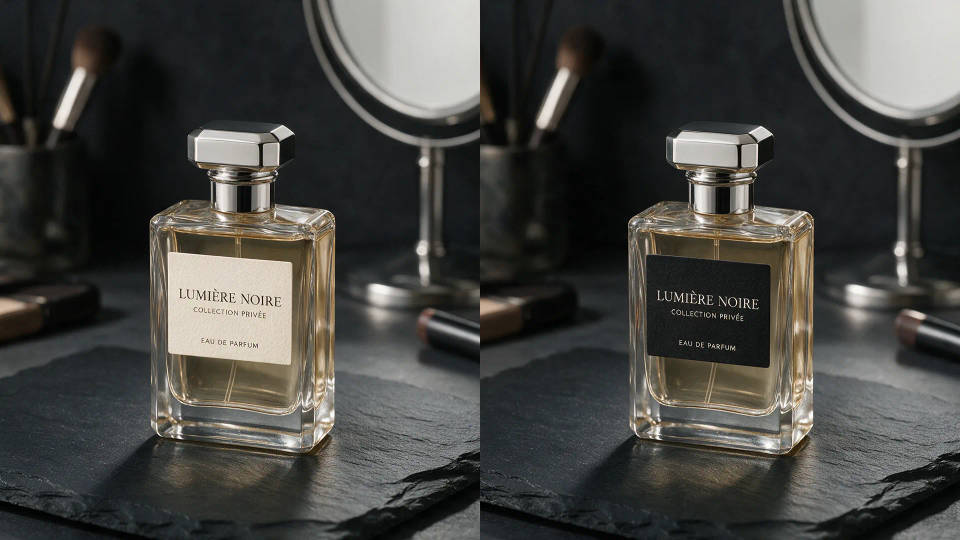
Product and e-commerce edits
Point at the label, the colorway, or the background and change just that. The lighting, shadows, and the rest of the frame stay put, which is what makes catalog work practical.
One visual, every format
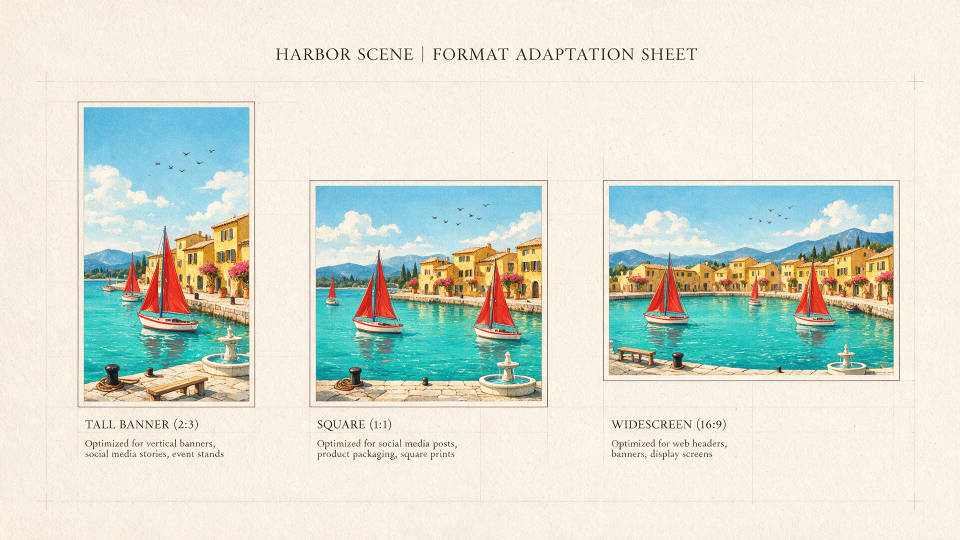
Smart Resize recomposes a finished image into stories, banners, squares, and widescreen slides. The model fills each new frame rather than cropping into it, so every format reads composed.
A world that holds one style
A character, her locations, and her props, generated separately across prompts and holding one look. The consistency carries into edits, so a world sheet stays recognizable as it grows.
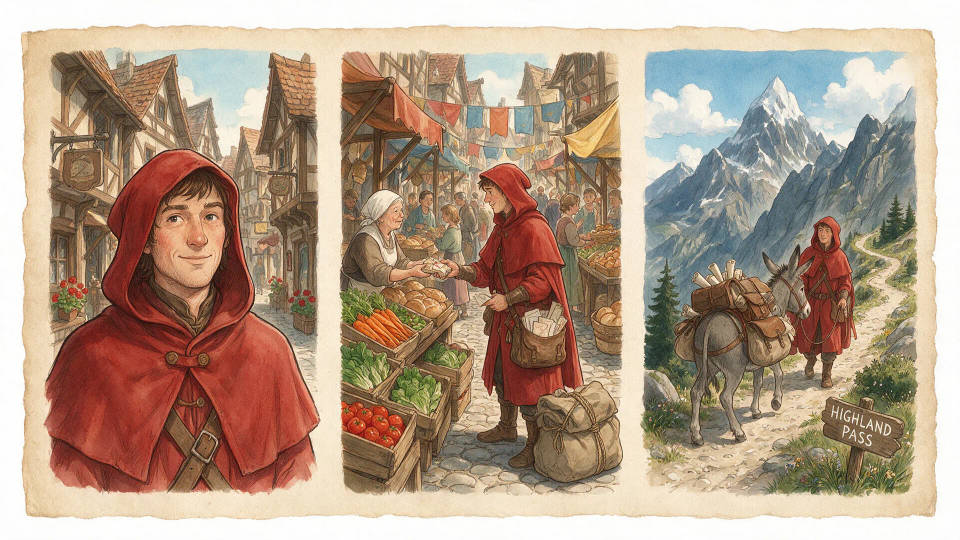
Photo fixes and headshots
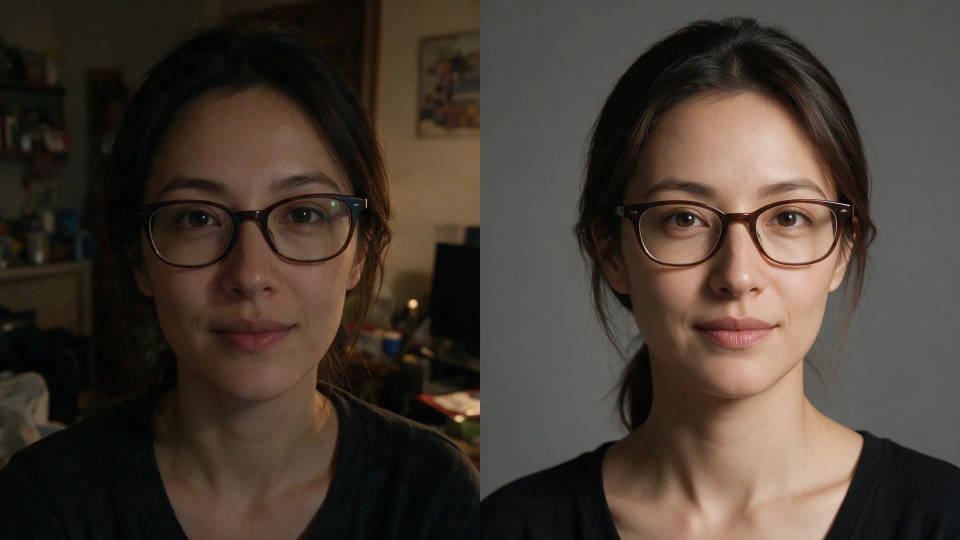
Magic wand retouching, background removal, and headshot templates turn an existing photo into a finished asset. The edit touches what you asked for and nothing else.
How to get the best out of Grok Imagine Image 2.0
Image 2.0 rewards a structured brief and a habit of editing in place rather than re-rolling. A few practices carry most of the quality:
- Write a brief, not a caption. Subject, layout, exact words, style, light. The model follows details, so give it details.
- Put on-image text in quotes. The exact words render as written, which is the whole point for posters, packaging, and labels.
- Describe the layout structurally. "Headline across the top third, product lower right, caption under it" beats "a nice poster layout".
- Point, don't re-roll. For a change to an existing image, magic wand the region and describe only the change.
- One edit at a time. Scoped changes keep the rest of the frame stable and stack more predictably than one sweeping instruction.
- Name what each reference contributes. With up to 5 inputs in the Grok apps or 3 on Morphic, say which carries the subject, which the style, and which the scene.
- Finish first, then resize. Lock the hero image, then let Smart Resize recompose it into the other formats you ship.
- Reach for a template on recurring jobs. Headshots, product shots, and icons have the workflow pre-configured.
For the full capability list and specifications, see the Grok Imagine Image 2.0 model page.
Grok Imagine Image 2.0 prompt guide
A strong Image 2.0 prompt reads like a short design brief. The model plans typography and layout before it renders, so the prompt's job is to give it something to plan: what is in the frame, how it is arranged, what the words say, and how it is lit.
| Element | What it covers | Example |
|---|---|---|
| Subject | Who or what is in frame, described concretely | A ceramic teapot on a linen cloth |
| Layout | Where things sit and how they relate | Product centered, caption band along the bottom |
| Exact text | The on-image words, in quotes | The label reads 'HARVEST NO. 3' |
| Style | Medium, palette, and mood | Flat editorial illustration, muted greens |
| Light | Direction and quality of light | Soft window light from the left |
A worked example:
A recipe card for lemon shortbread. Title "LEMON SHORTBREAD" across the top
in a serif, five numbered steps down the left side with short captions, a
finished biscuit photo lower right. Cream background, thin rule lines,
soft even light. Flat, printable, no clutter.
Editing prompts
An edit is a scoped instruction, not a new brief. Select the region with the magic wand or segmentation, describe only the change, and say what stays:
Change the armchair's upholstery to forest green corduroy. Keep the light,
the shadows, the floor, and everything else exactly as it is.
The model preserves what you put in, so the discipline is on your side: one region, one change, and the rest of the frame carries over. Chain small edits rather than bundling five changes into one instruction, and you keep every version usable along the way.
Multi-reference prompts
Whether you have up to 5 input images in the Grok apps or up to 3 on Morphic, assign each a role instead of letting the model guess. This three-image brief fits both:
Image 1 is the product: keep its shape, label, and color exact.
Image 2 sets the style: match its palette and grain.
Image 3 is the scene: place the product on this counter, in this light.
The naming does the work. A reference without a role bleeds everything into the result, its background, its palette, its composition, while a reference with a role contributes just the attribute you asked for.
Smart Resize workflow
Treat resizing as a finishing step. Generate and refine the hero image at the ratio you designed for, then recompose the keeper into each format you ship. Check the type after each resize: the model re-plans the layout to fill the new frame, and a tall 9:16 recomposition may re-stack elements that sat side by side in 16:9. That re-stacking is the feature, but headlines deserve a glance before export.
Weak vs strong prompts
Name the layout, the exact words, and the scope of an edit rather than leaving them to chance.
| Focus | Weak | Strong |
|---|---|---|
| Typography | A poster for a jazz night | A jazz night poster, headline 'BLUE HOURS' top center in a wide serif, date and venue in a small caps line beneath |
| Edit scope | Make the photo look better | Brighten only the subject's face, keep the background exposure and color as they are |
| References | Use these images | Image 1 is the jacket to keep exact, image 2 sets the pose and framing, image 3 sets the palette |
Common mistakes
- Vague text instructions: name the exact words in quotes, or the model invents its own copy.
- Re-rolling instead of editing: a full regeneration throws away a composition the magic wand could have kept.
- Unassigned references: a stack of inputs without roles blends into mush; the same inputs with roles compose.
- Bundled edits: "change the label, the background, and the light" in one pass gives you three half-changes. Scope one at a time.
- Resizing before finishing: recompose the locked keeper, not a draft you are still iterating on.