Angle study sheet
One ear drawn four times in technical pen, straight side, three quarter front, from behind and tilted back, with hand-ruled margins and blank labels.
Edit prompt
Describe the ear drawing you want in Morphic's Image tool, from a clean structural outline to a fully modelled graphite study, and get a finished drawing back. Set the angle, the age, the medium, the line weight and the paper, refine it on the Canvas, then download it in HD.
One ear drawn four times in technical pen, straight side, three quarter front, from behind and tilted back, with hand-ruled margins and blank labels.
Edit promptThe same ear in three stages across one sheet, the simple oval block, the folds added in line, then the finished tonal version at the right.
Edit prompt
Three ears in fine ink line at the same scale, an infant, an adult and an older subject, the lobe and rim thickness changing across the row.
Edit prompt
A profile head in even ink line with a flat grey wash under the jaw, the ear left fully drawn while the rest stays as open contour.
Edit prompt
Describe the Ear drawing you want, in plain words.
Morphic generates a clean, ready-to-publish image on your canvas in seconds.
Tweak the prompt, regenerate variations, then download or share the frame.
Pick a reference image, apply its visual style to your own photo or artwork.
Convert any image to a new aspect ratio. Smart crop or extend the edges to fit.
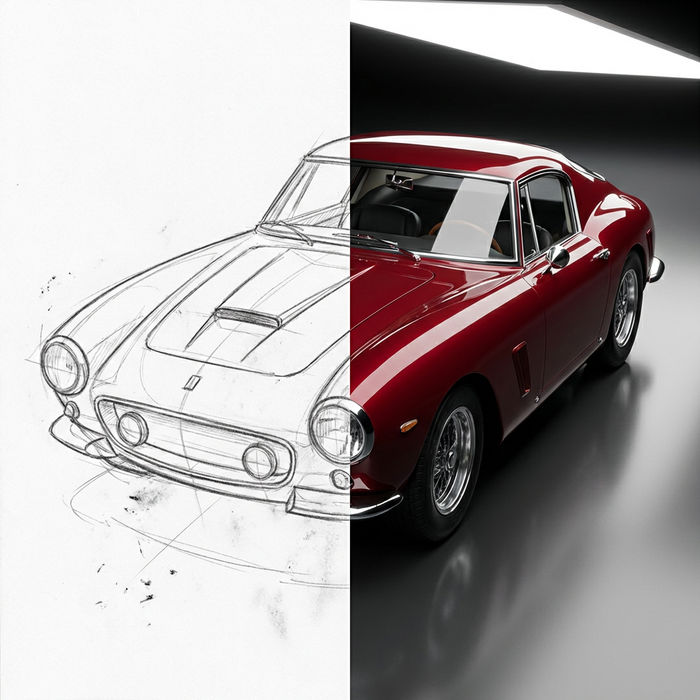
Turn any sketch or drawing into a finished render.
Restyle any video in a completely new visual style. Every frame transforms, all motion stays intact.
Reimagine any anime character as a photorealistic, high-fashion live-action portrait.
One selfie becomes a set of professional headshots. Studio-quality, multiple styles.
Eye AI Drawings
Create AI eye drawings in your browser with Morphic's eye drawing generator. Make realistic eyes, expressive gazes, anime studies, and shaded pencil references in any style, perfect for practice or character design, and download in seconds.
Nose drawing generator
Turn a nose drawing idea into a finished image in Morphic. Describe the line work and style, generate variations, then refine it on the canvas.
Face AI drawing
Create AI face drawings with our face drawing generator. Find detailed face drawings for any project in seconds.
Lord Krishna drawing generator
Turn a lord Krishna drawing idea into a finished image in Morphic. Describe the line work and style, generate variations, then refine it on the canvas.
Get started for free today, with the option to upgrade or cancel anytime.
Basic
2400 monthly credits
1 user only
All models
Workflows
Standard
3625 monthly credits
1 user only
All models
Workflows
Pro
6350 shared monthly credits
1 user
All models
Workflows
Max
24650 shared monthly credits
1 user
All models
Workflows
Enterprise
For higher limits
Custom
pricing and billing terms

Free
For playing around
$0
forever free