Cut and arrange
Trim and reorder your clips with the editing tools, and join one shot to the next with a transition.
This is the main work of editing: deciding what stays, in what order, and how one shot becomes the next.
Lanes
A lane is one row of the timeline, and you can have as many as you need. A higher lane covers what is below it, which is how you put a logo over a shot.
Each lane has a header on the left:
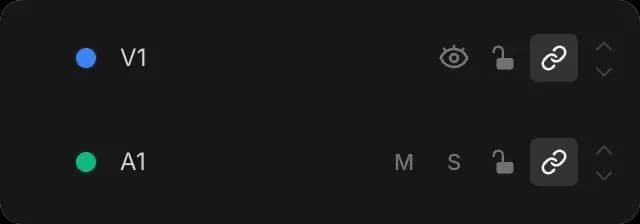
- 'Lane color' and the name, which you can change
- 'Hide lane' takes a video lane out of the preview
- 'Mute lane' silences an audio lane, 'Solo track' plays only that one
- 'Lock track' stops the lane being changed by accident
- 'Disable sync lock' controls whether this lane shifts when an edit elsewhere moves things along
- 'Move lane up' and 'Move lane down'
Editing tools
Each tool in the bar above the timeline changes what dragging does. Press the letter to switch.

| Tool | Key | What dragging does |
|---|---|---|
| 'Selection' | V | Moves clips, and trims them by their ends. You will use this most. |
| 'Select forward' | F | Grabs everything from one point to the end, to shift it all at once |
| 'Blade' | B | Cuts a clip in two where you click |
| 'Rolling trim' | R | Moves the join between two clips. One gets longer, the other shorter, so the video stays the same length. |
| 'Slip' | Y | Changes which part of a clip plays, without moving the clip |
| 'Slide' | U | Moves a clip while the clips around it fill the space |
| 'Speed' | E | Plays the clip faster or slower |
| 'Hand' | H | Drags the view when the timeline is wider than the screen |
'Snapping' makes clip edges line up with other clips and the playhead. Press N to turn it off.
Delete and duplicate
Right-click a clip for 'Cut', 'Copy', 'Duplicate', 'Rename', 'Split at playhead', 'Link clips' or 'Unlink clips', 'Mute clip', 'Lock clip', 'Delete' and 'Ripple delete'.
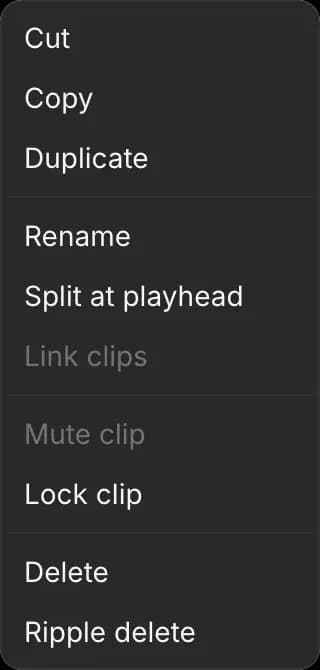
The two deletes differ:
- 'Delete' leaves a gap.
- 'Ripple delete' closes the gap, pulling later clips earlier.
'Mute clip' is grayed out on a video clip with no sound of its own.
Transitions
A transition is a blend between two clips instead of a straight cut.
- Select the clip you want it on
- In the right panel, open 'Video' and find 'Transition'
- Pick a 'Kind', choose which 'Edge' it goes on, and set a 'Duration'
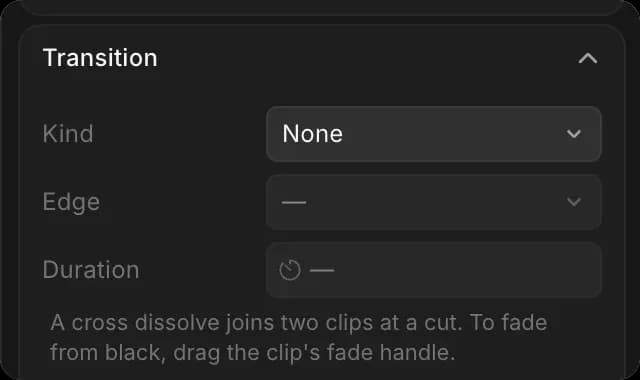
The list includes cross dissolve, slide, wipe, circle, push, dip to black, dip to white, barn doors, clock wipe, diagonal wipe, blinds, checkerboard, diamond, cross zoom, whip pan, pixelate, glitch and light leak. Type in the search box to find one.
Each transition has its own settings beyond duration, including which direction it runs and how soft its edge is. Use cross dissolve unless you want something showier. A transition needs two clips, so to fade up from black at the very start, drag the fade handle on the clip instead.
Using Copilot
Sweeping changes across a long cut are what it is quickest at. Try 'put a cross dissolve between every clip', 'trim two seconds off the start of each clip', or 'reverse the order of these shots'.
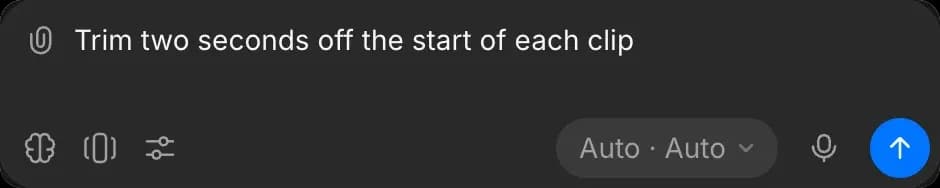
To take a change back, ask it to undo; Cmd + Z covers only your own edits. See Edit with Copilot.
Guides
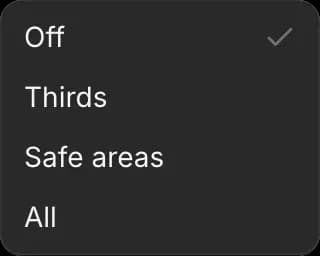
'Guides' under the preview draws lines over the picture to help you place things. 'Thirds' gives the nine-box grid, 'Safe areas' shows the margins that stay visible on every screen, and 'All' shows both. Guides do not appear in the exported video.
Markers
Press P to leave a marker at the playhead, and '[' and ']' to jump between them. Markers take a name and a color, so they can carry a note rather than just a position. Use them for a beat in the music or a change to come back to. They do not appear in the exported video.
Playback
- Space plays and pauses
- Left and right arrows step one frame, Shift jumps ten
- Up and down arrows jump to the next join between clips
- 'Loop playback', the last button in the playback controls, repeats the timeline, the quickest way to judge a cut
- 'Capture frame', the camera button to the right of 'Zoom', saves the picture under the playhead as a still

That's how you cut and arrange in Compose on Morphic. Get the order and lengths right first, then move on to how each clip looks.
If you have any trouble or have any questions, feel free to reach out. We're happy to help. Write to us at support@morphic.com.