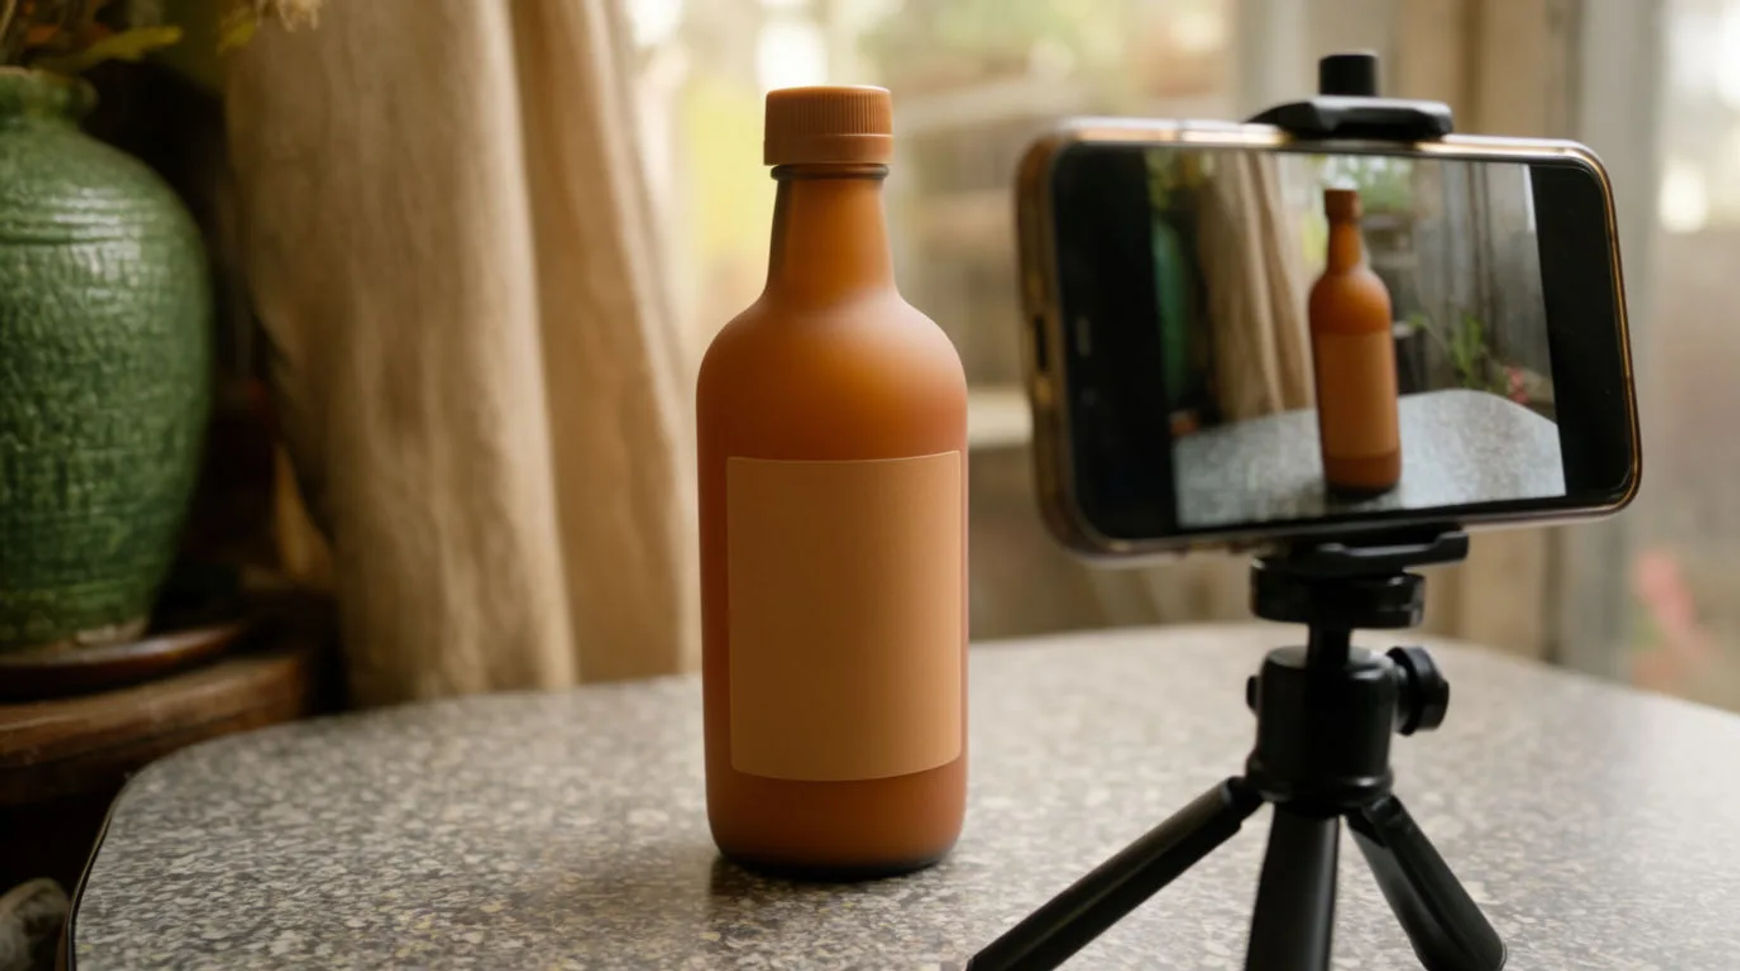
DIY product photography means one clean phone shot, finished in AI. Shoot the real product flat and well-lit on a phone, then relight it, change the background, and build the lifestyle scene around it. The product stays the product; only the world behind it is generated, never the item itself.
What you need
- One clean, well-lit phone photo of the real product
- A plain surface and soft, even light to shoot against
- A Morphic account
The four stages, from one phone shot
Each stage takes the same starting photo one step further. You can stop after any of them, since a relit shot on a clean background is already a usable product image.
| Stage | What it does | Where it lands |
|---|---|---|
| Relight | Adds direction, softness and mood | Any product image |
| Background | Replaces the surface behind the product | Product page, feed |
| Scene | Builds a lifestyle setting around it | Lifestyle, ads |
| Reformat | Reframes the hero to each placement | Feed, story, banner |
Steps
Relight the phone shot
Start from a flat, even phone photo and ask for the light you want: a soft key from one side, a gentle gradient behind, a warmer or cooler cast. Relighting works best on a neutral starting shot, so avoid baking in hard shadows when you take it. Check that highlights sit where a real light would put them and that the product keeps its true colour.
Change the background
Lift the product off its original surface and save the cut-out as a reference so the item holds its look. Generate a new background behind it, a plain studio sweep or a coloured ground to match your brand. Check the edges where product meets background for any halo, and regenerate if the cut-out looks pasted on.
Build the lifestyle scene
Describe the setting around the product in plain words: the surface, the props, the light, the mood. Because the scene is generated around your saved reference, the label and shape stay exact while the world behind changes. Check that the props suit the product and the scale reads right, then generate a few variations to choose from.
Reformat for every placement
Take the hero image and reframe it to each aspect ratio you need: square for the feed, vertical for stories, wide for a banner. Reframe the one master rather than re-shooting per size, so the set matches. Check that the product stays centred and clear at small sizes and that nothing important is cropped out.
Variations
Flat lay
A top-down scene on a textured surface suits apparel, stationery and food. Shoot the product flat, then generate the surface and a few props around it, keeping the composition simple.
Window-lit tabletop
A soft, directional window light reads as natural and premium. Relight toward one side and build a plain tabletop scene, letting the shadow fall gently across the surface.
Outdoor scene
Place the product in an outdoor setting it would really be used in. Save the product as a reference first so it stays exact against the busier background.
On-model or in-hand
For products held or worn, generate the scene around the real product shot rather than inventing the item. See product photography ideas for more setups.
Common problems and fixes
- The cut-out looks pasted on. Regenerate the background with softer contact shadow under the product, and check the edges for a halo before you keep it.
- The relight shifts the colour. Ask for the light to stay neutral and name the product colour, so the relight adds direction without recolouring the item.
- The scene overwhelms the product. Simplify the props and pull the light back onto the product, so it stays the subject rather than one object among many.
- The product drifts between scenes. Save it once as a reference and call it by name in each generation, and the look holds from one scene to the next.
Put it together
DIY product photography is one clean phone shot taken through four stages: relight it, change the background, build the scene, reformat for every placement. Keep the product exact by saving it as a reference, and a single photo becomes a full set of shots that look studio-made. Start with the AI product background generator, and for where these shots fit in a store's week see how to use AI for your Shopify store.