Every image model
One workspaceFlip the colours
Invert colours in three steps
- 01
Open Morphic
Sign up and start creating on a free-flowing, infinite visual canvas.
- 02
Upload and choose the effect
Drop in your image and ask for a full invert, a negative look, or just one region flipped.
- 03
Generate and export
Morphic remaps every colour while keeping the detail. Rerun to fine-tune, then export.
Use cases
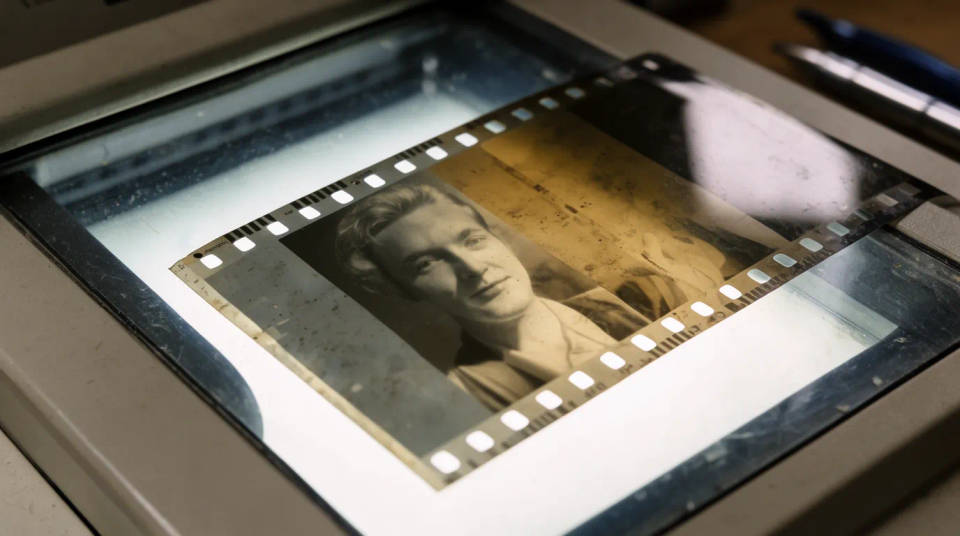
Turn a film negative into a positive
Scan or photograph an old film negative and invert it to see the real image. Morphic flips the reversed tones and colours back to a normal positive while holding the grain and detail of the frame. It is a quick way to preview a shot before any deeper restoration.
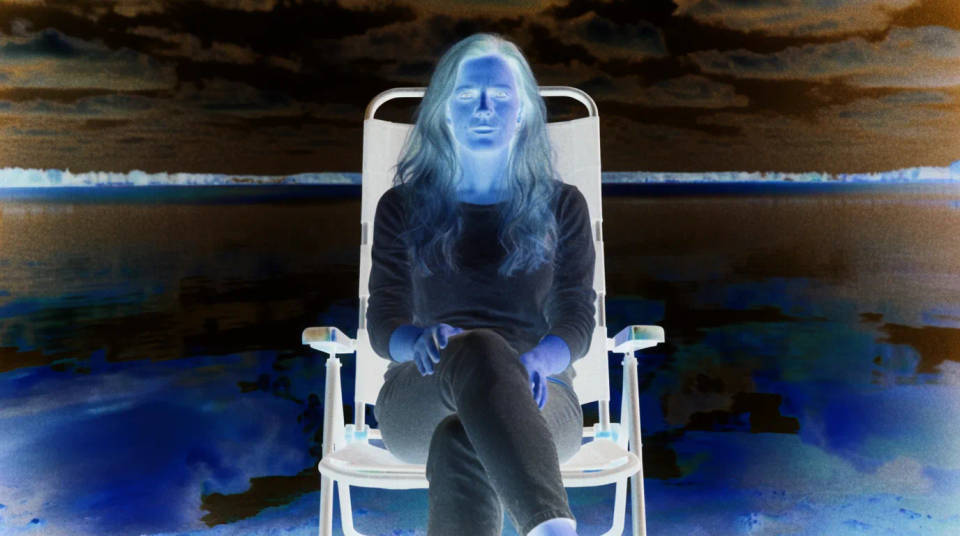
Build bold high-contrast graphics
Inverting an image is a fast route to a striking, poster-like look. Light and dark trade places and hues swap for their complements, which can turn an ordinary photo into eye-catching cover art. Pair it with a partial invert for a design where one element pops against a reversed background.
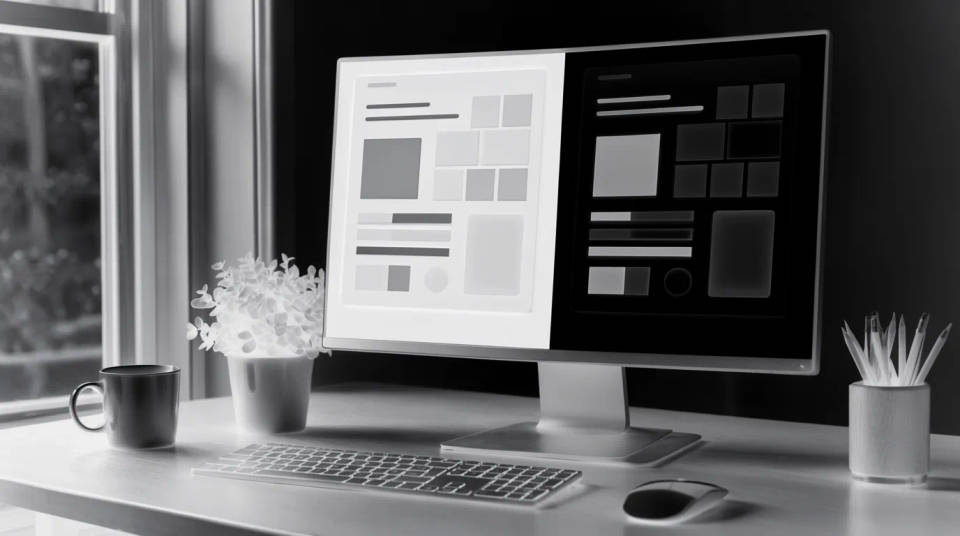
Preview a dark version of a design
Before committing to a dark theme, invert a light layout to see how the tones would sit reversed. It gives you an instant read on contrast and legibility without rebuilding the artwork. Keep it as a reference or push it further into a proper dark treatment.
Check how artwork reads reversed
Designers often invert an image to test its balance and spot detail that hides in the original tones. The reversed version can reveal edges and shapes the eye glosses over, which makes it a handy proofing step. Flip it, review it, and flip back with the detail unchanged.
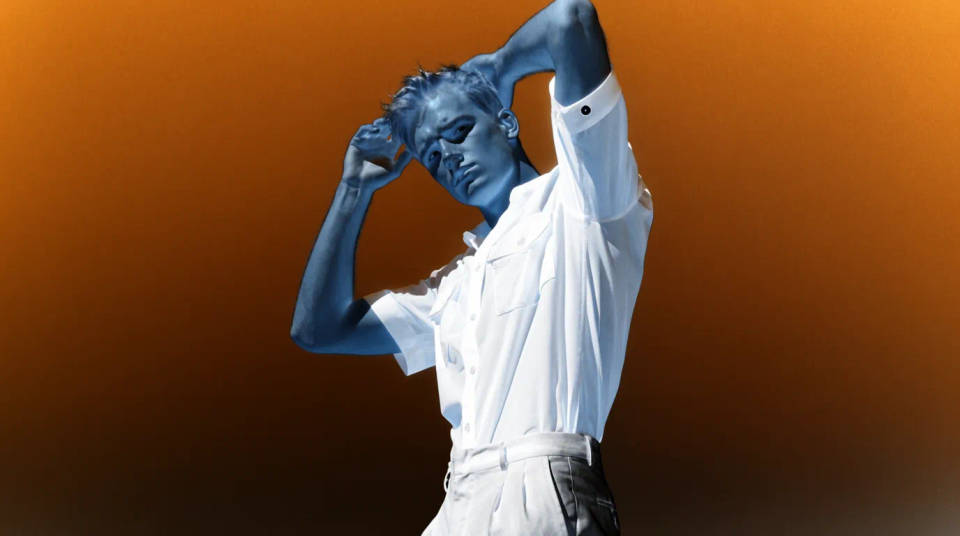
Prompt examples
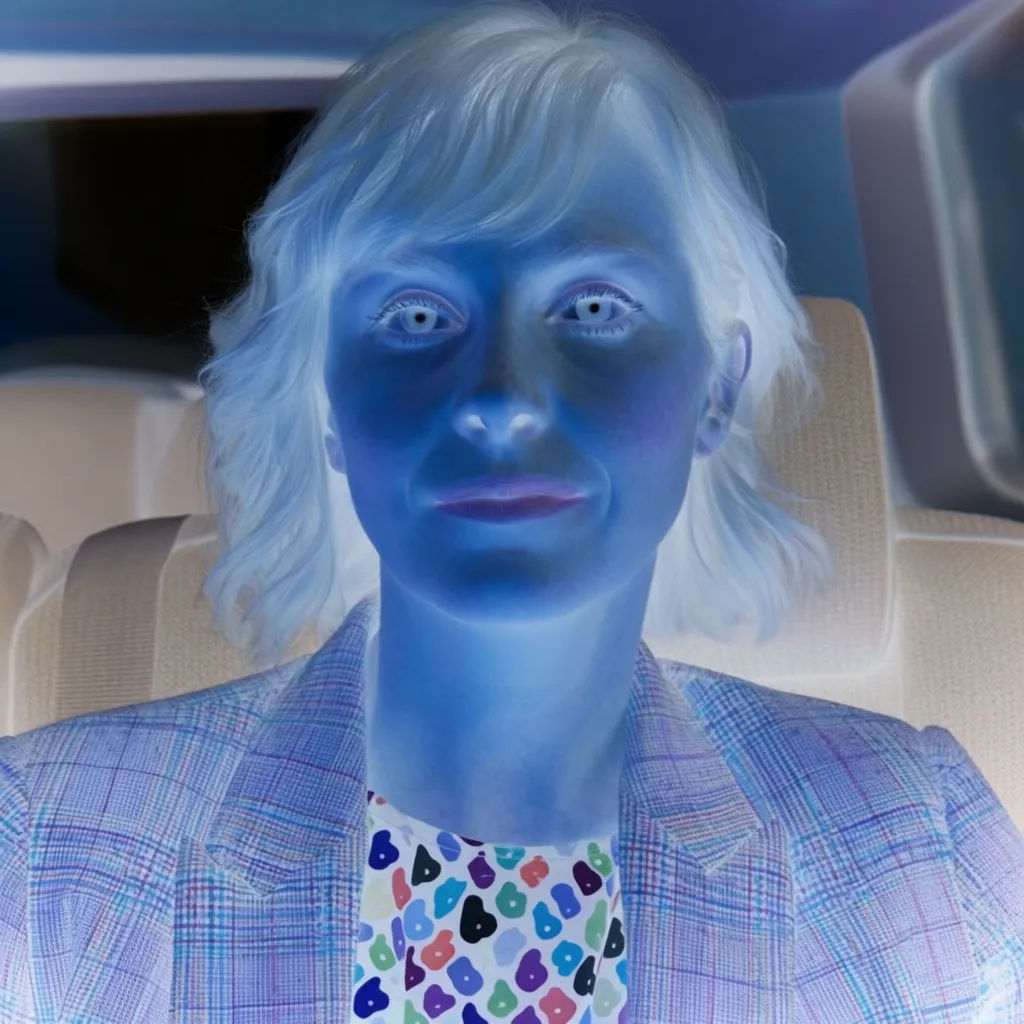
Full invert
Invert all the colours in this photo so light becomes dark and each hue flips to its complement
Edit prompt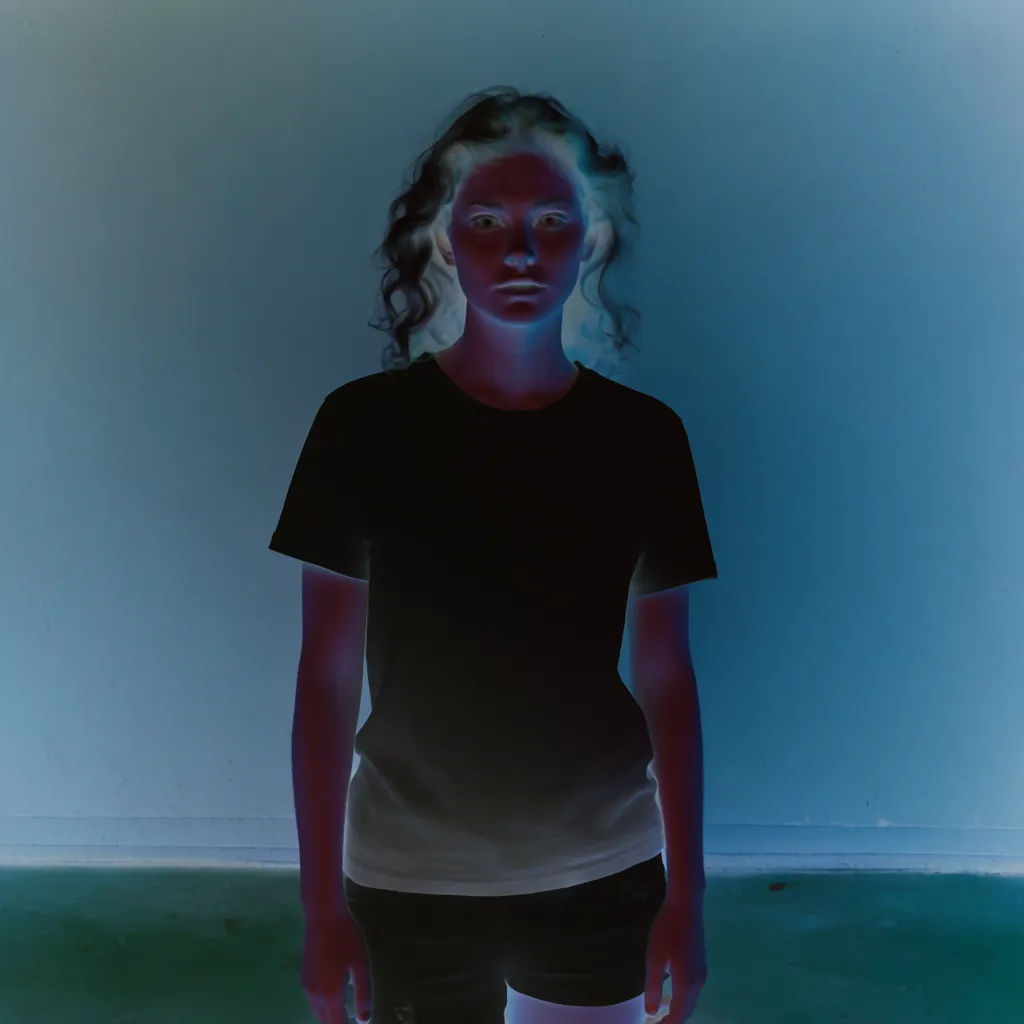
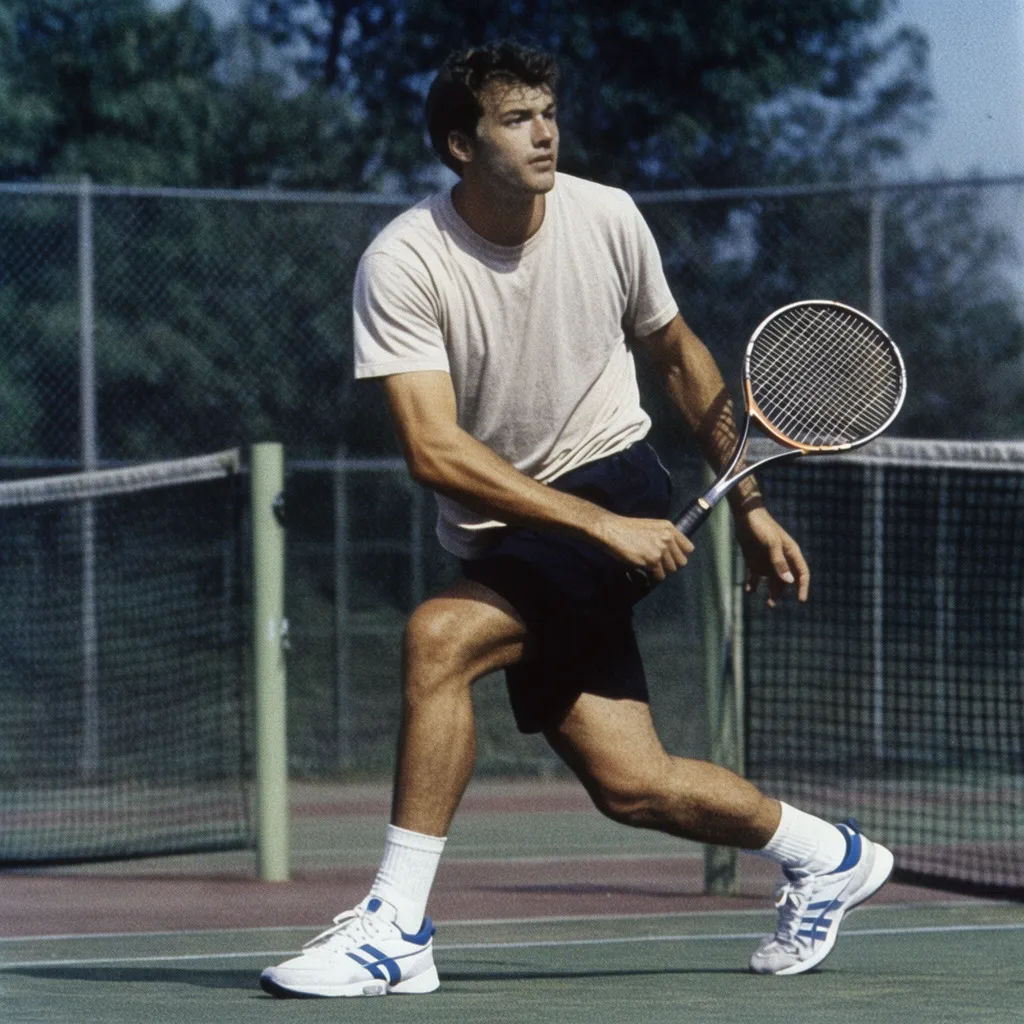
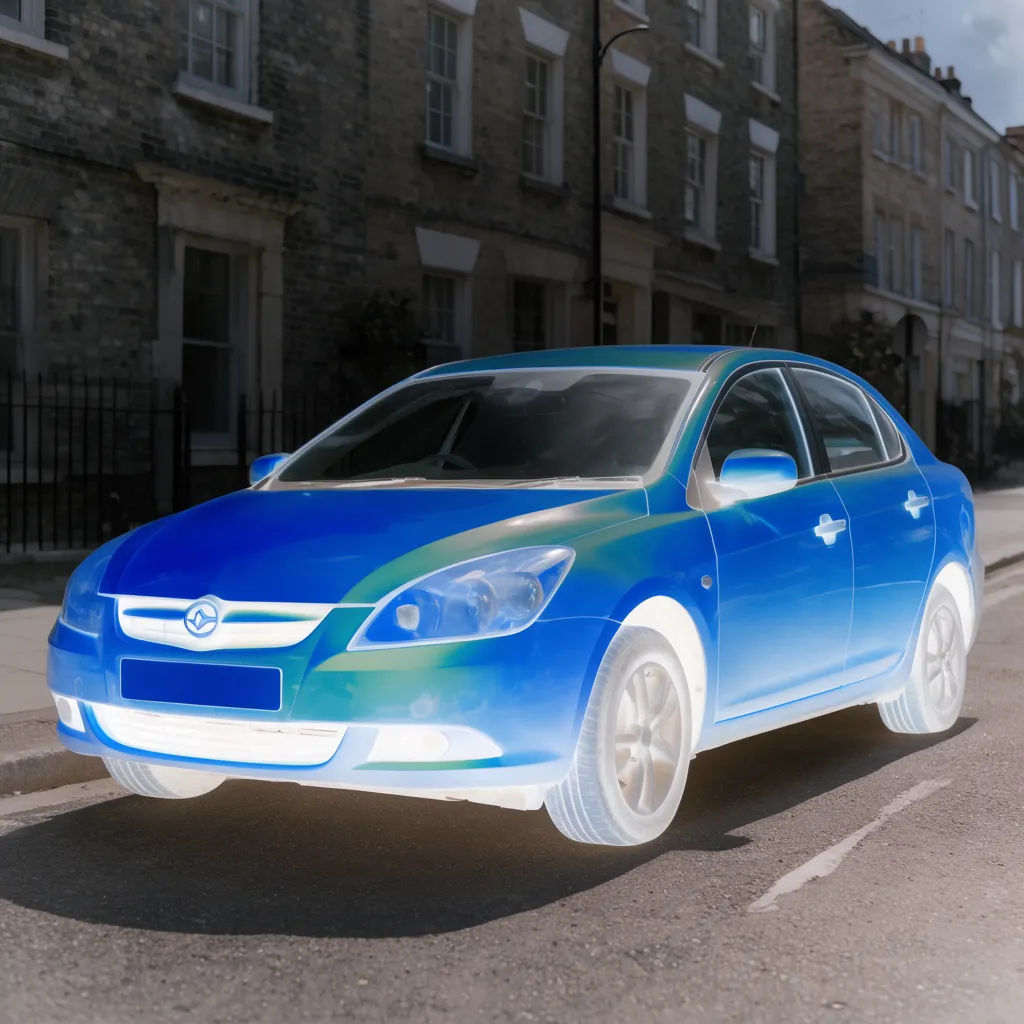
Invert one object
Invert only the colours of the car and leave the rest of the street unchanged
Edit prompt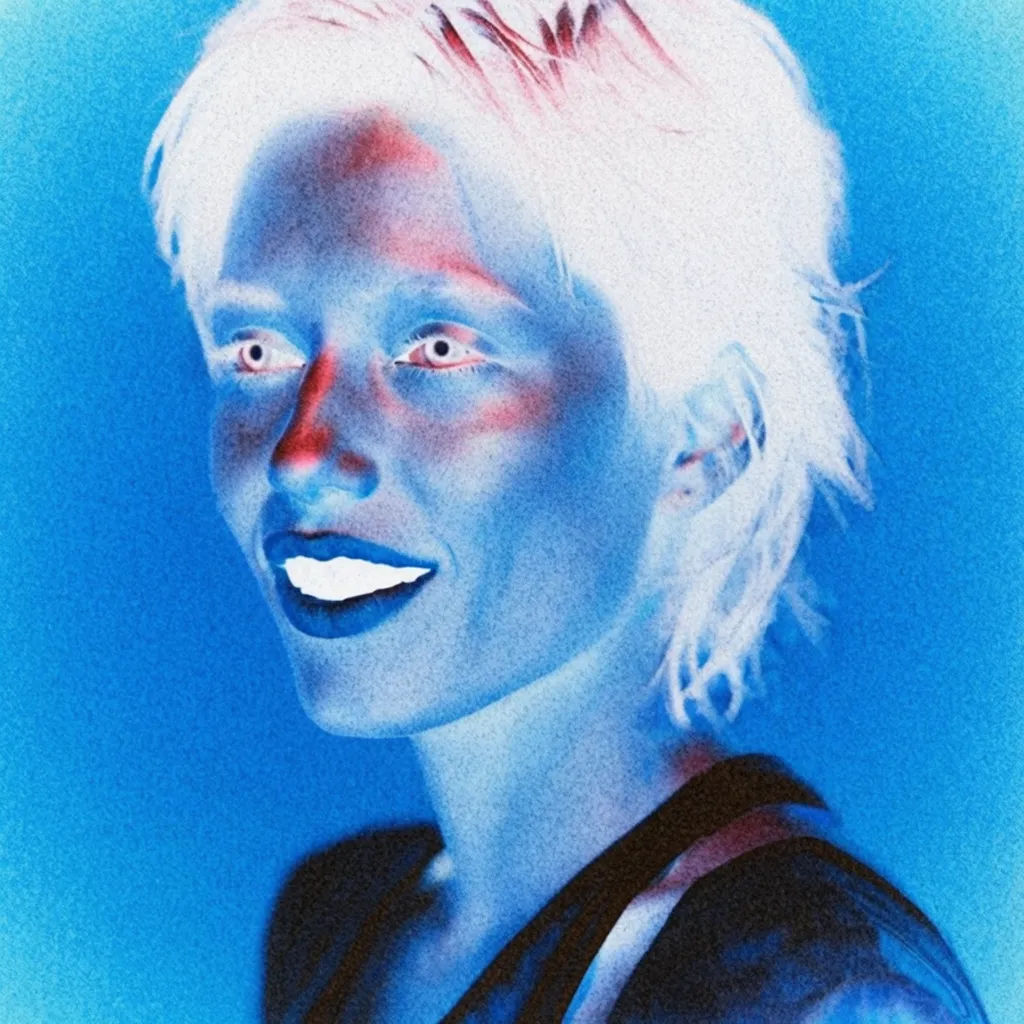
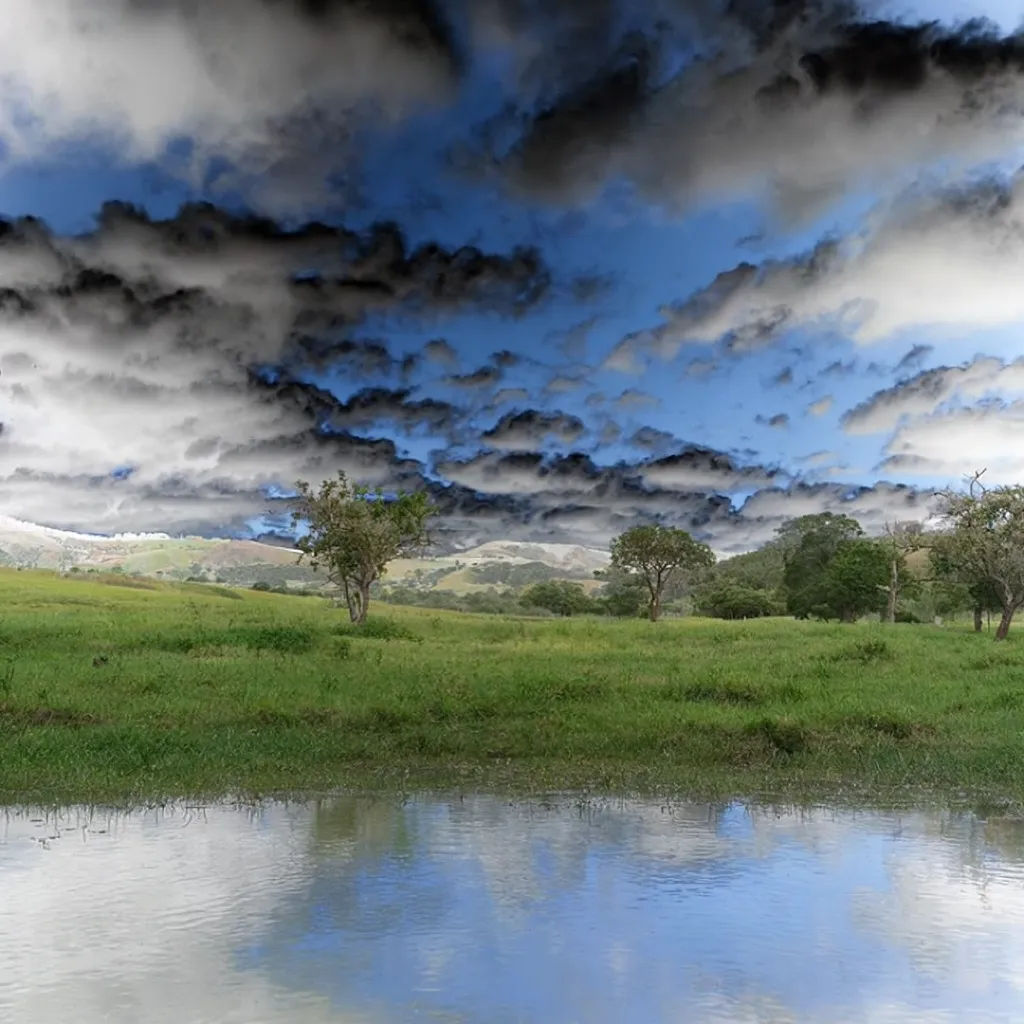
Partial invert
Blend a partial inversion so the sky flips to a negative but keeps some original colour
Edit prompt
Cinematic storyboard
Share a scene description with character references. Get a full storyboard with shot angles and mood.
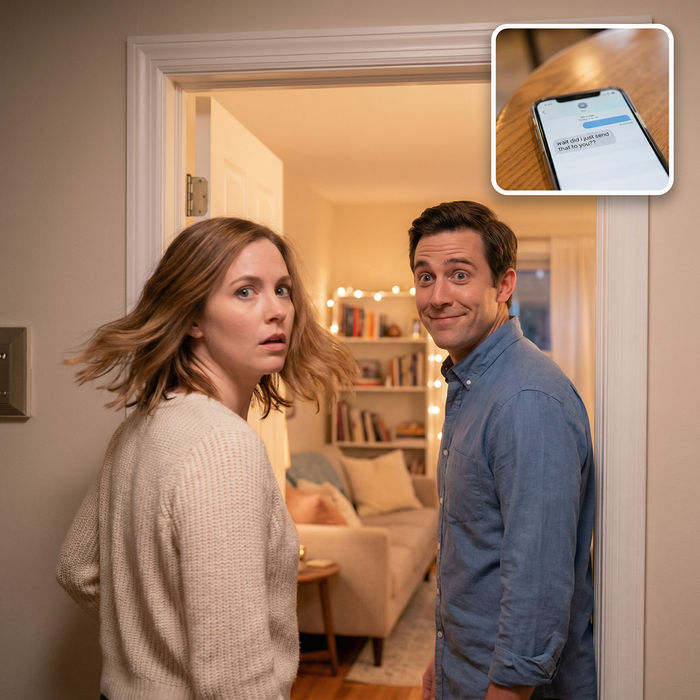
Messages to cinematic scene
Dramatize any text conversation into a cinematic multi-shot video.
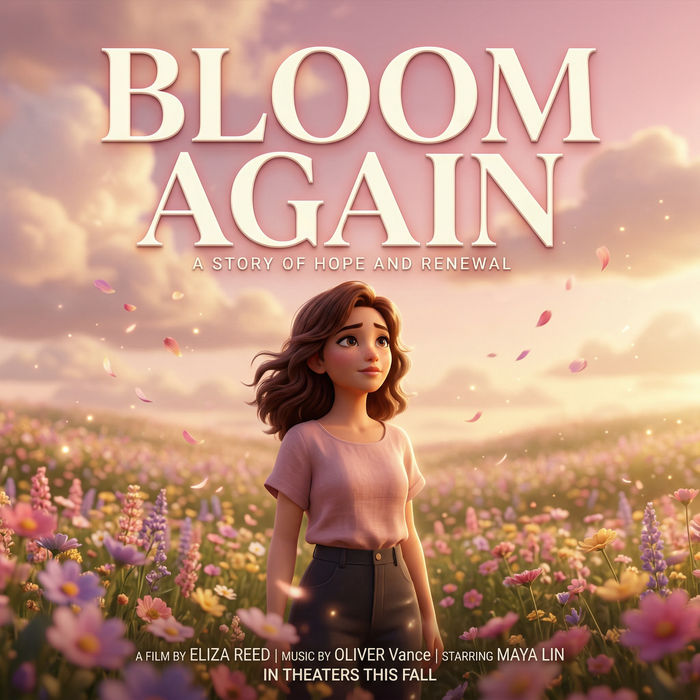
Title sequence
Generate a professional film title card from scratch, with optional cinematic animation.
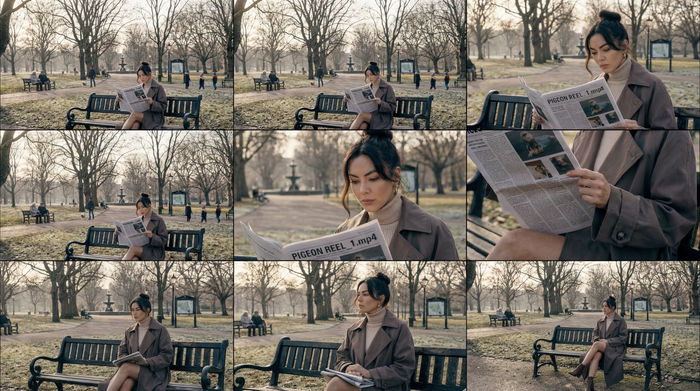
3x3 storyboard
Feed in a single image. Get 9 cinematic beats laid out as a 3x3 storyboard grid.
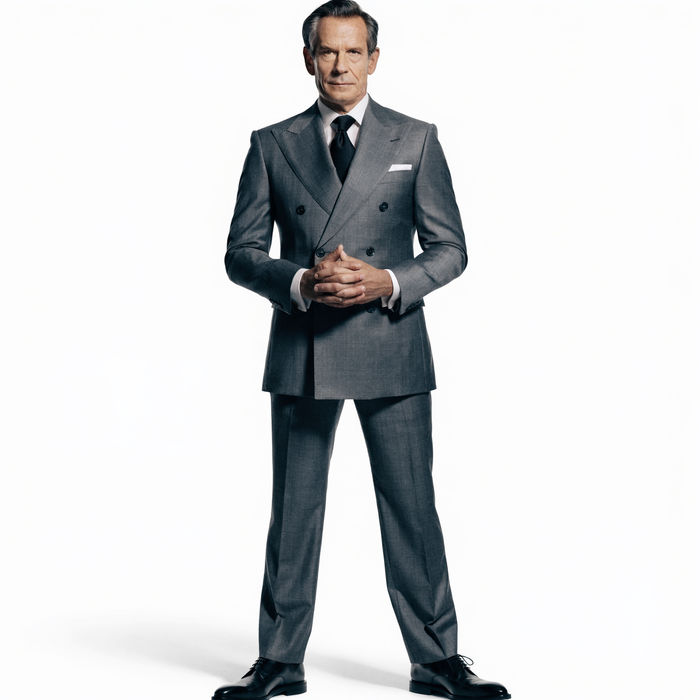
Chibi sprite animation
Turn any photo or description into an animated chibi sprite. Dance, jump, wave, attack, and more.
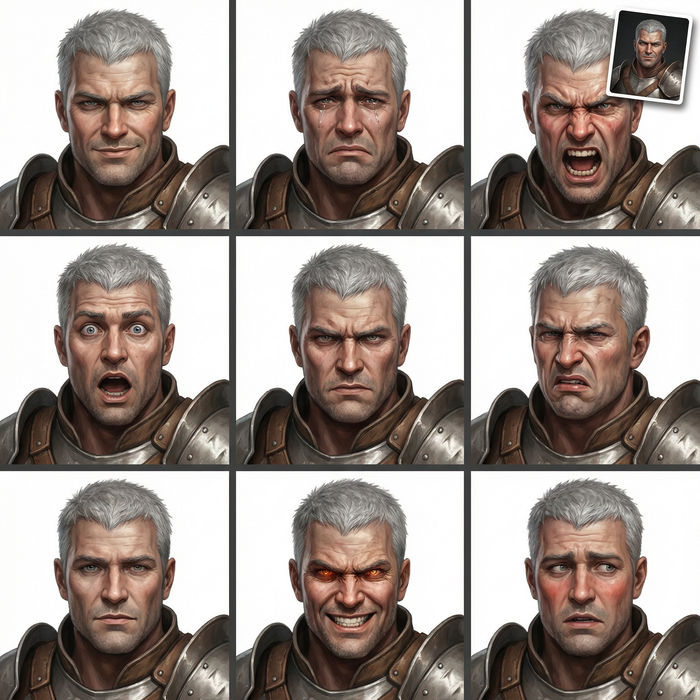
Expressions
Take any character image and generate 6 distinct facial expressions on a single reference sheet.
All on Morphic
Your colour and tone toolkitModels
Nano Banana 2, Flux 2 Pro, ChatGPT Images, Grok Imagine, Recraft, Seedream, and more. Switch models when an invert needs a cleaner result.
Colour grading
Push the mood of an image with graded tones and a full colour treatment, beyond a straight inversion.
AI filter
Apply a whole look in one pass, from vintage film to bold stylised effects, on any photo.
Image to image
Restyle or rebuild any photo through the same edit workspace that powers the inverter.