Every image model
One workspaceDetail brought to a fine edge
Sharpen an image in three steps
- 01
Open Morphic
Sign up and start creating on a free-flowing, infinite visual canvas.
- 02
Upload your soft shot
Drop in the focused photo that needs more bite. Any common format works.
- 03
Sharpen and export
Morphic lifts real edge detail without halos. Compare against the original, then export.
Use cases
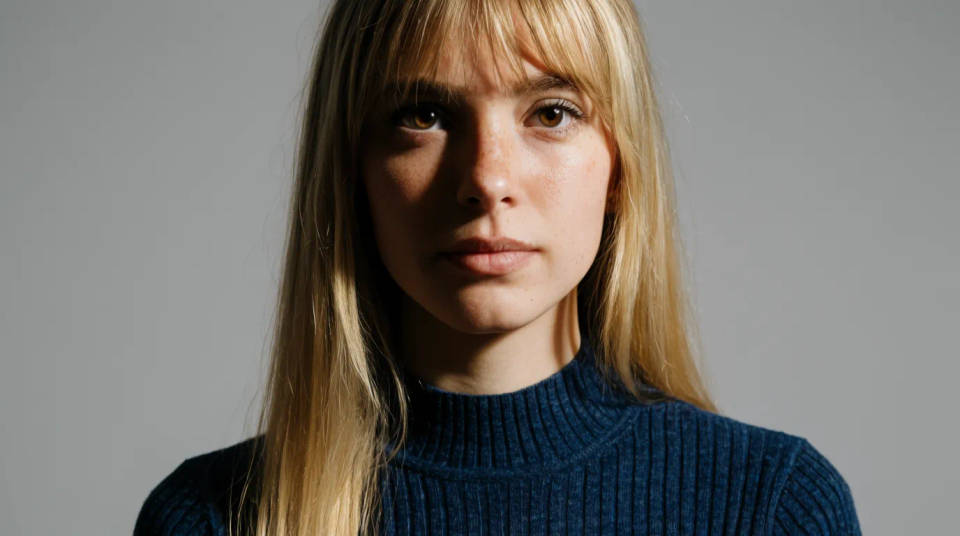
Add bite to a portrait
A portrait can be in focus and still read a little flat. Sharpening brings out the catchlight in the eyes, the individual lashes, and the strands of hair. The face gains presence without the plastic, over-processed look that heavy contrast leaves behind.
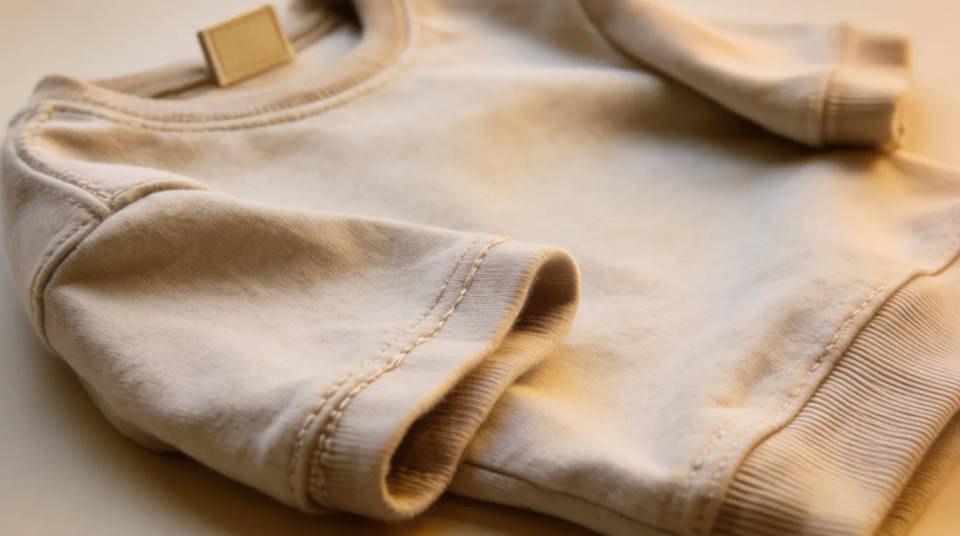
Make product details snap
Buyers zoom in, so a soft label or seam undersells the item. Sharpening tightens the print, the stitching, and the material texture so the product looks considered and real. It is the difference between a listing photo that reads as sharp and one that reads as blurry at full size.
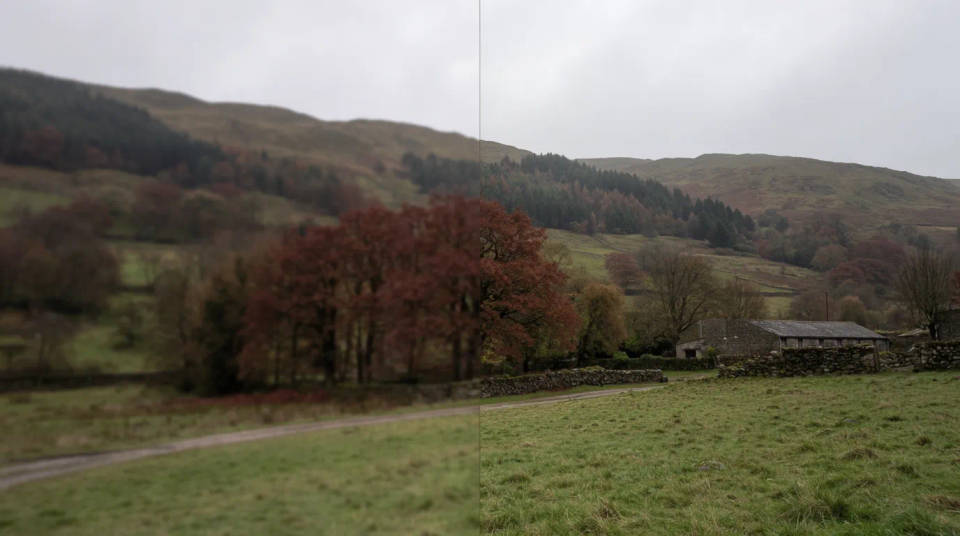
Recover crisp landscape texture
Wide scenes lose their fine detail to haze, lens softness, or compression. Sharpening brings back the texture in foliage, rock, and rooflines so the frame feels three-dimensional again. It restores the crunch a good landscape needs without over-cooking the sky.
Tighten graphics and text
Screenshots, scanned documents, and re-saved graphics get mushy edges. Sharpening firms up the lines and lettering so a slide, a label, or a diagram reads cleanly. Because it targets edges rather than everything, the background stays smooth instead of turning noisy.
Prompt examples
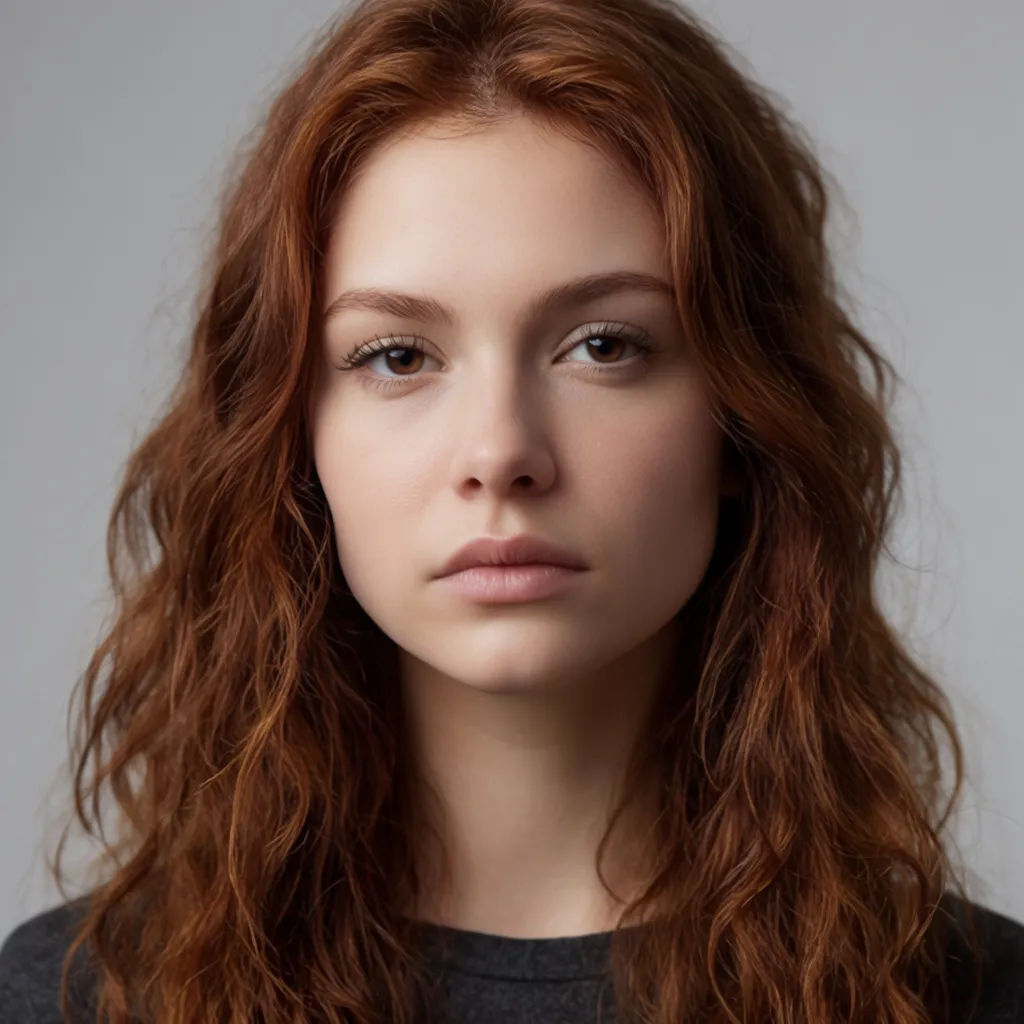
Crisp up a portrait
Sharpen the eyes, lashes, and hair in this portrait without adding halos
Edit prompt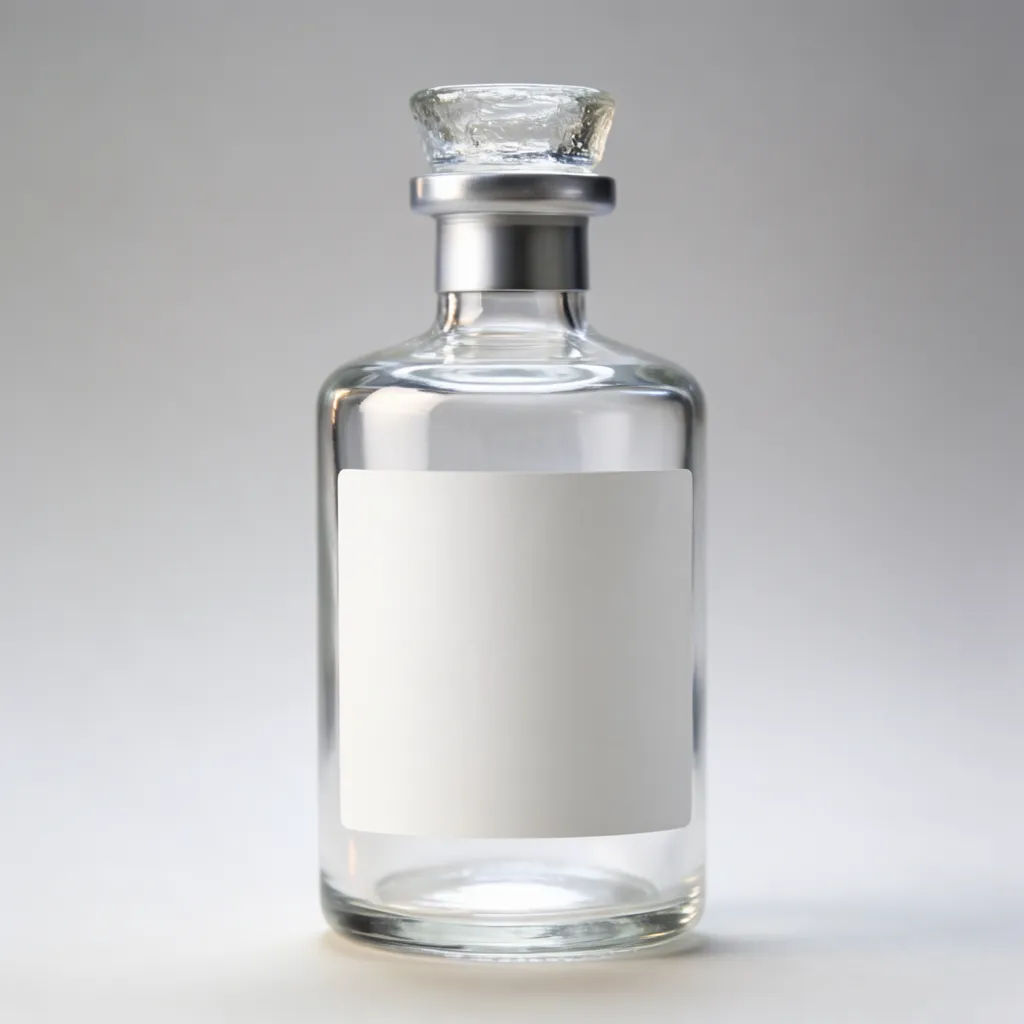
Snap the product label
Sharpen this bottle so the label text and edges are crisp and clean
Edit prompt
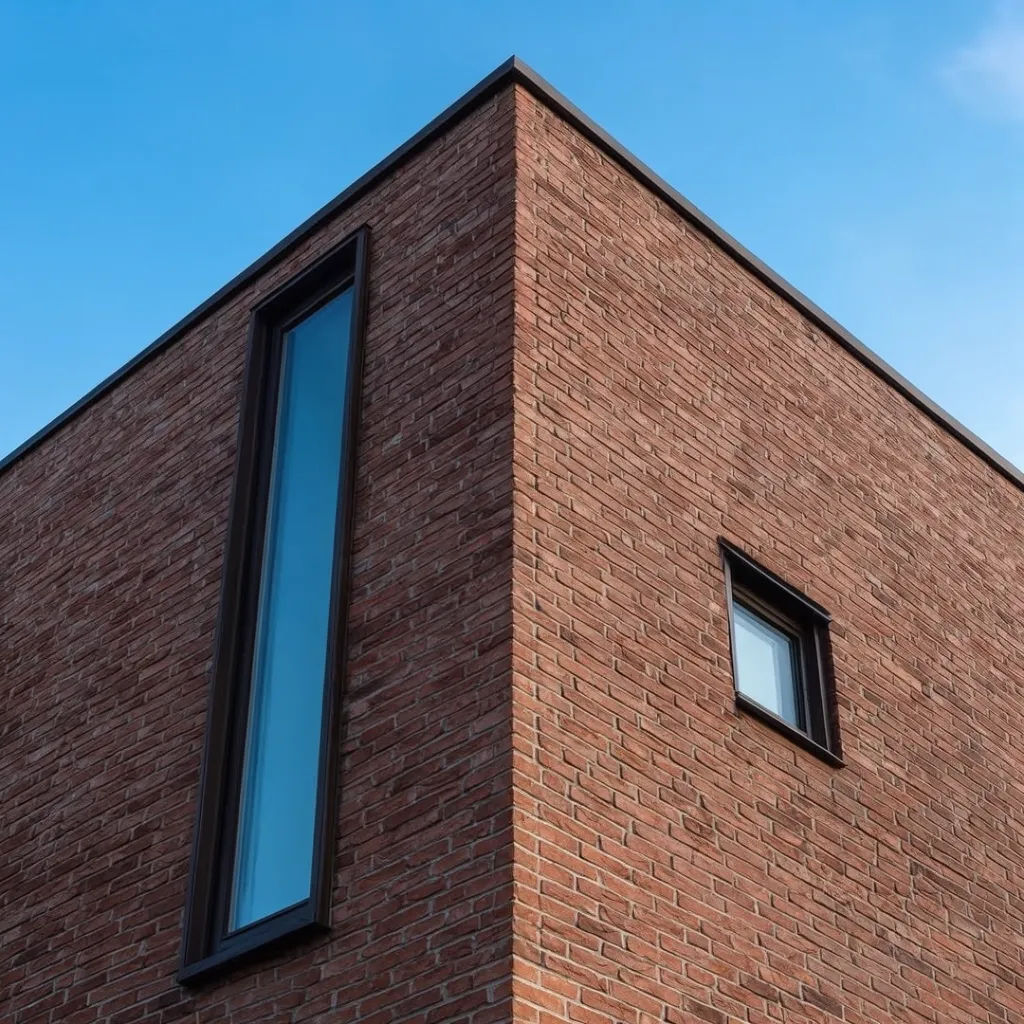
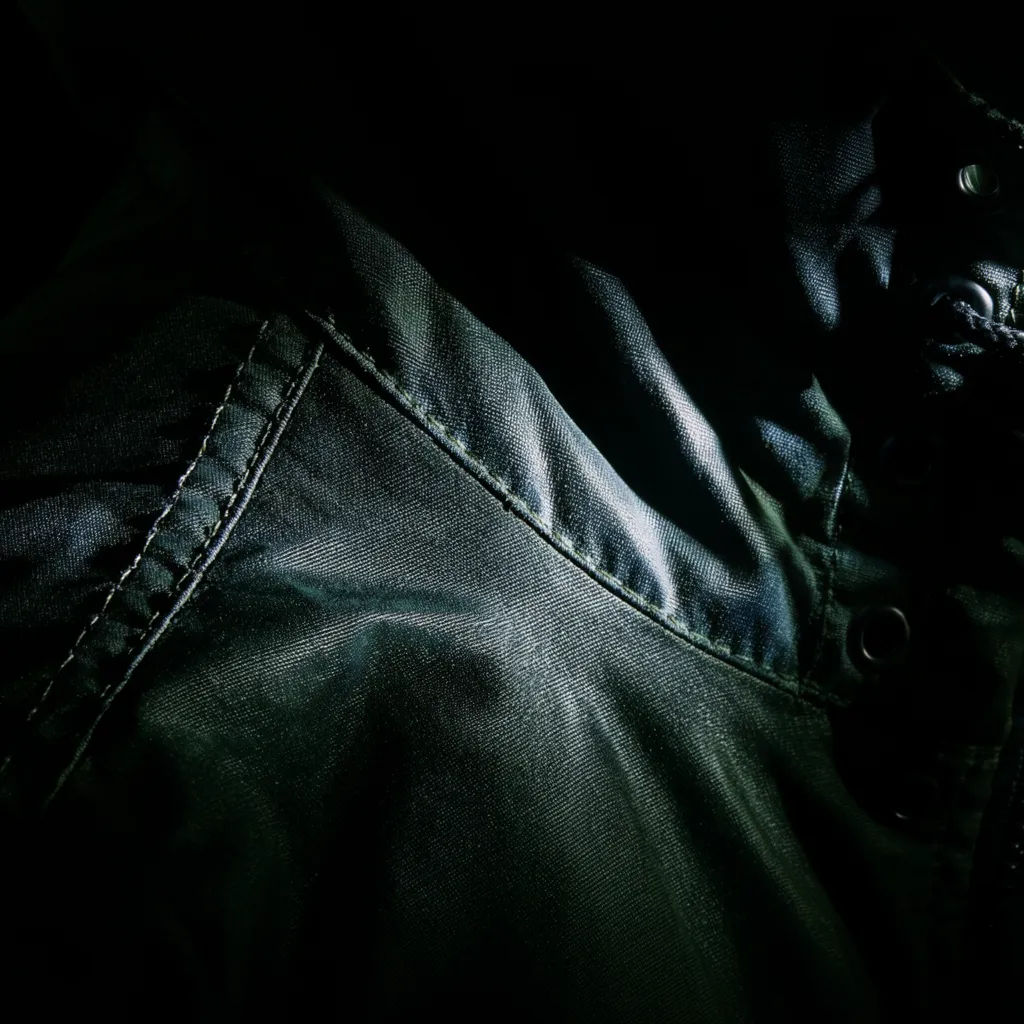
Tighten fabric weave
Sharpen the stitching and weave on this jacket so the texture reads clearly
Edit prompt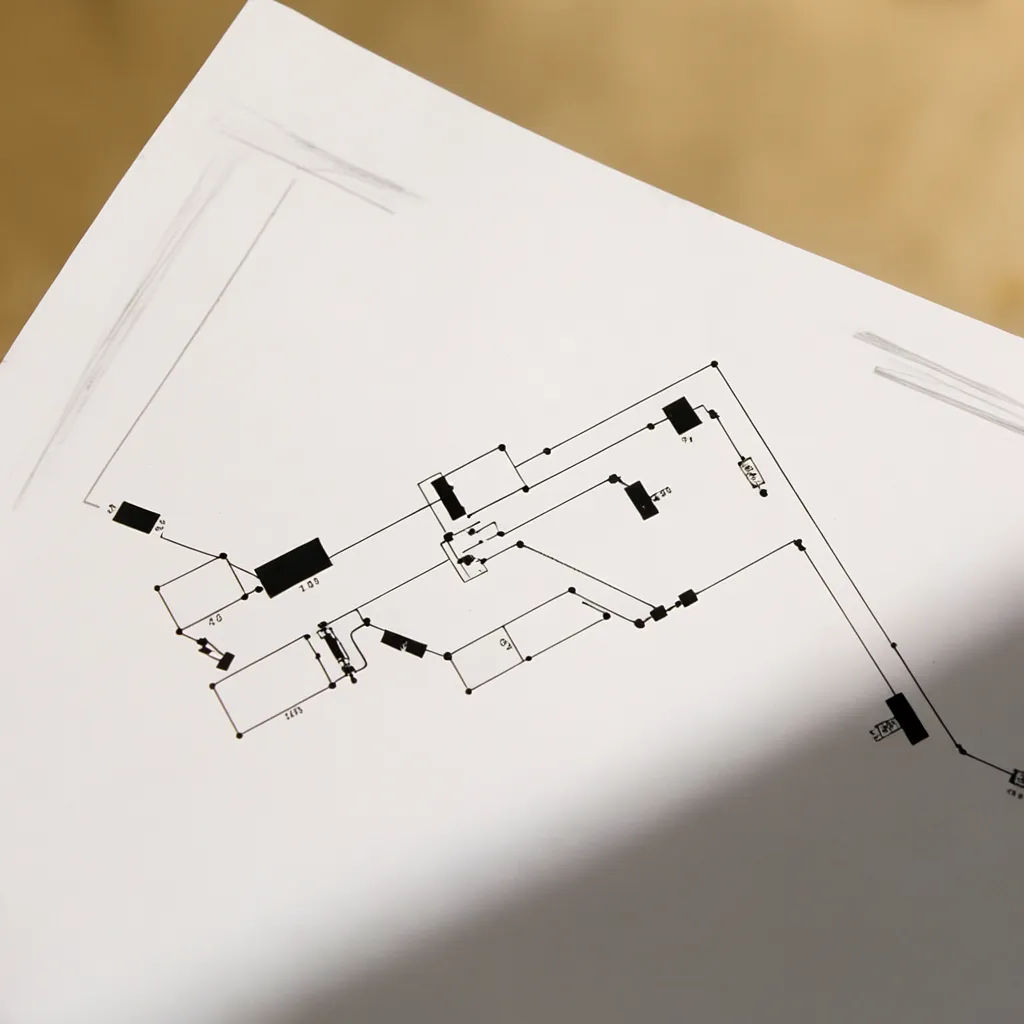

Cinematic storyboard
Share a scene description with character references. Get a full storyboard with shot angles and mood.
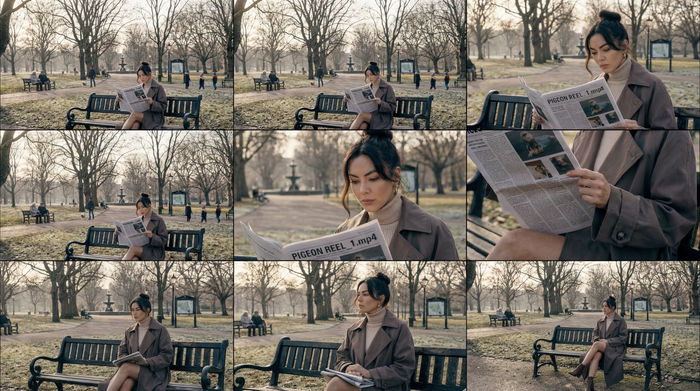
3x3 storyboard
Feed in a single image. Get 9 cinematic beats laid out as a 3x3 storyboard grid.
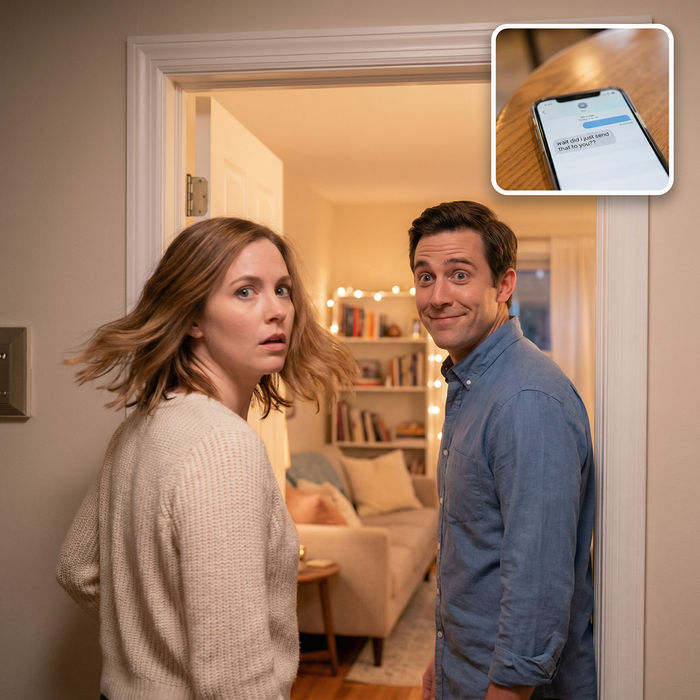
Messages to cinematic scene
Dramatize any text conversation into a cinematic multi-shot video.
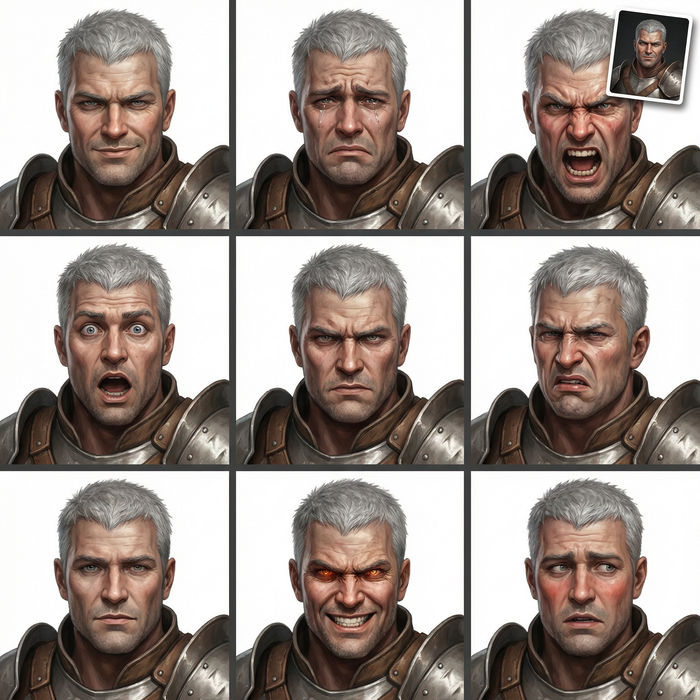
Expressions
Take any character image and generate 6 distinct facial expressions on a single reference sheet.
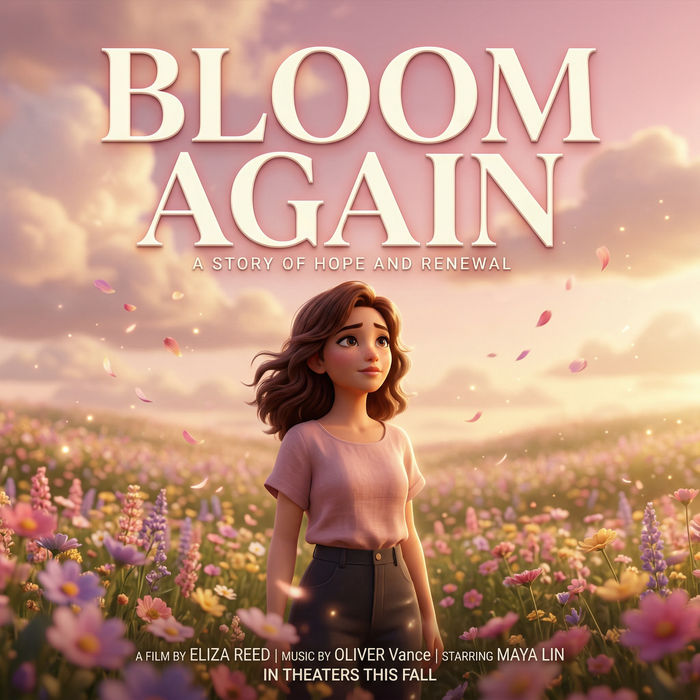
Title sequence
Generate a professional film title card from scratch, with optional cinematic animation.

Chibi sprite animation
Turn any photo or description into an animated chibi sprite. Dance, jump, wave, attack, and more.
All on Morphic
Your full photo detail stackModels
Nano Banana 2, Flux 2 Pro, ChatGPT Images, Grok Imagine, Recraft, Seedream, and more. Swap models when an edge needs a different touch.
AI photo enhancer
Take the sharpened shot further with cleaner colour, tone, and overall clarity in one pass.
Upscale
Enlarge the file after sharpening and keep every crisp edge you just recovered.
Image to image
Edit, restore, and rebuild any photo in the same workspace that powers sharpening.